Growing lavender indoors is absolutely possible with a little know-how. The trick is to pick a compact variety that won't outgrow its pot and give it at least three to four hours of direct sun every single day. If you can replicate its native Mediterranean home—think excellent drainage and not too much water—you're well on your way.
Bringing The Scent Of Summer Indoors

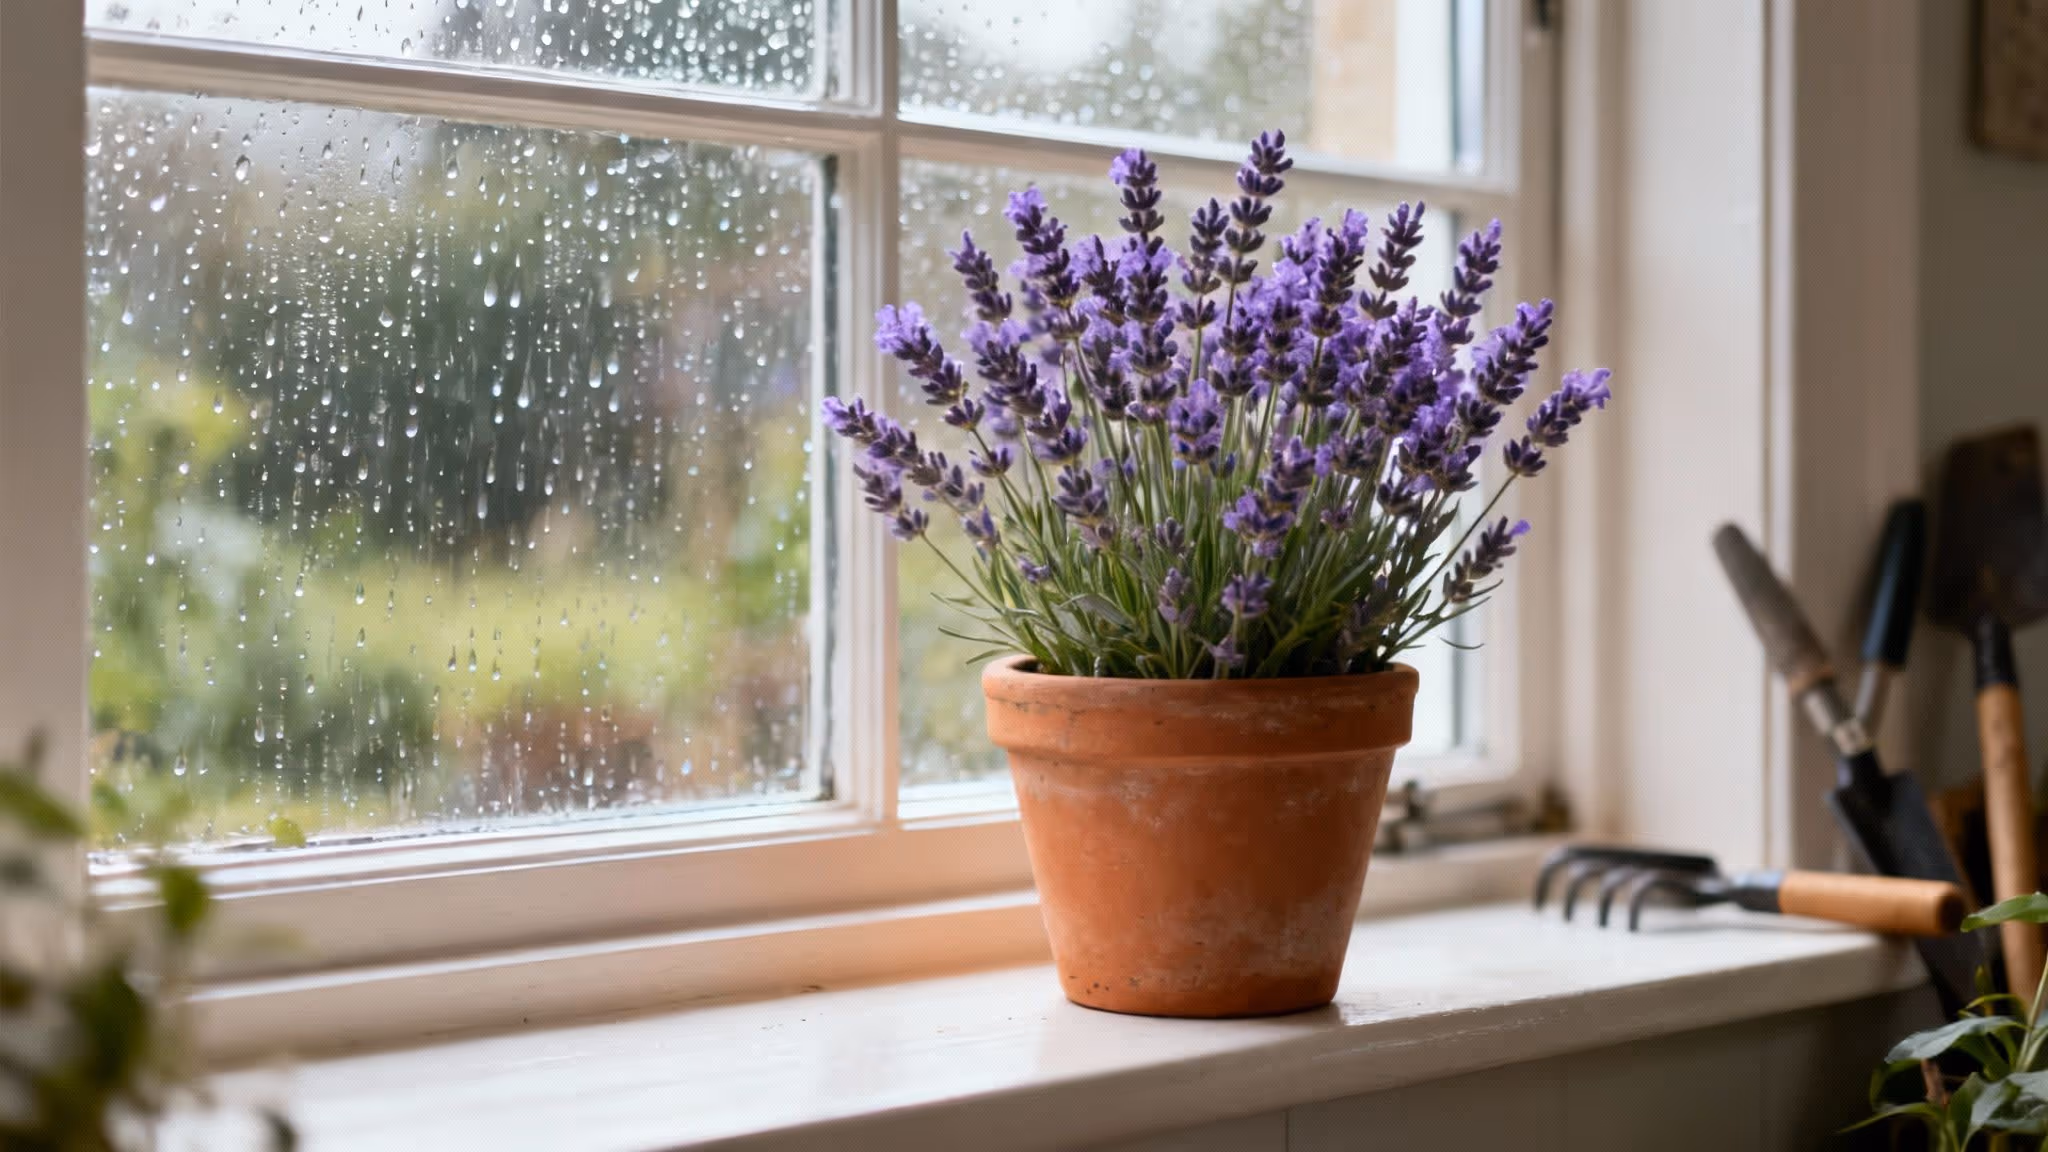
Imagine being able to enjoy the calming, rustic scent of a lavender field right in your own living room, even on a classic drizzly UK day. Many people think growing this fragrant herb inside is only for the experts, but I’m here to show you it’s simpler than you think. We're going to skip the vague tips and get straight to a realistic plan for success.
The secret to happy indoor lavender isn't about having a "green thumb"; it's about understanding what this sun-worshipping plant truly needs. Lavender thrives in bright sun and absolutely detests having soggy roots, two things that can be tricky to manage inside the average British home.
Overcoming Indoor Challenges
The biggest hurdles you'll face are the lower light levels and higher humidity common in our homes. A south-facing window is the perfect spot, but let's be honest, even the sunniest windowsill might not provide enough light during our notoriously grey winters. This guide is designed to help you tackle these specific challenges, so your lavender doesn't just survive, but truly flourishes.
Bringing greenery inside does more than just look pretty; it connects us with the natural world. This concept is at the heart of a major interior trend, and you can learn more about its benefits by exploring biophilic design (https://www.sprucecollective.co.uk/journal/what-is-biophilic-design) and how it boosts our well-being.
The goal is to replicate a sun-drenched, breezy hillside in a pot. Think of it less as 'houseplanting' and more as creating a specific microclimate for a sun-loving guest.
By choosing the right variety and getting a few core techniques down, you'll have a beautiful, fragrant addition to your home. Before you know it, you'll have a touch of the countryside year-round, offering both a lovely focal point and a soothing aroma. This is your practical guide to making that happen.
Choosing The Best Lavender For Indoor Life
Before you even think about pots or soil, the first step—and honestly, the most crucial one—is picking the right plant. Not all lavender is created equal, especially when you're planning to raise it on a UK windowsill. Many varieties are simply too big and unruly for life in a container, and they’ll quickly become sparse and unhappy.
The secret is to look for compact, hardy cultivars that stay naturally small. This is where English lavender (Lavandula angustifolia) really comes into its own. It's prized for that classic, calming scent and beautiful colour, but its real advantage for us is that its varieties are generally tougher and more compact than their French or Spanish cousins.
Why English Lavender Is Your Best Bet
Over the years, English lavender has been bred to handle our cooler climate and maintain a neat, tidy shape. This makes it the perfect candidate for a pot. You won't find it sending out aggressive roots or outgrowing its home in a single season.
They also have a certain resilience. While every lavender plant craves sun, a good English variety is far more forgiving of the odd grey British day than its Mediterranean relatives. That inherent toughness gives you a huge advantage from the get-go and makes them some of the best drought-tolerant plants for UK conditions.
Top Varieties For Your Windowsill
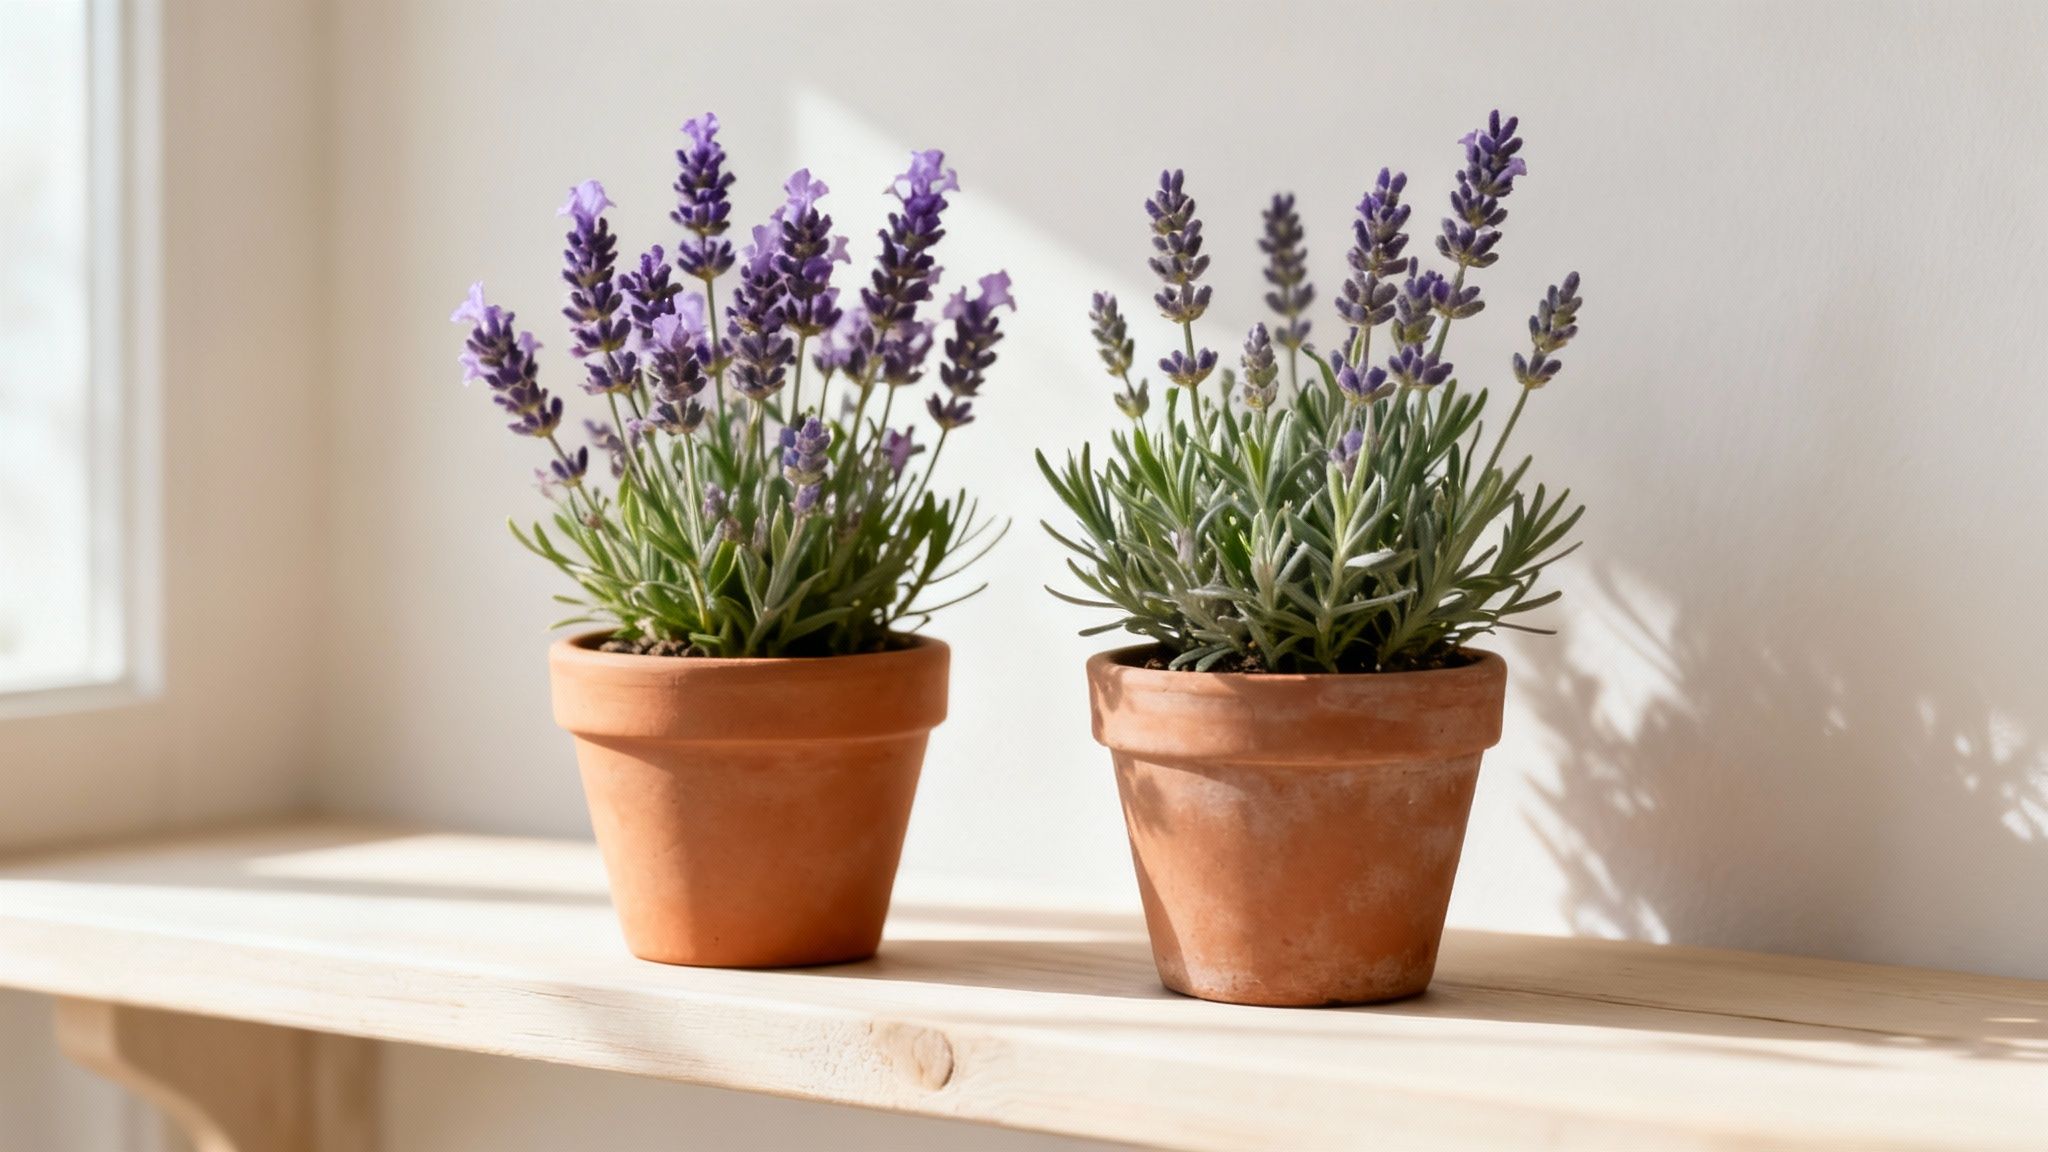
Standing in a garden centre, the sheer number of lavender labels can be dizzying. To cut through the noise, I always recommend two specific superstars that consistently do well indoors: 'Munstead' and 'Hidcote'.
- 'Munstead': This is a brilliant all-rounder. It forms a lovely, rounded mound and produces those iconic soft purple flower spikes. The scent is sweet and traditional—exactly what you imagine when you think of lavender. It’s a very reliable starting point.
- 'Hidcote': If you’re after a more dramatic, high-contrast look, 'Hidcote' is the one. Its flowers are a stunning, deep violet-blue that looks incredible against its silvery-grey leaves. The fragrance is a bit stronger and more camphor-like, too.
Both of these are dwarf varieties perfectly suited to containers. You're looking for plants that will top out at around 12 inches high, as they’ll fit beautifully in a pot without taking over your space.
Your success is tied directly to the plant's genetics. By choosing a variety that is naturally small and hardy, you are working with the plant’s nature, not against it. This simple choice eliminates half the potential problems before you even start.
A quick look at their key differences can help you decide which is right for your home.
Top Lavender Varieties For UK Indoor Growing
To give you a clearer picture, here’s a breakdown of my favourite compact varieties that are perfect for growing indoors here in the UK.
Each of these brings something special to the table, but they all share that essential compact growth habit.
Ultimately, by starting with a proven English lavender like 'Munstead' or 'Hidcote', you're setting yourself up for success. These plants are genetically programmed to have a smaller stature and greater resilience, giving you the best possible chance to cultivate a fragrant piece of the countryside right in your own home.
Creating The Perfect Potting Environment

Lavender is a sun-worshipper at heart. It longs for its native Mediterranean hillsides—a landscape that's dry, gritty, and baked in sun. To have any real success growing it indoors, your number one job is to recreate that specific environment inside a pot.
Getting the container and soil mix right isn't just a friendly suggestion; it's the absolute foundation for a healthy plant. The most common mistake I see is people treating lavender like a typical houseplant, sticking it in a standard plastic pot with all-purpose compost. That combination is a death sentence. It holds far too much moisture, and lavender roots need to breathe.
Choose Terracotta For Healthy Roots
When it comes to pots, your best friend is classic, unglazed terracotta. This isn't just about rustic aesthetics. The porous clay is a game-changer, wicking excess moisture out of the soil and letting it evaporate right through the pot's walls. This "breathing" action is your best defence against the dreaded root rot that lavender is so prone to.
A pot with at least one large drainage hole is completely non-negotiable. If you've found the perfect pot but the hole is tiny, it’s worth the effort to carefully widen it. Good drainage is everything.
The Right Pot Size Matters
It's tempting to give a new plant plenty of room to grow, but with lavender, that’s a rookie mistake. A pot that's too large holds a volume of soil the plant’s small root system can't draw moisture from quickly enough. This leaves the surrounding soil damp for ages, creating the perfect breeding ground for fungal diseases.
For a young plant, pick a pot that is only an inch or two wider than its current root ball. This snug fit helps the roots use the available water efficiently and allows the soil to dry out properly between waterings. This is a core principle of good container gardening for beginners, especially for plants that hate wet feet.
An ideal pot for indoor lavender often feels a little on the small side. This encourages a dense, healthy root system and stops the soil from becoming a boggy mess, perfectly mimicking its natural, free-draining habitat.
Mixing The Perfect Lavender Soil
Forget standard potting compost; it’s far too dense and rich for lavender. You'll need to create a custom blend that’s gritty, airy, and exceptionally well-draining. Think of it less as soil and more as a specific recipe to make your plant feel right at home.
Here’s a simple, effective mix you can put together with easy-to-find ingredients:
- Two parts quality multipurpose compost: This provides a bit of structure and a baseline of nutrients.
- One part horticultural grit or coarse sand: This is the magic ingredient. It creates air pockets and ensures water drains away fast.
- One part perlite: This lightweight volcanic rock boosts aeration even more and prevents the soil from compacting over time.
Mix these components thoroughly until you have a light, crumbly texture. When you squeeze a handful, it should barely hold its shape. That's the sign of a perfect, free-draining medium your lavender will absolutely adore.
Getting the pot and soil right from the very beginning makes all the difference. This initial bit of effort sets your indoor lavender up for a long, fragrant, and healthy life.
Mastering Light And Water Indoors

If you've managed to create the perfect potting environment, you've already won half the battle. Now we get to the tricky part, the two areas where even the best intentions can go wrong: light and water.
Lavender is a true sun-worshipper, and its deep-seated hatred of 'wet feet' is legendary. Getting these two elements right is the final piece of the puzzle for a thriving indoor lavender plant. It’s a bit of an adjustment compared to typical houseplants, but once you get the hang of it, you’ll be set.
Finding The Sunniest Spot
In the UK, giving lavender enough light is by far our biggest challenge. These plants aren't just happy with a bright room; they crave at least six hours of direct, intense sun every single day. Honestly, more is even better. Your mission is to find the absolute brightest, sunniest patch your home has to offer.
Without a doubt, this will be an unobstructed, south-facing windowsill. It's really the only spot that can provide the sustained sunlight lavender needs to produce those gorgeous flowers and dense, silvery foliage, especially during our shorter spring and autumn days.
A little pro tip: rotate the pot a quarter turn every few days. This simple habit ensures all sides of the plant get their share of the sun and stops it from getting lopsided as it leans towards the light.
When To Use A Grow Light
Let’s be realistic—UK winters are notoriously grey. From November to February, even the best south-facing window might not provide the intensity or duration of light your lavender is desperate for. This is where a grow light becomes an invaluable tool, not just a fancy accessory for serious gardeners.
A full-spectrum LED grow light can supplement the weak natural light on dreary days or even act as the main light source if a sunny window just isn't an option. You’ll want to position the light about 6-12 inches above the plant and leave it on for 12-14 hours a day. This effectively mimics a long, glorious summer's day and will stop your plant from getting weak and spindly.
A tell-tale sign of insufficient light is 'leggy' growth—long, weak stems with sparse leaves—and a complete lack of flowers. If you see this happening, you need to increase the light immediately.
The Golden Rule Of Watering Lavender
Now for watering, the area where most people trip up. The number one rule is to completely abandon any kind of fixed schedule. Watering your lavender every Saturday out of habit is the fastest way to kill it with kindness.
Instead, let the soil be your guide. Lavender must be allowed to dry out almost completely between waterings. The best way to check is with the good old 'finger test'. Push your index finger about two inches deep into the soil. If you feel any moisture at all, put the watering can down. Wait another day or two and check again.
When it finally feels bone dry at that depth, it's time to water thoroughly. Take the pot to the sink and give it a deep drench until water runs freely from the drainage holes. Then, and this is absolutely critical, let it drain completely for at least 15-20 minutes before returning it to its saucer. Never, ever let the pot sit in a puddle of water.
This 'drench and dry' method perfectly replicates the infrequent but heavy downpours of its native Mediterranean climate. It's a fundamental skill for growing many drought-tolerant plants, and we cover it more in our guide on how to grow herbs indoors.
Decoding The Signs Of Distress
Your plant will give you clear signals if its watering needs aren't being met. Learning to read them is the key to long-term success.
- Yellowing Leaves (Bottom Up): This is the classic sign of over-watering. The roots are suffocating and beginning to rot. Immediately stop watering and let that soil dry out completely.
- Wilting with Damp Soil: This is another major red flag for root rot. The roots are so damaged they can no longer absorb moisture, so the plant wilts even though the soil is wet.
- Wilting with Dry Soil: This one is much easier to fix! It’s a clear sign of under-watering, and the leaves might feel a bit crispy. Just give the plant a thorough soak, and it should perk right back up within a few hours.
By finding the sunniest spot in your home and adopting a mindful, soil-led approach to watering, you’ll nail the final, critical elements your lavender needs to flourish.
Giving Your Lavender a Good Trim
https://www.youtube.com/embed/FkLyao1ehxU
Pruning your indoor lavender is much more than a quick tidy-up. It's the secret to keeping your plant healthy, fragrant, and full of flowers. If left to its own devices, lavender gets 'woody'—it develops a gnarled, thick base with long, sparse stems. This doesn't just look a bit sad; it means the plant is losing its vigour and won't produce many of those gorgeous blooms you're after.
Think of it as guiding your plant's energy. A good trim encourages it to grow into a lush, bushy shape instead of wasting effort on unproductive stems. This simple act is what keeps an indoor lavender plant thriving for years, ensuring it remains a fragrant star in your home.
The Two Kinds of Pruning
When it comes to trimming indoor lavender, you'll need to get the hang of two different approaches. Each has a specific purpose and a different time of year, and knowing the difference is key.
- The Post-Bloom Tidy-Up: This is a light trim you do right after the first wave of flowers has faded. It's really just a bit of deadheading to keep the plant looking neat and, if you're lucky, to coax out a second, smaller bloom.
- The Big Annual Haircut: This is the more serious prune that happens once a year, usually in late summer or early autumn. This is where you'll shape the plant, stop it from getting woody, and set the stage for fantastic growth next spring.
Don't be timid with your secateurs. One of the most common mistakes I see is people being too cautious, which leads directly to those woody, leggy plants. A confident, well-timed prune is one of the best things you can do for your lavender.
How to Tidy Up After Flowering
Once your lavender’s beautiful flower spikes start to look a bit tired and lose their colour, it's time for that light trim. This is the simplest kind of pruning, focused more on maintenance than a major reshape.
Grab a clean, sharp pair of scissors or secateurs. Follow a flower stem all the way down to the first set of leaves and snip the whole thing off just above them. By getting rid of the spent flowers, you're telling the plant not to waste its energy making seeds. Often, it will thank you with another small flush of flowers later in the season.
The All-Important Annual Cut
The most critical prune of the year takes place around late August or early September, once the flowering season is well and truly over. This is your chance to properly shape the plant and prevent that woody base from creeping in.
The golden rule is to cut back about one-third of the plant's green, leafy growth. You need to be bold, but also careful—never cut into the old, brown, woody part of the stems. Lavender simply won't regrow from that old wood. Always make sure you're cutting above some visible green leaves or tiny new buds. Your goal is to create a compact, rounded mound. This hard prune forces lots of fresh new growth, ensuring your plant comes back full and bushy next spring, ready for a spectacular show.
This love for lavender isn't just a hobby for home gardeners; it's a growing business in the UK. Farms are diversifying into this fragrant crop, with places like Cotswold Lavender farm planting around 500,000 plants. They cultivate 35 different varieties in a whole spectrum of colours, from classic purple to pink and cream. It really showcases the plant's potential beyond the garden. You can read more about the UK's love affair with lavender in this wonderful article from Country Life.
Harvesting Flowers for Drying
One of the great joys of growing lavender is being able to harvest its fragrant flowers. The absolute best time to do this is when the tiny individual flowers (the florets) on the spike have just started to open, but most are still tight buds. This is when the essential oils are at their peak, which means you'll get the best colour and scent.
To harvest, simply snip the flower stalks, leaving them as long as you can while still making sure there's some green growth left on the plant. Gather the stems into small bunches, tie them with an elastic band, and hang them upside down. Find a dark, dry spot with good air circulation, and leave them for two to four weeks. Once they're completely dry, you can easily strip the buds from the stems for use in sachets, potpourri, or even cooking.
Solving Common Indoor Lavender Problems
Even with the best of intentions, sometimes things go a bit sideways when growing lavender indoors. The trick is catching the early warning signs before they become big problems. Don't panic, though – most issues are surprisingly simple to fix once you know what you’re looking at.
One of the most common cries for help I hear is about yellowing leaves. It’s an easy mistake to think your plant is thirsty, but with lavender, the opposite is almost always true. Yellow leaves, particularly when they start at the base of the plant, are the classic calling card of over-watering.
Reading the Leaves and Stems
When you see yellow, your first instinct should be to check the soil, not grab the watering can. If the soil feels damp to the touch, you’ve found your culprit. The roots are essentially drowning in soggy compost and can't get any air, which leads to root rot. Your best bet is to let the pot dry out completely before you even consider watering again.
What if your plant looks weak and "leggy," with long, spindly stems and sparse leaves? That’s a crystal-clear sign it’s crying out for more sun. The plant is literally stretching itself thin trying to find a better light source. Move it straight to your sunniest, south-facing window. During the UK's notoriously grey months, a grow light might be a worthwhile investment.
A Quick Tip: Think of your lavender's appearance as its way of talking to you. Yellow leaves are usually shouting "too much water!" while lanky stems are pleading for more light. Learning to interpret these signals is the key.
Dealing with Pests and Diseases
While lavender is pretty resilient, poor air circulation can sometimes lead to powdery mildew, which looks like a fine, white powder sprinkled over the leaves. Good airflow is your best defence here. Try not to crowd your plant and always aim for the soil when you water, keeping the foliage as dry as possible.
If you do spot it, you can tackle it with a simple homemade spray: mix one tablespoon of bicarbonate of soda and a half-teaspoon of liquid soap into about four litres of water. For anyone just starting out with houseplants, getting a handle on these basics is a fantastic starting point. You can find more great tips in our guide to indoor plants for beginners.
And finally, the big one: what if your lavender just won't flower? The reason is almost always a lack of light. Lavender is a sun-worshipper and needs at least six hours of direct sunlight every day to even think about producing those gorgeous, fragrant blooms. Anything less, and it will put all its energy into basic survival. Give it more sun, and you’ll soon be rewarded.
Your Indoor Lavender Questions Answered
Even with the best instructions, you're bound to have a few questions pop up as you get to know your lavender plant. Let's tackle some of the most common ones I hear from people trying to bring this Mediterranean classic indoors.
Think of this as your quick troubleshooting guide for when things don't go exactly to plan.
Why Is My Indoor Lavender Not Flowering?
Nine times out of ten, a lavender plant that refuses to flower is crying out for more sun. It’s that simple. These plants are true sun-worshippers and need at least six to eight hours of direct, bright sunlight every single day to even think about producing those gorgeous purple spikes.
If your plant looks healthy and green but there are no buds in sight, your first move should be to find a sunnier spot. A south-facing window is ideal. If that’s not an option, a good quality grow light can make all the difference. Also, go easy on the fertiliser – too much feed encourages lots of leafy growth, but no flowers.
Lavender blooms when it has an abundance of energy, which it gets almost entirely from intense sunlight. Without that key ingredient, it will focus solely on survival, not reproduction (flowering).
Can I Grow Lavender From Seed Indoors?
Technically, yes. Realistically, it’s a long and often disappointing road. Lavender seeds are notoriously tricky; they can have a low germination rate and many popular varieties need a specific cold period (stratification) just to get them to sprout.
My strong advice, especially if you're new to this, is to start with a healthy young plant from a reputable nursery. Picking up an established variety that’s known to do well inside, like 'Hidcote' or 'Munstead', gives you a massive head start and a much greater chance of enjoying those beautiful, fragrant blooms.
How Often Should I Repot My Lavender?
This is one plant that doesn't mind being a bit cramped. Lavender actually performs best when its roots are slightly snug in its container, so you can forget about frequent repotting.
A good rule of thumb is to move it to a new pot only every one to two years, and always in the spring just as you see new growth emerging. When you do, resist the urge to give it a huge new home. Choose a pot that’s only an inch or two wider than the current one. A pot that's too big is a classic mistake, as the excess soil holds onto moisture for too long, setting the stage for dreaded root rot.


