Think of it: turning your kitchen scraps and garden trimmings into ‘black gold’ that makes your balcony pots or tiny garden plot burst with life. This is what composting in a small space is all about. It’s an incredibly satisfying and surprisingly simple way to enrich your soil and drastically cut down on your household waste, even if your "garden" is just a few containers on a windowsill.
Why Composting Is a Small Garden Game-Changer
You absolutely don't need a rambling country estate to start composting. That's a common myth that puts a lot of people off. In truth, even the smallest outdoor spaces—a petite patio, a narrow balcony, or a compact courtyard—can become a powerhouse for sustainability and plant health. It's one of the most effective things you can do to turn your little patch into a thriving, self-sufficient ecosystem.
The benefits go far beyond just getting free plant food, though that’s a huge plus! When you create your own compost, you gain complete control over what goes into your soil. Say goodbye to buying bags of mystery soil improver that might be packed with peat or unknown additives. You’ll be producing a nutrient-rich, organic material that genuinely improves your soil’s structure, helps it hold onto moisture, and boosts its overall vitality.
The Environmental Impact of Your Small Garden
Across the UK, home composting has become a genuinely important practice for cutting down household waste and supporting the environment. It's a simple change that makes a big difference. By diverting organic waste from landfill, you’re helping to reduce methane emissions—a powerful greenhouse gas.
At the same time, you’re creating something that breathes life back into the soil, enriching it with vital nutrients and encouraging a world of beneficial microbes. You can dive deeper into this local impact and discover more insights about UK Compost Week at thomasalexanderhomes.co.uk.
It’s all about creating a closed-loop system right at home.
- Less Waste: Instead of going in the bin, food scraps like vegetable peels, coffee grounds, and eggshells become a valuable resource.
- Richer Soil: Homemade compost is a slow-release fertiliser, feeding your plants with everything they need to grow stronger and more resilient.
- Better Watering: Soil packed with compost acts like a sponge. It holds onto moisture for much longer, meaning you won't have to water nearly as often.
The best part of composting in a small space is watching the magic happen. What starts as everyday waste slowly becomes a dark, crumbly, and earthy-smelling substance teeming with life. It’s honestly the single best thing you can do for the long-term health of your soil.
Ultimately, composting isn’t just about being resourceful; it’s about reconnecting with nature. It plugs you into the cycle of decay and renewal, right on your doorstep, making you a more observant and successful gardener. No matter how tiny your space is, there’s a composting method that will work perfectly for you.
Choosing the Right Compost System for Your Space
When you're working with a small garden, finding the right composting method can seem like a puzzle. The good news is, it's simpler than you think. The trick is to match the system to your real-life situation—how much space you actually have, the amount of kitchen and garden waste you create, and frankly, how much time you want to spend on it.
Let's walk through the most popular choices for smaller gardens: compost tumblers, wormeries (a fantastic method called vermicomposting), and the unique Bokashi bin. Each one turns your scraps into black gold for your garden, but they do it in very different ways. Once you understand what makes each one tick, you'll know exactly which one is right for you.
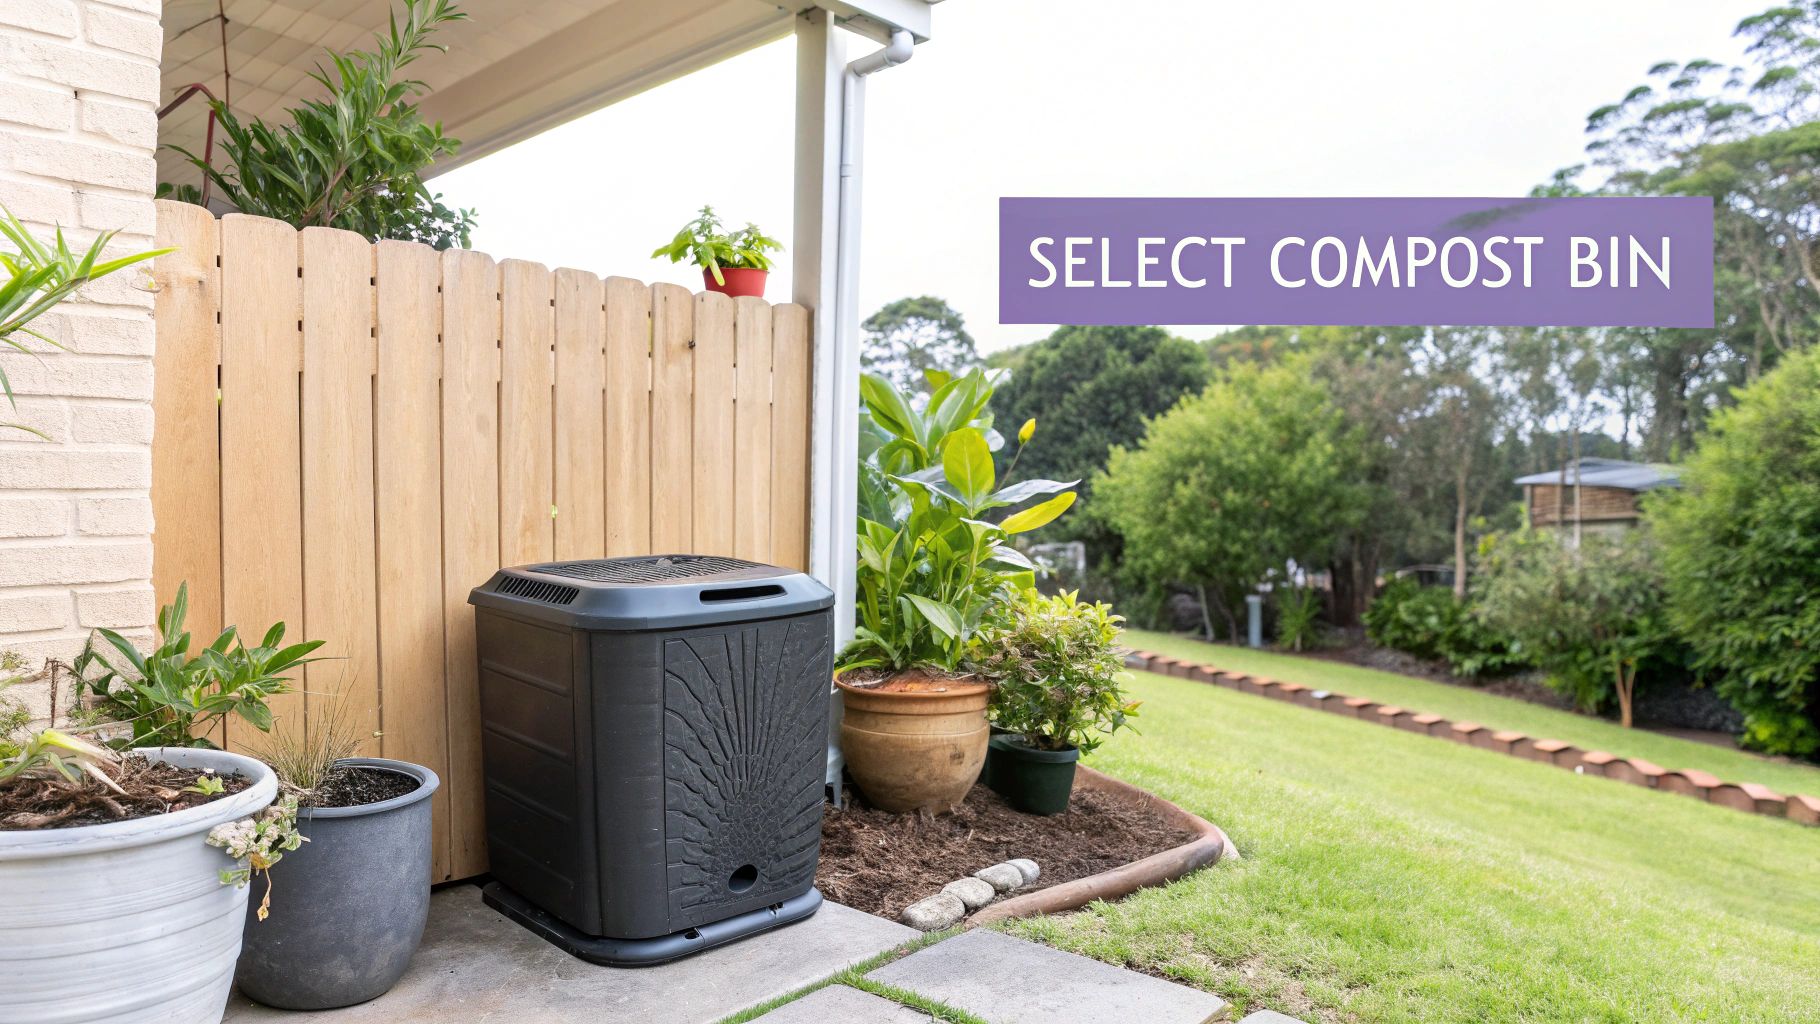
Compost Tumblers: Sealed and Speedy
Think of a compost tumbler as a barrel on an axle. You load it up, seal the lid, and give it a spin every few days. This design is a game-changer for small gardens because it's completely self-contained. No mess, no uninvited pests, and a very neat footprint that fits perfectly on a patio or in a forgotten corner.
The real magic of a tumbler is its speed. By turning the drum, you're mixing and aerating the contents, which dramatically speeds up the decomposition process. If you get the balance of greens and browns right, you can have finished compost far quicker than with a traditional, static heap.
- Ideal for: Gardeners who want a tidy, pest-proof system and a relatively fast supply of fresh compost.
- Space needed: A small, level spot, about 1x1 metre. They work brilliantly on patios, balconies, or a small patch of lawn.
- What to add: Most kitchen scraps (think fruit and veg peels, tea bags, coffee grounds) and light garden waste like leaves and small plant clippings.
Wormeries: A Living Compost Factory
A wormery, or vermicomposter, is a brilliant bit of kit that uses special tiger worms (not the earthworms from your garden soil) to break down organic waste. These systems are incredibly efficient and take up next to no space—you can even keep one indoors in a utility room or on a sheltered balcony.
The worms are your workforce, munching through food scraps and turning them into incredibly nutrient-dense worm castings and a potent liquid fertiliser, often called "worm tea." It's an amazing way to deal with kitchen waste, but it does require a little more care. You'll need to keep an eye on the temperature and be mindful of what you feed your little helpers.
Remember, the worms aren't just living in the compost; they are the composting process. They actively grind up the material and digest it, creating a truly superior soil amendment packed with beneficial microbes.
The Bokashi Bin: A Different Approach Entirely
Bokashi is a bit of a curveball because it isn't technically composting—it's fermentation. This clever Japanese method uses an airtight bin and a special bran inoculated with 'effective microorganisms' to essentially pickle your kitchen waste. The huge advantage here is that it can handle all food scraps, including cooked leftovers, meat, fish, dairy, and oily foods that are a no-go for traditional compost bins.
After a couple of weeks, the waste is "pre-composted." It won't look like crumbly, finished compost, but it can be buried directly in your garden soil or added to a larger compost pile, where it will break down in record time. For some great ideas on how to incorporate these systems into a tight space, have a look at our guide on creative small space gardening ideas.
Comparing Composting Methods for Small Gardens
Feeling a bit stuck on which path to take? This side-by-side comparison should help clarify which system is the best fit for your home and garden.
Ultimately, there isn't one "best" method—only the one that works best for you. Whether you choose the speed of a tumbler, the super-rich output of a wormery, or the all-in-one convenience of Bokashi, you're taking a fantastic step towards a healthier, more sustainable garden.
How to Set Up Your Composting System
Alright, you’ve picked your composting champion. Now for the fun part: getting it all set up. Whether you've gone for a tumbler, a wormery, or a Bokashi bin, a little prep work now will save you a lot of headaches later. Think of this as laying the groundwork for turning your everyday scraps into that rich, dark gold your garden will love.
The first thing to sort out is where your new composting system will live. It sounds basic, but the right spot makes a huge difference to how easily and effectively your compost breaks down. You want somewhere that's easy to get to, but also has the right conditions for all that microbial magic to happen.
Placing Your Compost Tumbler or Bin
If you're using a traditional bin or a tumbler, think like Goldilocks – you want a spot that’s not too sunny, not too shady, but just right. A bit of morning sun is great for warming up the pile and getting the decomposition process moving, but a full day of harsh sun, especially in summer, can dry everything out far too quickly. A patch with a mix of sun and shade is usually your best bet.
Make sure you leave enough room to actually use the thing. For a tumbler, you need enough clearance to give it a good spin, which is essential for aeration. And whatever you do, put it on level ground. The last thing you want is a full, heavy composter tipping over.
Setting Up a Wormery for Success
A wormery is a bit different because you're essentially managing a small farm. Your worms are the livestock, and they need a comfortable home. They thrive in stable temperatures, ideally somewhere between 13-25°C, so keep them out of extreme heat and cold.
A few good spots include:
- A sheltered corner of a balcony or patio.
- Tucked away in a garage or shed.
- Even a cool utility room will do the trick.
When you first get your wormery, you'll likely have to assemble the trays and tap. Start by adding the bedding (usually a block of coir). Just rehydrate it with water until it has the consistency of a damp sponge. Then, gently tip your worms in and let them get settled for a day or so before you start adding food.
A word of warning from experience: don't overfeed your worms at the start. It’s the most common mistake people make. Begin with just a small handful of finely chopped veg peelings. This lets the worm population build up and get to work without overwhelming the system and making it smell sour.
Kickstarting Your Bokashi Bin
The Bokashi bin is probably the easiest to place because it’s designed to be kept right in your kitchen. Thanks to its airtight lid, you won’t get any nasty smells or unwanted pests. Just pop it under the sink or in a utility cupboard, and you're good to go.
Getting it started couldn't be simpler. First, sprinkle a layer of the special Bokashi bran into the bottom of the empty bin. Add your chopped-up food scraps, press them down firmly to squeeze out any air, and then sprinkle another handful of bran on top. Just keep layering your scraps and bran until the bin is full, sealing the lid tightly each time. The microbes in the bran will start fermenting the waste almost immediately. It’s that easy.
What to Feed Your Small-Scale Compost System
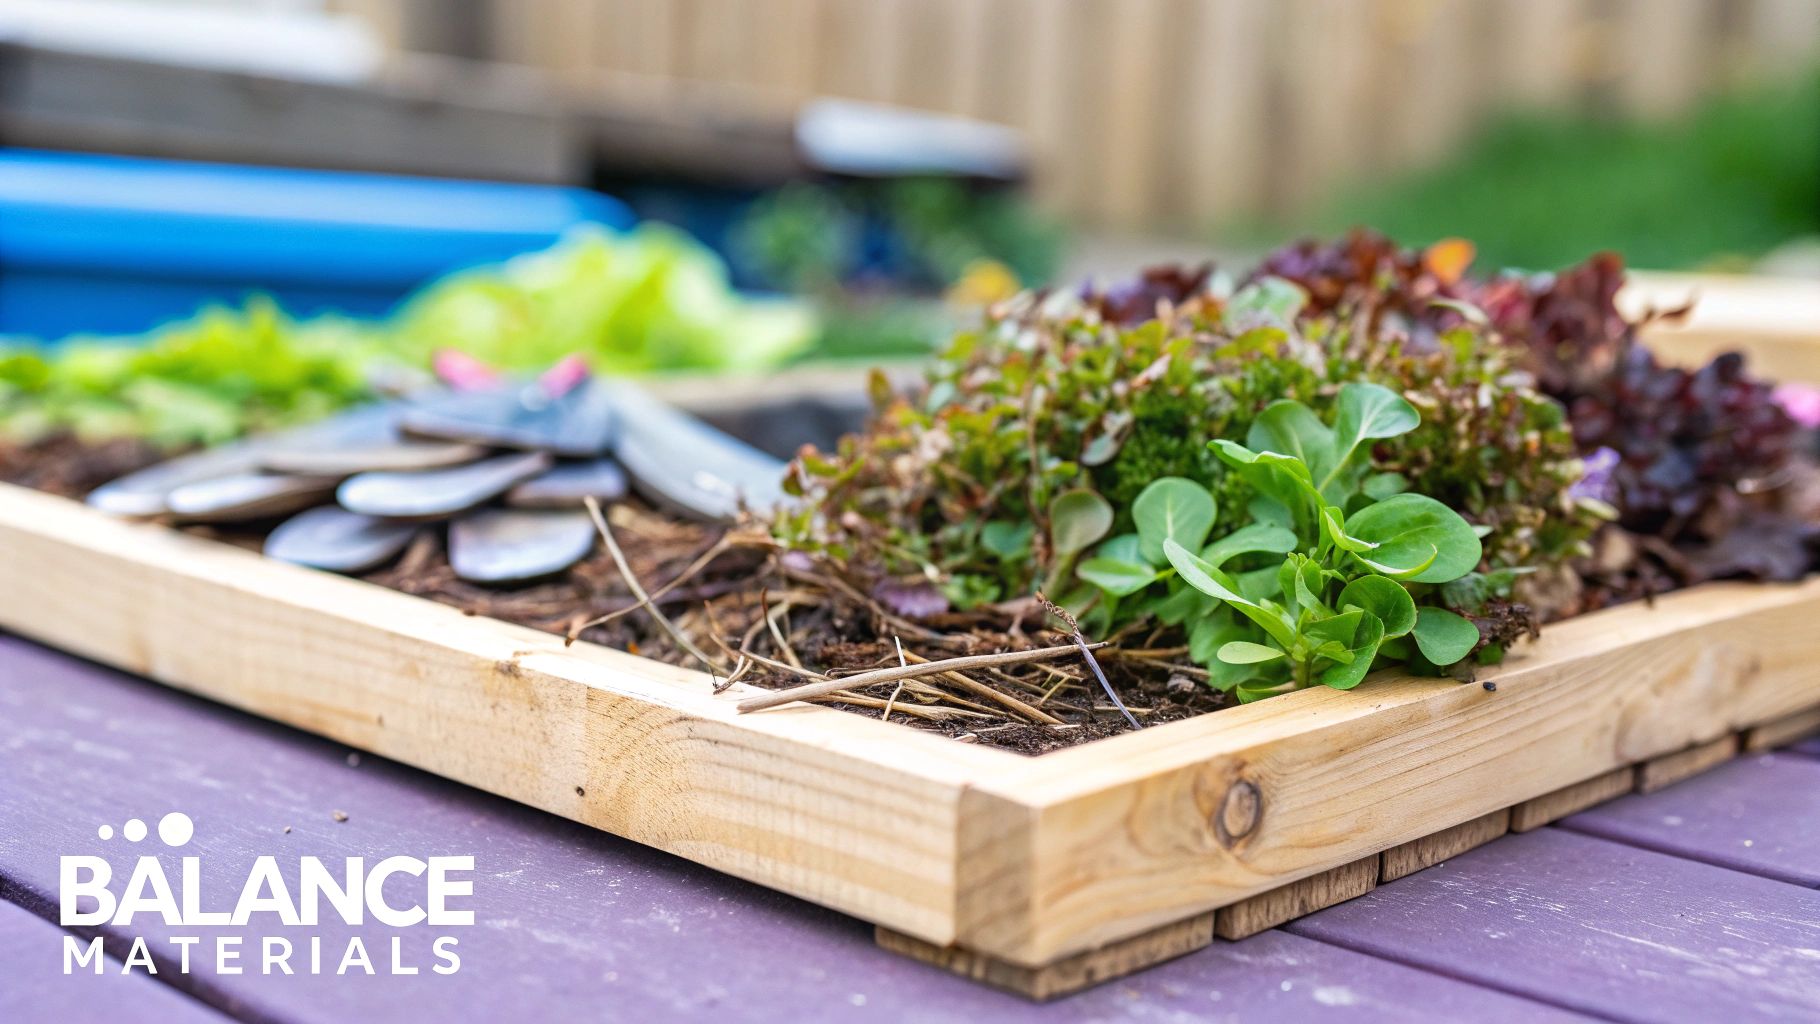
I always tell people that making great compost is a bit like cooking a delicious meal – it's all about getting the right ingredients in the right proportions. For any small-scale compost system to really thrive, you need to feed it a balanced diet of what we call ‘greens’ and ‘browns’. This balance is the real secret to getting fast, odour-free decomposition and creating that gorgeous, crumbly black gold your plants will go wild for.
Think of it this way: ‘greens’ are your nitrogen-rich materials. They provide the protein for the hardworking microorganisms that break everything down. These are usually the moist, fresh scraps from your kitchen. On the other hand, ‘browns’ are carbon-rich materials that provide the energy. These are typically dry, woody bits that also create crucial air pockets in your bin, stopping it from turning into a slimy, smelly mess.
A good rule of thumb I've found works well is to aim for a ratio of roughly two to three parts browns to one part greens. But please, don't get too hung up on measuring this perfectly! It's definitely more of an art than an exact science. You'll get a feel for it. If your compost starts to smell a bit sour, you’ve likely got too many greens. If it seems like nothing is happening at all, it probably needs a boost of fresh green material.
Building Your Compost Recipe
So, what exactly counts as a green or a brown? Here’s a practical list of what you can start saving from your kitchen and garden.
Your Go-To Greens (Nitrogen-Rich):
- Fruit and vegetable peelings: Apple cores, banana peels, carrot tops, and potato skins are all fantastic.
- Used coffee grounds and tea bags: These are a brilliant source of nitrogen. Just check your tea bags are plastic-free first.
- Fresh grass clippings: A great addition, but add them in thin layers. If you dump a thick clump in, it can compact into a slimy mat.
- Plant trimmings: Any soft, green cuttings from your houseplants or garden pruning work perfectly.
Brilliant Browns (Carbon-Rich):
- Torn-up cardboard: Cereal boxes, egg cartons, and the inner rolls from toilet paper are excellent. Just try to avoid anything with a glossy or heavily printed finish.
- Shredded paper: Non-glossy newspaper, old office paper, and junk mail add great structure.
- Fallen leaves: Honestly, dry leaves are one of the best 'browns' you can get your hands on.
- Woody materials: Small twigs, wood chippings, or even a bit of sawdust can be used, but I’d suggest adding them sparingly.
The real key here is variety. A good mix of different materials provides a much wider range of nutrients. It also creates a better structure for your compost pile, which encourages the airflow that's absolutely vital for decomposition.
Feeding Your Specific System
While the green-to-brown ratio is a great general guide, some systems can be a bit particular about their diet. A wormery, for example, operates quite differently from a hot compost tumbler.
With a wormery, you need to be a little more selective. The worms absolutely love finely chopped vegetable scraps, coffee grounds, and crushed eggshells. However, you must avoid feeding them large amounts of acidic foods like citrus peels, onions, and garlic, as this can make their home unpleasantly acidic for them. Meat, dairy, and oily foods are also definitely off the menu.
A Bokashi bin, on the other hand, is a complete game-changer because it ferments kitchen waste rather than composting it in the traditional sense. This anaerobic process means it can handle almost anything you throw at it—including meat, fish, dairy, and cooked leftovers. You just have to remember to sprinkle the inoculated bran with each layer you add.
The impact of managing your food waste this way is huge. Data from a UK compost garden project actually showed a direct link between the volume of food waste added and the heat generated in the pile – a clear sign of happy, active microbes. You can dive into the details on this compost data analysis from The Data School. This even has a knock-on effect on home aesthetics; managing waste efficiently helps keep your living spaces, inside and out, clean and organised. For more tips on keeping your home tidy, check out our guide on cheap home decor ideas.
Solving Common Composting Problems
Even with the best of intentions, every composter eventually hits a snag. One week your bin is ticking along nicely, and the next it’s whiffy, attracting flies, or seems to have ground to a halt. Don’t worry—these are common growing pains, and the solutions are usually quite simple.
Think of your compost pile as a living thing. When something goes wrong, it’s just sending you a signal that it needs a little TLC. A bit of detective work is all it takes to get things back on track and continue making that beautiful, rich soil for your garden.
Dealing with a Smelly Compost Bin
A healthy compost system should smell earthy and pleasant, like a woodland walk after rain. If it starts to smell sour, rotten, or like ammonia, that’s a dead giveaway that the balance is off. Nine times out of ten, this means there’s too much nitrogen-rich ‘green’ material and not enough air.
The pile has gone anaerobic, which is just a fancy way of saying it’s trying to decompose without oxygen. This process is slow, smelly, and not what we’re aiming for. Thankfully, getting it back on course is straightforward.
- Add More Browns: The quickest fix is to mix in plenty of carbon-rich ‘browns’. I’m talking torn-up cardboard, shredded newspaper, autumn leaves, or even a straw. These will soak up excess moisture and provide the carbon it’s crying out for.
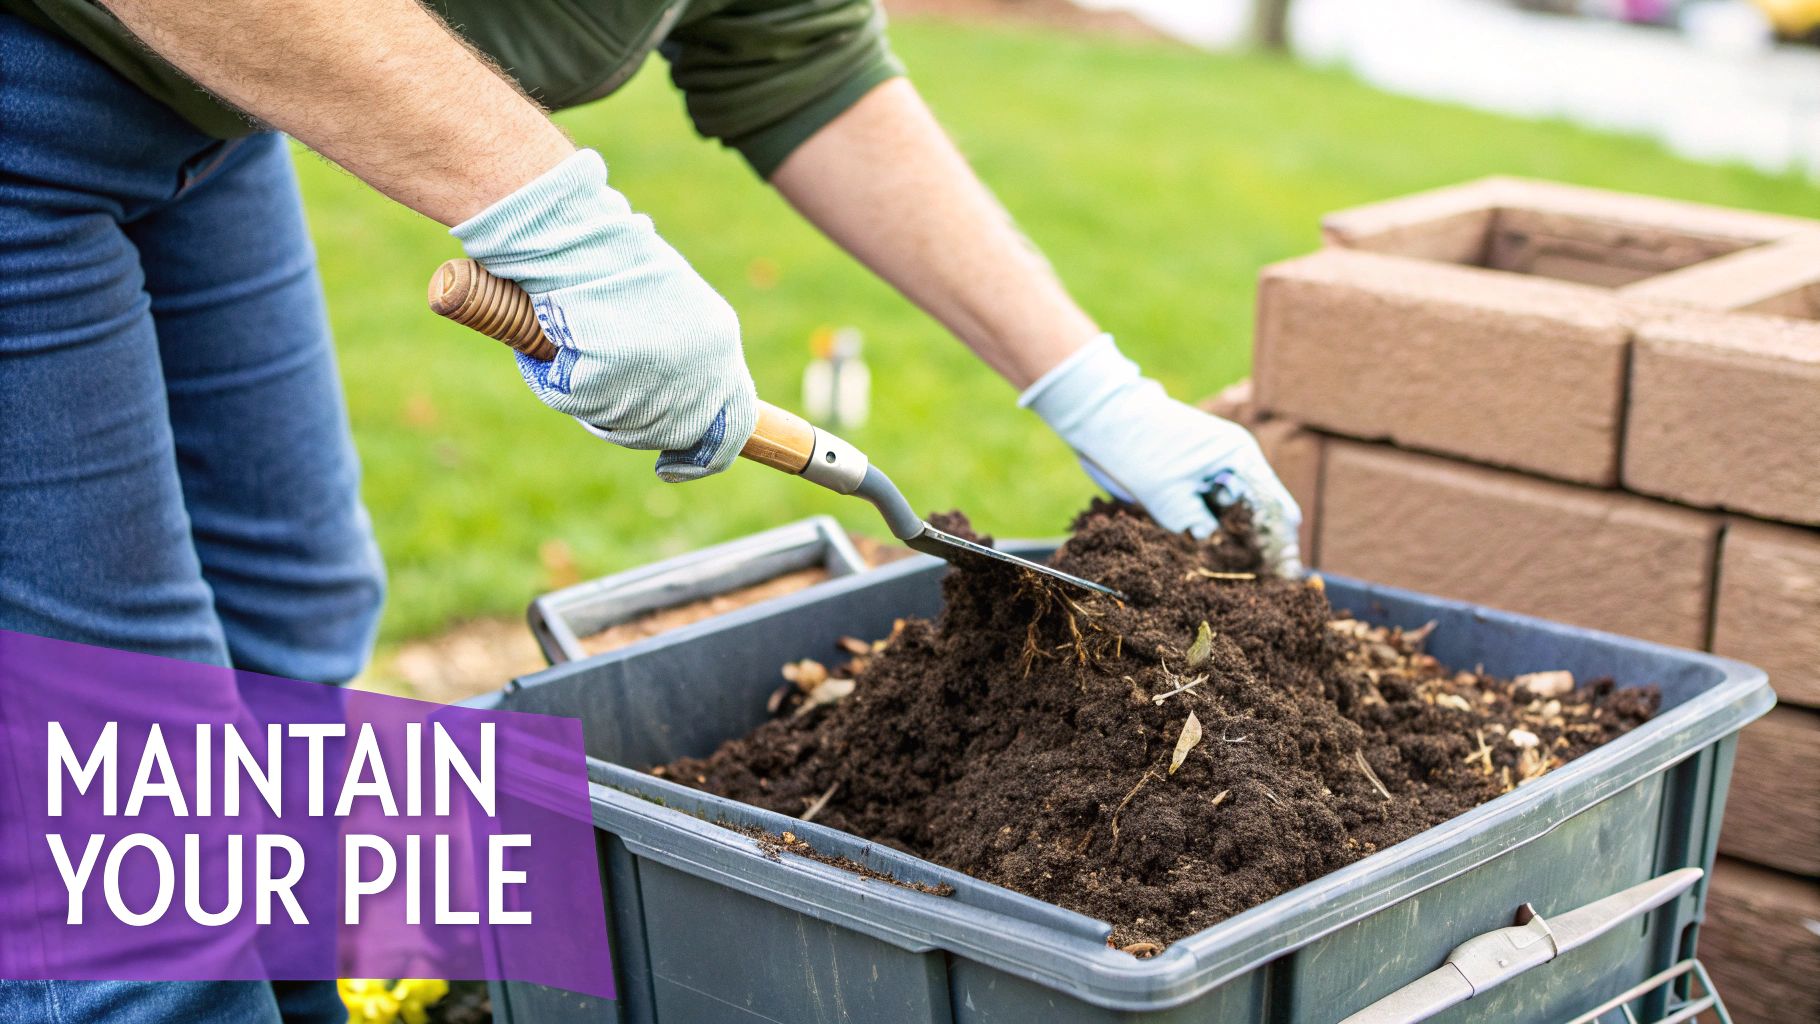
- Aerate the Pile: Grab a garden fork or a purpose-made compost aerator and give the whole lot a good turn. This introduces air pockets, which are vital for the good bacteria to take over and eliminate the pong.
Expert Tip: The classic rookie error is tipping in wet kitchen scraps day after day without adding any dry materials. A smelly bin is simply your compost’s way of asking for more cardboard and a good stir.
Why Your Compost Is Too Wet or Too Dry
Getting the moisture level right is absolutely crucial. A perfectly balanced pile should feel like a damp, wrung-out sponge. If you grab a handful and give it a good squeeze, you should only see a drop or two of water.
A compost pile that’s too wet will often feel slimy and, you guessed it, start to smell. The excess water fills up all the air gaps, creating those anaerobic conditions we just talked about. This is a common issue in our rainy UK climate or if you’ve added lots of soggy food scraps. The solution? Add more dry, brown materials to absorb the moisture.
Conversely, a pile that’s too dry will just sit there, doing nothing. The microbes that do all the hard work need moisture to survive. If your bin looks dormant and dusty, just give it a drink with a watering can. Turn the material as you go to make sure the moisture gets distributed evenly.
Attracting Unwanted Visitors
Pests like flies or rodents are typically only interested in your pile if there's easily accessible food. In a small garden, your best defence is a well-managed, enclosed system like a compost tumbler or a bin with a secure lid.
To keep them at bay:
- Bury Your Scraps: When you add kitchen waste, always cover it with a generous layer of 'browns' like old leaves or a spadeful of soil. Out of sight, out of mind.
- Avoid Problem Foods: Keep meat, dairy products, and oily foods out of a standard home compost bin. These are magnets for unwanted visitors.
By learning to read these simple cues, you’ll keep your compost system healthy and incredibly productive. Maintaining this balance doesn't just create better compost; it helps build a cleaner, more organised garden space—a principle that applies to all good design. For more ideas on creating harmonious spaces, you might find our guide on current interior design trends interesting.
Your Composting Questions Answered
Even with the best of intentions, a few questions always seem to pop up once you get your hands dirty. Let's tackle some of the most common queries I hear from fellow gardeners who are just starting out with composting in smaller spaces. Getting these sorted will help you turn any initial worries into total confidence.
One of the first things everyone wants to know is, "How do I tell when my compost is actually ready?" You're looking for a few key signs. The finished product should be dark, rich brown, and beautifully crumbly. It will have a lovely, earthy smell, just like a forest floor after it rains. Crucially, you shouldn't be able to recognise any of the original food scraps you threw in there.
Another major concern, especially in urban or suburban gardens, is pests. Will a compost bin attract rats and other unwanted visitors? A well-managed, enclosed system—like a compost tumbler or a sealed Bokashi bin—makes this highly unlikely. If you're using a more traditional open pile, the secret is to always bury fresh kitchen scraps deep inside the pile, then cover them with a generous layer of ‘browns’ like leaves or torn-up cardboard.
Winter Composting and Peat-Free Gardening
"Can I keep composting through the winter?" Absolutely! While the decomposition process will slow right down in the cold, you can (and should) keep adding materials to your bin all winter long. Think of it as stockpiling for spring—as soon as the weather warms up, your pile will burst back into action. Of course, if you're using an indoor Bokashi system, the seasons won't affect it at all.
Making your own compost at home also has a fantastic environmental benefit. In the UK, a staggering 95% of our precious peat bogs have been damaged or destroyed, and the horticulture industry has played a big part in that. By creating your own nutrient-rich compost from waste, you produce a brilliant, free alternative to peat-based products and help protect these vital ecosystems. You can discover more about the importance of peat-free gardening from Garden Organic.
Ultimately, great composting in a small garden isn't about following a strict set of rules. It’s about getting to know your system, observing what's happening inside, and making small tweaks along the way. With a bit of practice, you’ll soon be turning your scraps into black gold that will completely transform your garden.


