Yes, you can absolutely grow lavender inside. The trick is to forget everything you know about typical houseplants and think more like a Mediterranean gardener. Lavender isn't your average fern; it craves two things above all else: tons of direct sunlight and soil that doesn't stay soggy. Get those right, and you’re most of the way there.
Bring That Summer Scent Indoors, All Year Round
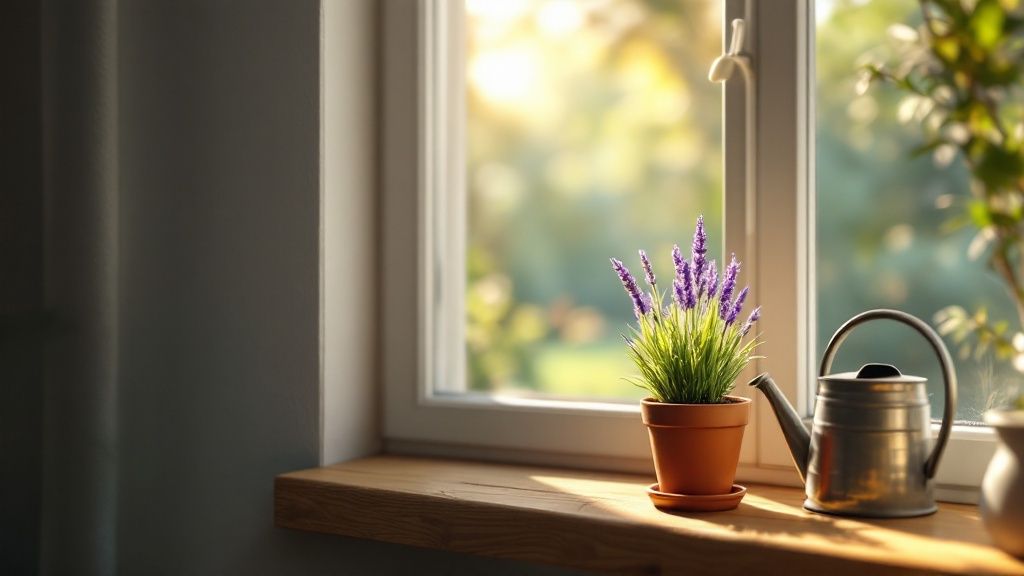
Picture this: it's a dreary, grey afternoon, but your home is filled with the unmistakable, calming scent of a lavender field in summer. That’s the real joy of growing lavender indoors. It’s a wonderful way to keep a piece of the garden with you, even when the weather outside is telling a different story.
Success, however, comes from understanding where lavender comes from. It's native to the sun-baked, rocky hillsides of the Mediterranean, which means it thrives on conditions that would kill many other plants. It wants to be treated like a sun-worshipper, not a shade-dweller. This guide will walk you through exactly how to replicate those conditions in your own home.
Why Bother Growing Lavender Indoors?
Beyond its lovely looks and iconic fragrance, having a lavender plant in your home is surprisingly practical. Many people swear by its aroma for easing stress and creating a more relaxed atmosphere. And let's be honest, having fresh lavender on hand for cooking or a small homemade potpourri is a simple luxury.
While it's not a top performer for cleaning the air, there are plenty of other plants that are. If boosting your home's air quality is high on your list, our guide on the best houseplants for air purification has some fantastic recommendations.
The main perks of an indoor lavender plant really come down to this:
- A Year-Round Scent: Enjoy that soothing fragrance no matter what the season is doing outside.
- Rustic Charm: The silvery-green leaves and delicate purple flowers bring a touch of the countryside to any room.
- Handy Harvests: Snip a few stems for your kitchen, a craft project, or just a small vase by your bed whenever you fancy.
You might be surprised to learn how well-suited lavender is to the UK. We have a thriving lavender industry here, with large-scale farms proving that even with our climate, the right varieties and care can lead to incredible results. It’s a testament to the plant's resilience, a principle you can easily apply to your own indoor pot.
Selecting The Right Lavender For Indoor Life
Before you even think about soil or pots, your success with indoor lavender hinges on one crucial decision: choosing the right plant. It's a common mistake to grab any lavender from the garden centre, but not all varieties are cut out for life on a windowsill.
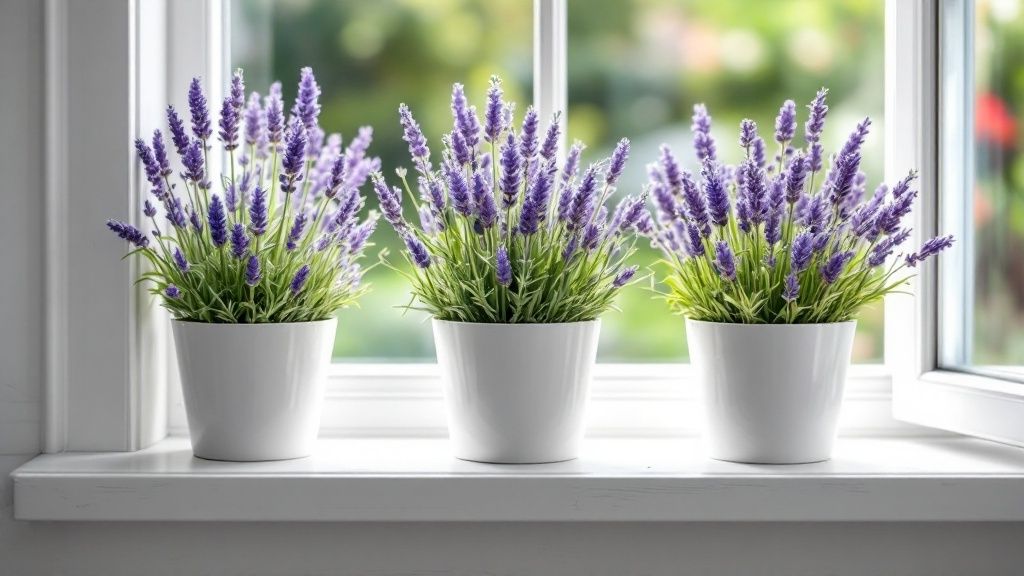
The sprawling types that look so glorious in a country garden will quickly become lanky, sparse, and miserable indoors. The secret is to think small from the very beginning. Look for dwarf or compact cultivars specifically bred for a smaller, neater form. These plants are naturally better suited to container life and won't spend all their energy trying to outgrow their home.
Top Choices For UK Homes
For those of us gardening indoors in the UK, your most reliable choice will almost always be a variety of English lavender (Lavandula angustifolia). They’re celebrated for their hardiness, tight growth habit, and that classic, sweet fragrance we all love.
To get the best results, it pays to be specific. Instead of just "lavender," you want to look for named cultivars known for their suitability in pots. This is where a little knowledge goes a long way.
To help you choose, here's a quick comparison of some of the best compact lavender varieties that do brilliantly inside.
Top Lavender Varieties For Indoor UK Gardens
While English varieties are often the go-to, don't dismiss French lavender (Lavandula stoechas) entirely. As long as you pick a dwarf type like 'Thumbelina Leigh', their quirky "bunny ear" flowers can be a real showstopper. Just be prepared to give them even more direct sun than their English cousins.
A tip from experience: a common pitfall is buying a large, unnamed lavender and hoping it will adapt. It rarely does. Always check the plant label for a specific cultivar name to ensure you're getting a plant that's naturally suited to pots.
Because lavender thrives in drier conditions, it’s an excellent choice for a low-maintenance indoor garden. If you're keen on building a collection of easy-going houseplants, our guide to drought-tolerant plants in the UK has some great suggestions for companions.
By starting with a variety bred for a smaller stature, you're not just buying a plant—you're setting yourself up for a home filled with that incredible colour and fragrance for years to come.
Creating The Perfect Mediterranean Microclimate
Lavender isn't your average houseplant; it's a sun-worshipper at heart, with a genetic memory of its Mediterranean home. To grow it successfully indoors, your main job is to become an architect of this environment. You need to create a little pocket of sun-drenched, breezy conditions right there in your home.
Forget everything you know about typical houseplants that thrive in gentle, indirect light. Lavender demands the spotlight.
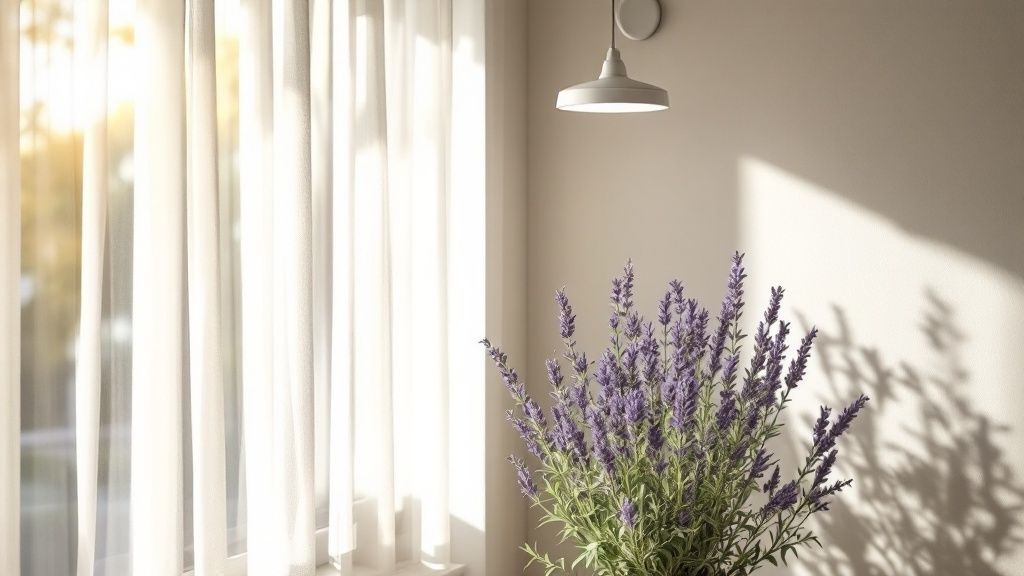
This means finding the absolute sunniest, brightest spot you can offer. Think of your windows as portals for the energy your lavender needs to produce those intensely fragrant oils and vibrant purple flowers. Without enough direct sun, the plant will become 'leggy'—stretching desperately towards the light, resulting in weak stems and few, if any, blooms.
Chasing The Sun: A Guide To Indoor Lighting
The gold standard for a happy indoor lavender plant is a south-facing window. No other spot in your house will give it the intense, prolonged light it craves, which is the closest you can get to its native habitat.
To be truly happy, your lavender needs a minimum of 6 to 8 hours of direct sunlight every single day. This isn't just a suggestion; it's a non-negotiable for healthy growth and flowering. Let's be honest, in many parts of the UK, especially during our notoriously grey months, this can be a real challenge.
What if your home lacks that perfect sun-drenched spot? Don't despair. A good quality grow light can be a game-changer, either supplementing natural light or replacing it entirely.
- What to Look For: Opt for a full-spectrum LED grow light. These are brilliant because they’re energy-efficient and provide the balanced light waves your lavender needs for both foliage and flowers.
- How to Use It: Position the light about 15-30 cm (6-12 inches) above your plant. Any closer and you risk scorching the leaves; any further away and it just won't be effective.
- Daily Duration: I recommend running the grow light for 12-14 hours each day. The easiest way to manage this is with a simple plug-in timer, which ensures your plant gets a consistent dose of light, even on the darkest winter days.
The Importance Of Fresh Air
Out in the wild, lavender is constantly caressed by a coastal breeze. This isn’t just for effect—good air circulation is absolutely vital for preventing the fungal diseases that can plague indoor plants, like powdery mildew. Stagnant, humid air is lavender's worst enemy.
A simple but surprisingly effective trick is to place a small, quiet fan in the same room. Set it to a low speed and aim it away from the plant for a few hours each day. This gently circulates the air without creating a harsh, damaging draught.
Keeping the air moving is particularly important during the colder months when we tend to keep our windows shut tight. This one small step helps keep the foliage dry and healthy, a key part of keeping your plants happy through the winter. For more tips on this, check out our detailed guide on protecting your plants through winter.
By focusing on these two core elements—intense light and moving air—you’re doing more than just keeping a plant alive. You are actively recreating the specific, sun-baked, and breezy environment that is encoded in your lavender’s DNA. This is how you set the stage for a thriving, fragrant companion that will fill your home with its wonderful scent.
Getting The Potting and Watering Just Right
If there’s one secret to keeping lavender happy indoors, it’s all in the pot and the watering can. The single biggest mistake people make isn't neglect; it's loving their lavender to death with too much water. Lavender absolutely loathes ‘wet feet’—a gardener’s term for roots left sitting in soggy, airless soil.
This is exactly why your choice of pot matters so much. While a fancy glazed pot might look great with your decor, a simple, unglazed terracotta pot is what your lavender truly wants. The porous clay breathes, allowing moisture to evaporate and air to reach the roots, which helps the soil dry out evenly between waterings. It’s the closest you can get to the dry, rocky hillsides where lavender thrives.
And let’s be clear: drainage holes are non-negotiable. If the pot you've fallen in love with doesn't have at least one decent-sized hole at the bottom, walk away. No amount of careful watering can make up for a lack of drainage.
Crafting The Perfect Potting Mix
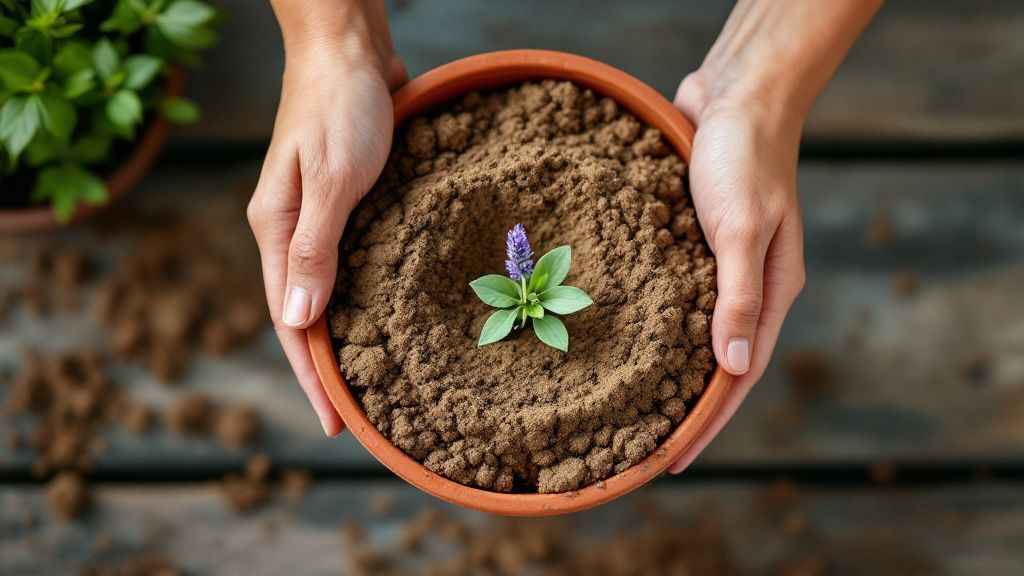
Your standard, all-purpose houseplant compost is a death sentence for lavender. It’s far too rich and dense, holding onto moisture for days and creating the swampy conditions that lead directly to root rot. You need to mix up a blend that’s all about sharp drainage. Think gritty, sandy, and lean.
Here’s a tried-and-tested recipe for a potting mix that will make your lavender feel right at home:
- 2 Parts Standard Compost: This provides a bit of structure and a baseline of nutrients.
- 1 Part Perlite: Those little white volcanic rocks are brilliant for creating air pockets and stopping the soil from compacting.
- 1 Part Coarse Sand or Horticultural Grit: This adds weight and, most importantly, helps water drain away quickly. Just be sure to avoid fine builder's sand, as it can clog everything up.
Mix these components together thoroughly until you have a consistently gritty texture. This blend won't hold onto excess water, which is exactly what you want for healthy roots. Lavender is not a heavy feeder, but if you feel it needs a little something extra, you can find some gentle options in our guide to making your own homemade plant food.
The 'Soak-and-Dry' Watering Method
First things first: throw away any idea of a watering schedule. Check the plant, not the calendar. The best way to get it right is to use the ‘soak-and-dry’ method, which is pretty much foolproof.
Only water your lavender when the top 5 cm (2 inches) of soil feels bone dry. Don't just poke the surface—get your finger right in there to check the moisture levels properly.
When it’s finally time to water, do it generously. Place the pot in a sink and give it a good drenching until you see water running freely from the drainage holes. This ensures the entire root ball gets a drink. Then, let it sit and drain completely for at least 15-20 minutes before putting it back on its saucer. This last step is crucial—never, ever let your lavender sit in a puddle of water.
How to Prune Lavender for a Bushy, Fragrant Plant
Pruning is the one step many people skip, and it’s the secret that separates a sparse, woody lavender plant from a lush, fragrant one. It's not a chore; think of it as the key to encouraging that dense, bushy growth that looks so beautiful and produces armfuls of flowers. If you don't prune, your plant will inevitably get ‘leggy’, channelling all its energy into long, bare stems instead of aromatic blooms.
I like to think of pruning as a conversation with my lavender, guiding its shape and helping it become its best self. This is especially vital when growing lavender inside, as it keeps the plant compact and perfectly suited for its pot. There are really only two key moments in the year when your lavender will thank you for a good haircut.
The Post-Flower Tidy-Up
The first trim is a light one. It happens right after that initial flush of flowers starts to fade, usually in late spring or early summer. This isn't a dramatic chop; it’s more of a gentle deadheading to neaten up the plant and kick-start new growth.
All you need to do is snip off the spent flower stalks, cutting them back to where they meet the leafy part of the stem. This simple action accomplishes two things: it stops the plant from putting energy into making seeds and, more often than not, it encourages a second, smaller wave of blooms later in the season. A quick job with a big payoff.
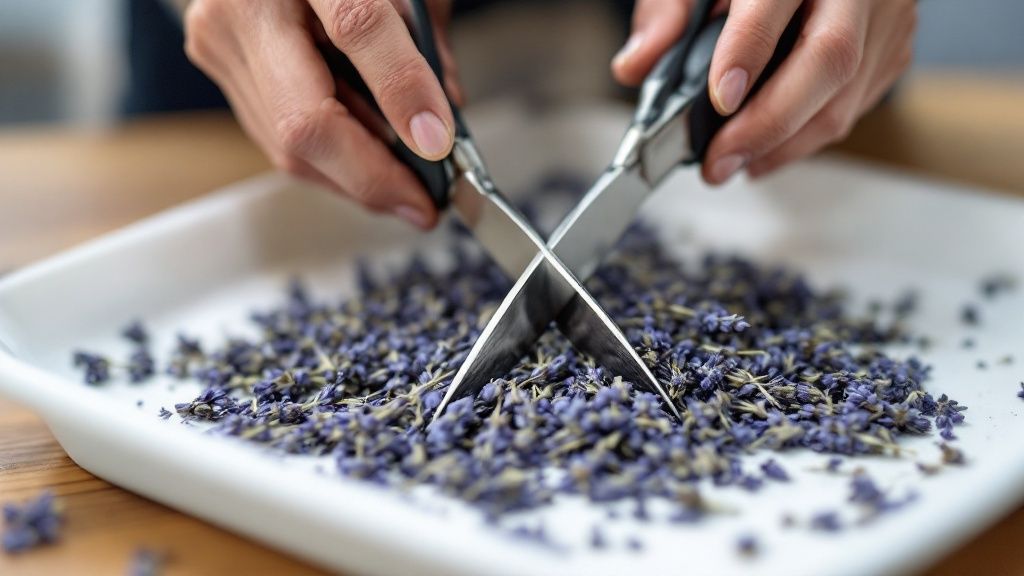
This is also the perfect time to harvest your lavender! For the most intense aroma, cut the stems when the tiny flower buds have formed but just before they pop open. You can then hang the bundles to dry and enjoy that incredible scent for months.
The Main Annual Prune
Now for the most important trim of the year. This happens in late summer or early autumn, usually around late August or early September. This is the main structural prune that sets your plant up for healthy, compact growth next year. It might feel a bit drastic at the time, but trust me, your lavender will love you for it.
The golden rule is to never cut back into the old, woody part of the plant. Lavender won’t regrow from that tough, old wood, and cutting into it can seriously damage or even kill your plant.
Here’s the right way to tackle it:
- First, find this year's growth – it will be the soft, silvery-green stems.
- Follow these stems down until you can see tiny new leaf buds starting to form.
- Cut back about one-third of the plant's leafy growth, but make absolutely sure you leave at least 5-7 cm (2-3 inches) of green growth above the woody base.
This decisive cut forces the plant to branch out from its base, which creates that full, rounded shape we all love and prevents the dreaded woody centre from taking over. By getting these two simple pruning techniques down, you’ll keep your indoor lavender vibrant, healthy, and wonderfully fragrant.
Troubleshooting Common Indoor Lavender Issues
Even with the best intentions, things can go a bit sideways when growing lavender indoors. Don't worry, it happens to all of us. Think of this as your plant first-aid guide, helping you figure out what the symptoms mean and how to get your lavender back to its fragrant, happy self.
The vast majority of problems I see with indoor lavender come down to one thing: water. This plant is notoriously particular about moisture, and its leaves are the first to tell you when something’s amiss. Catching these signs early is the secret to a quick recovery.
The Problem With Yellow Leaves
If you’re noticing the lower leaves of your lavender turning yellow and feeling a bit soft or even mushy to the touch, you’re almost certainly looking at a case of overwatering. This is, without a doubt, the number one mistake people make. The soil has been kept damp for too long, suffocating the roots and kicking off the dreaded root rot.
To fix it, you need to act fast. Stop watering immediately and let the soil dry out completely. If the pot feels suspiciously heavy and the soil is soggy, you may need to perform a little plant surgery. Gently ease the plant out, snip off any black, mushy roots with clean scissors, and repot it into a fresh, dry, gritty mix.
Learning to read your plants is a skill that comes with practice. If you're just starting out, you might want to explore some easy indoor plants for beginners to build your confidence on more forgiving species first.
Underwatered and Leggy Plants
On the flip side, if your lavender's leaves look dry and crispy, with brown tips creeping inwards, your plant is thirsty. While lavender loves dry conditions, it can't be left to dehydrate completely. The solution is a good, deep drink using the 'soak-and-dry' method—water it until you see it flowing freely from the drainage holes, then let it drain completely before putting it back.
Another common sight is a 'leggy' plant. This is when the stems get long and spindly with big gaps between the leaves. It’s a dead giveaway that your lavender is desperate for more light and is literally stretching to find it.
To fix a leggy lavender, you need a two-pronged attack. First, prune the plant back by about one-third to encourage new, bushier growth from the base. More importantly, you must move it to a much sunnier spot or supplement its light with a grow lamp. Without more light, it’s just going to grow leggy all over again.
Dealing With Unwanted Pests
Pests aren't as common indoors, but little critters like aphids can sometimes show up, especially on new plants you’ve just brought home. These tiny green or black insects love to cluster on tender new growth and flower buds, sucking the life out of your plant.
- Spot them early: Get into the habit of checking your plant every few days, paying close attention to the undersides of the leaves.
- Take action: A surprisingly strong jet of water can often be enough to knock them off. For a more stubborn infestation, a good insecticidal soap or even a homemade mix of water and a few drops of washing-up liquid will do the trick without harming your plant.
Indoor Lavender Health Check
When you're not quite sure what's wrong, a quick diagnosis can make all the difference. This little table is designed to help you match the symptom to the cause and find the right solution in a flash.
With a little observation, you'll soon learn to spot these issues before they become serious problems, keeping your indoor lavender healthy and thriving for years to come.
Your Lavender Questions Answered
Even with the best instructions, a few questions always seem to pop up when you're trying something new in the garden. Let's tackle some of the most common queries I hear from folks just starting to grow lavender inside.
How Often Should I Really Water My Indoor Lavender?
This is the big one, and there's no magic number on the calendar. Forget schedules. The only way to know for sure is to get your fingers dirty.
Push your finger about two inches down into the soil. Is it bone dry? Then it’s time for a good drink. If you feel even a hint of coolness or damp, hold off for a few more days and check again. It’s that simple.
In the winter, when the plant is practically dormant, you might find you’re only watering once every few weeks. Always trust the plant, not the calendar.
Why Are My Lavender's Leaves Turning Yellow?
Ah, the dreaded yellow leaves. Nine times out of ten, especially if they're at the base of the plant, this is a classic sign of overwatering. Lavender roots simply can't stand being wet for long, and yellowing is their first cry for help before root rot sets in.
To fix it, stop watering immediately and let the soil dry out. Make sure your pot has plenty of drainage holes and you're emptying the saucer after every watering. If things don't improve, you might need to gently repot it into a fresh, faster-draining soil mix to give the roots a fighting chance.
Can I Grow Lavender Indoors Without A South-Facing Window?
It's a tall order, but not impossible if you bring in some backup. Lavender is a sun-worshipper and needs at least six hours of direct, bright light every day to be happy. If you can't provide that naturally, a grow light is non-negotiable.
A good full-spectrum LED grow light will be your plant's best friend. You'll want to position it about 6-12 inches (15-30 cm) from the top of the plant and keep it on for 12-14 hours a day. This will give it the high-intensity light it's missing.
Does My Indoor Lavender Need Fertiliser?
Honestly? Almost certainly not. This is one of those cases where being a neglectful plant parent is actually a good thing. Lavender evolved in poor, rocky soils, so it's not a heavy feeder.
Giving it fertiliser, especially one high in nitrogen, often backfires. You’ll get a flush of green, leggy leaves but disappointingly few of those fragrant purple flowers you’re after. If you absolutely feel the need, a single dose of very diluted feed in early spring is more than enough for the whole year.


