Keeping indoor plants alive really just comes down to four things: light, water, soil, and the right environment. Once you get the hang of these, turning your home into a green oasis is surprisingly simple—and incredibly rewarding.
Why Everyone Can Develop a Green Thumb
Welcome to the wonderful, slightly chaotic world of indoor gardening! If you've always believed that keeping a houseplant happy is some kind of secret art, we're here to prove you wrong. Having a "green thumb" isn't a gift you're born with; it’s just about learning a few simple rules and sticking to them.
This guide is all about building your confidence. We’ll break down the essentials into practical, no-nonsense advice that actually works. Forget the complicated jargon. Instead, we’ll focus on the small, manageable steps that will help you create a lush, vibrant sanctuary in your own home.
The Rise of the Houseplant
You're definitely not alone in this green pursuit. Houseplants have become a huge part of home design and wellbeing, reflecting a collective urge to bring a bit of nature indoors. And the benefits are pretty clear:
- Cleaner Air: Many plants are natural filters for common indoor pollutants.
- A Mood Boost: Simply being around plants can lower stress and make you feel calmer.
- Better Aesthetics: Plants add colour, texture, and life to any room.
- A Rewarding Hobby: There’s a real sense of achievement in watching something grow under your care.
The connection between people and plants is undeniable. It’s a simple, effective way to bring the outdoors in, creating a healthier and more beautiful living environment. You can explore more about this concept by reading our guide on biophilic design.
A UK Gardening Trend
This passion for indoor plants is especially strong right here in the UK. In 2022 alone, an amazing 46% of Brits bought at least one houseplant, contributing to a massive £6.1 billion spent on plants overall.
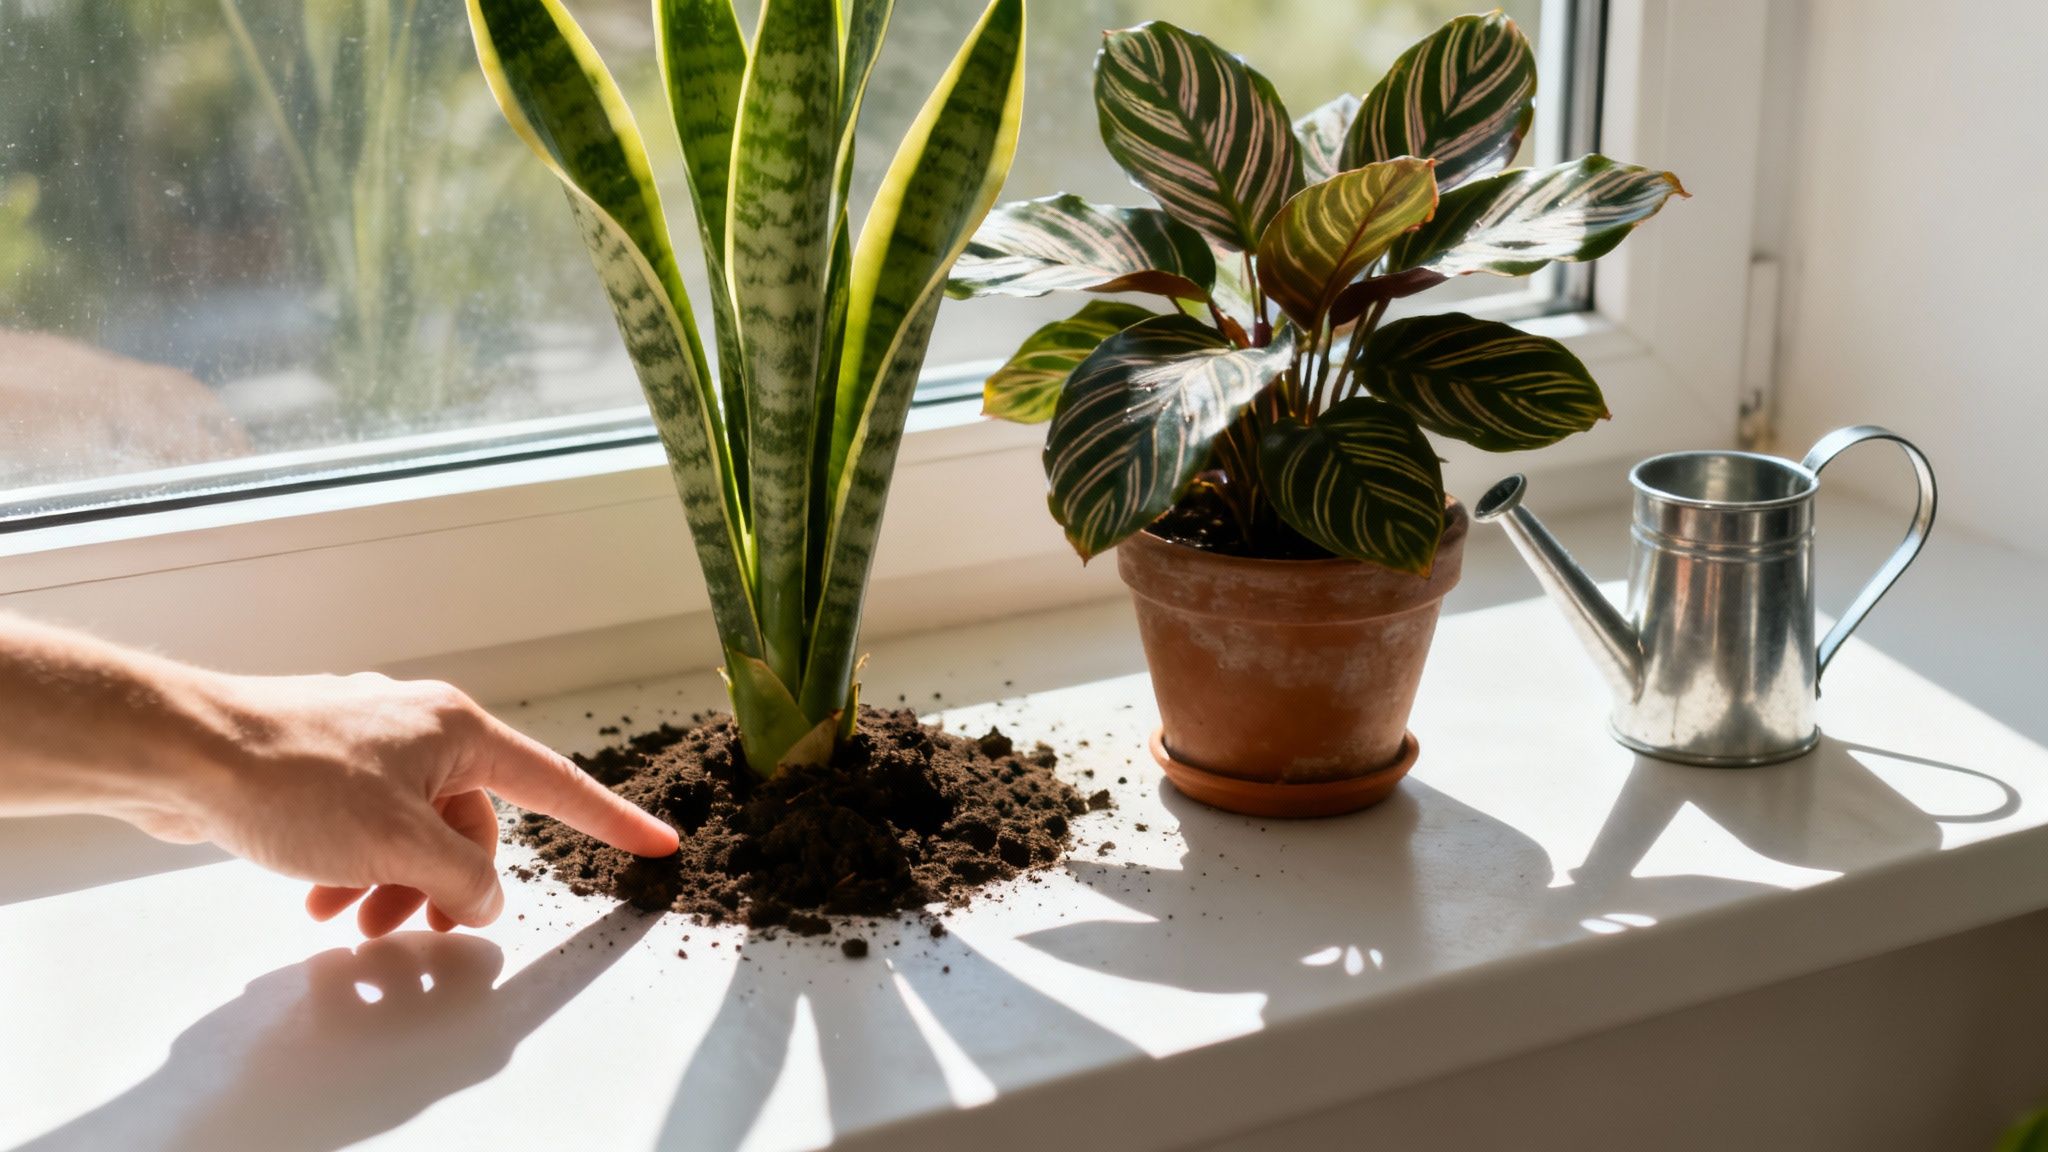
With so many of us bringing greenery home, the need for good, clear advice has never been greater. One of the biggest hurdles for new plant parents is getting the watering right. Overwatering is the number one reason houseplants don't make it. To avoid this classic mistake, always check the top two inches of soil before you even think about grabbing the watering can. If it feels dry, it's time for a drink.
Finding the Right Light and Water Balance
Get the light and water right, and you’re more than halfway there. It sounds simple, but this is where most new plant parents stumble. Success isn’t about following rigid rules; it’s about learning to read your home’s environment and your plant's own subtle cues.
Forget generic advice. Let’s get practical.
Decoding the Light in Your Home
Think of light as food for your plants. Without the right amount, they can’t photosynthesise properly, which is how they generate energy. The quality of light in your home will decide whether your plant merely survives or truly thrives.
Every home is different. A sun-drenched, south-facing window offers a completely different world to a dim, north-facing bedroom, and this changes with the seasons. Learning to spot these differences is the first real step in knowing how to care for indoor plants.
A simple and surprisingly effective trick is the shadow test. Sometime around midday, hold your hand about a foot away from where you plan to put your plant and look at the shadow it casts.
- Bright, Direct Light: You’ll see a crisp, well-defined shadow. This is the intense light found right in a south-facing window, perfect for sun-worshippers like succulents and cacti.
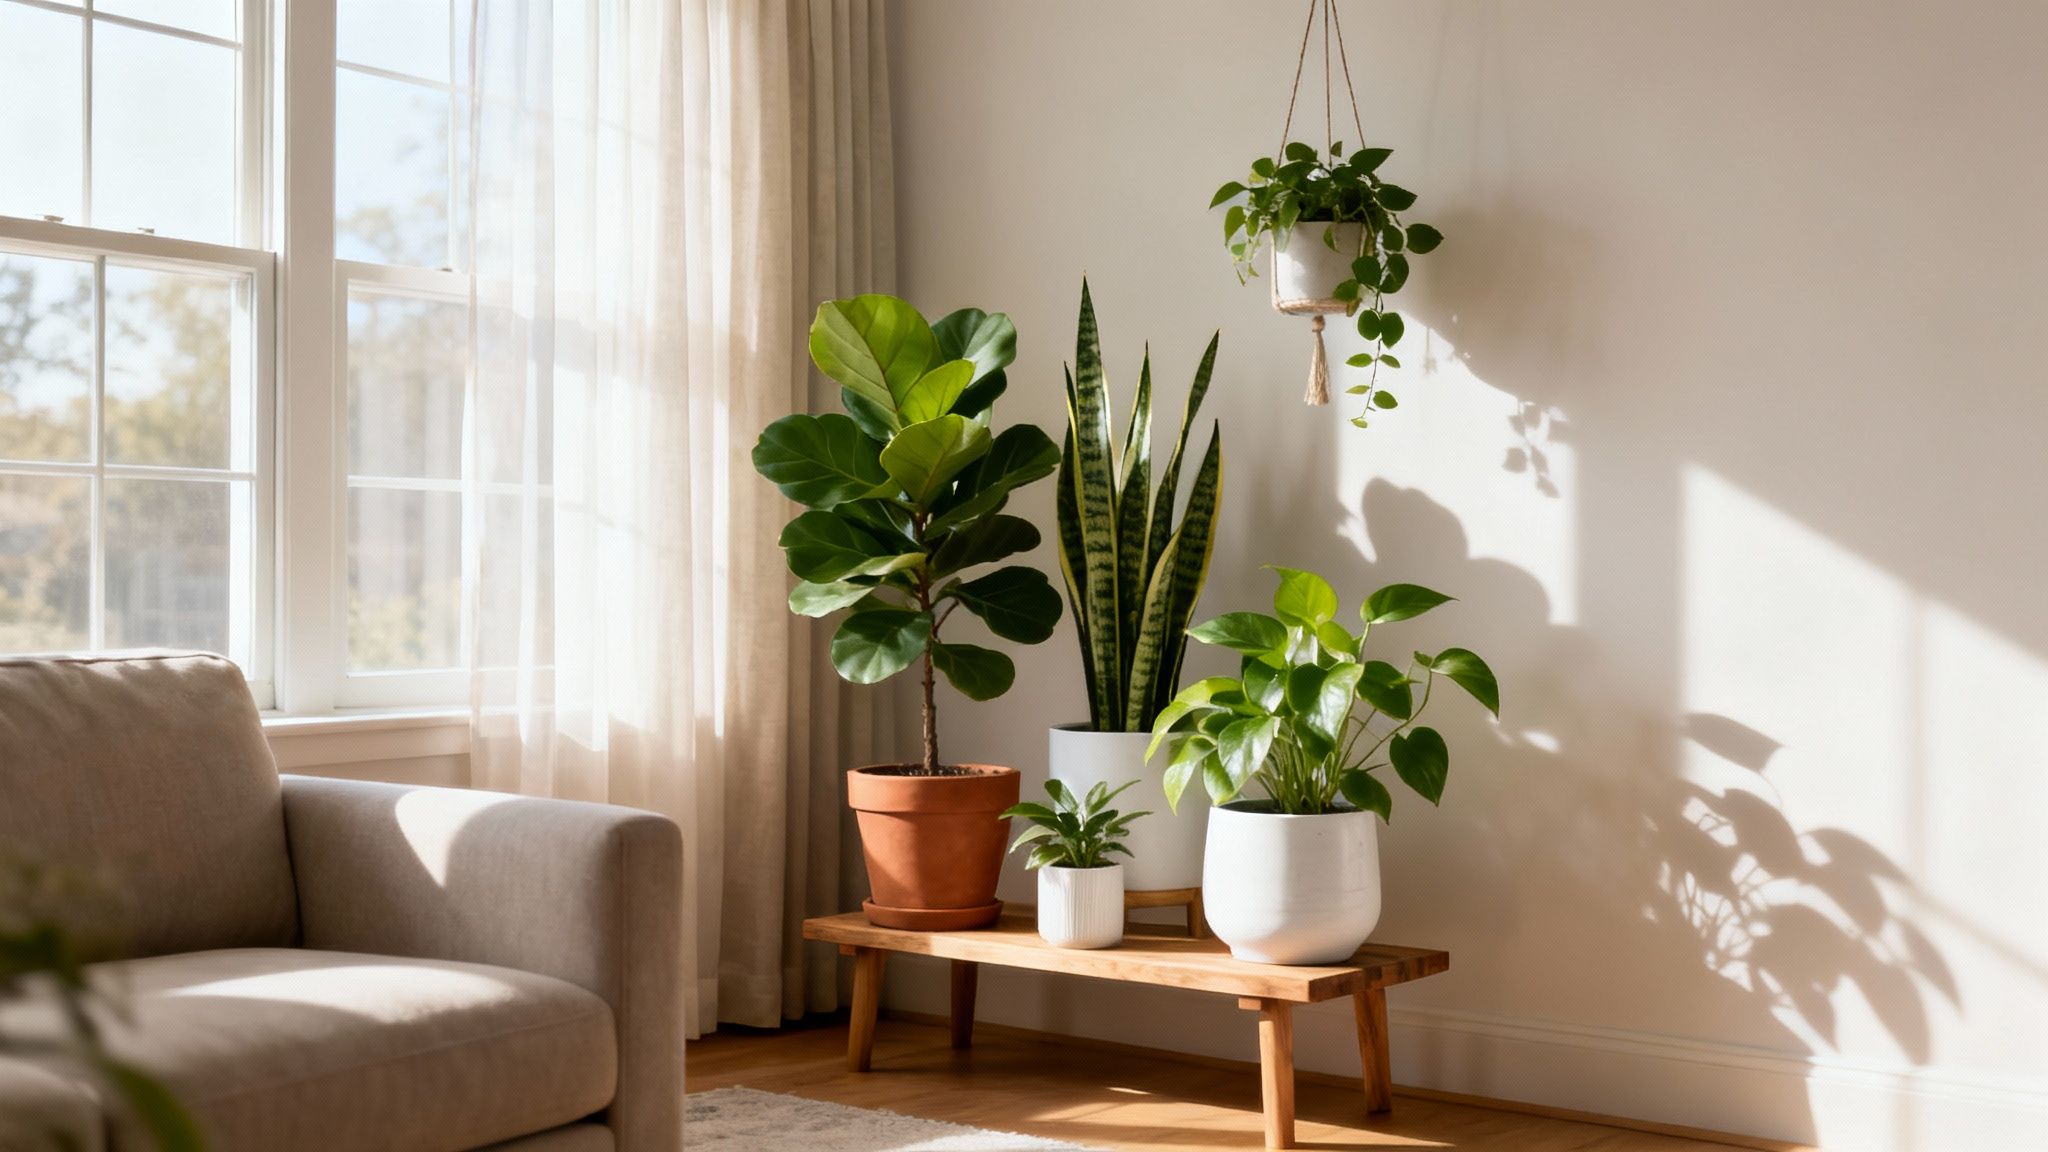
- Bright, Indirect Light: The shadow is softer, but you can still clearly see its shape. This is the gold standard for a huge range of houseplants like Monsteras and Fiddle Leaf Figs. You’ll find it in an east-facing window or a few feet back from a south-facing one.
- Medium Light: The shadow is faint and blurry, with no real outline. This is typical of north-facing rooms or spots far from a window.
- Low Light: You can barely see a shadow at all. Few plants love this, but some will tolerate it. If you're working with a darker corner, check out our guide to the best plants for low light.
Remember, the light in a room isn't uniform. A spot on the windowsill gets far more light than a shelf just a few metres away. Don't be afraid to move your plants around to find their happy place.
Here’s a quick cheat sheet to help you match common plants to the light you have.
Indoor Plant Light Needs At A Glance
This table is a great starting point, but always watch your plant for signs it’s getting too much or too little light, like scorched leaves or leggy growth.
Mastering the Art of Watering
Watering is where good intentions often go sideways. The biggest myth is that a rigid schedule—like every Sunday—is the way to go. In reality, a plant’s needs change constantly with the light, temperature, and time of year.
Another common mistake is the "little and often" approach. This usually means only the top layer of soil gets wet, while the roots below stay parched, leading to a weak, shallow root system.
Instead, the pros use the ‘soak and dry’ technique. It mimics a proper downpour in nature. When it’s time to water, give the plant a really good drenching until water flows freely from the drainage holes. Then—and this is the crucial part—let the soil dry out to the right level before you water it again. This encourages roots to grow deep and strong.
How to Tell When Your Plant is Thirsty
So, how do you know when it’s time? Ditch the schedule and get to know your soil. The best tool you have is your finger.
Push your index finger about two inches into the soil. For most common houseplants, if it feels dry at that depth, it’s watering time. If you feel any dampness, wait a few more days and check again. This simple habit is the single best way to avoid overwatering, the number one houseplant killer.
Another great trick is to learn the weight of the pot. A pot with dry soil is surprisingly light compared to one that’s just been watered. After a while, you’ll be able to tell if a plant needs a drink just by picking it up.
Let's look at two popular plants with opposite needs:
- The Drought-Tolerant Snake Plant (Sansevieria): This plant stores water in its leaves and hates wet feet. It wants its soil to dry out completely between waterings. For this one, you’d wait until your finger test tells you the soil is bone-dry deep into the pot.
- The Moisture-Loving Calathea: Hailing from a tropical rainforest floor, a Calathea likes its soil to stay consistently moist (but never soggy). You’d water it as soon as the top inch of soil feels dry, never letting the whole pot dry out.
Understanding these differences is everything. A one-size-fits-all approach just doesn’t work. By observing your home’s light and learning to read your plant’s signals, you’ll find the perfect balance to help your indoor garden flourish.
Choosing the Right Soil and Pots for Success
A healthy plant starts from the ground up. Just like us, plants need the right foundation to really flourish, and getting the soil and pot right is half the battle. This is where you set the stage for strong roots and lush leaves.
It’s tempting to just scoop up a bit of soil from the garden, but that’s one of the most common mistakes people make. Garden soil is far too dense for containers. Inside a pot, it compacts, suffocating the roots and holding onto way too much water – a fast track to the dreaded root rot.
Instead, your houseplants need a proper potting mix. It isn't really "soil" in the traditional sense, but a carefully created blend of ingredients designed for the perfect balance of aeration, moisture, and nutrients.
Decoding Your Potting Mix
A good quality indoor potting mix is a bit like a well-made cake – every ingredient has a purpose. Once you understand what’s in the bag, you can pick the perfect blend for your specific plant.
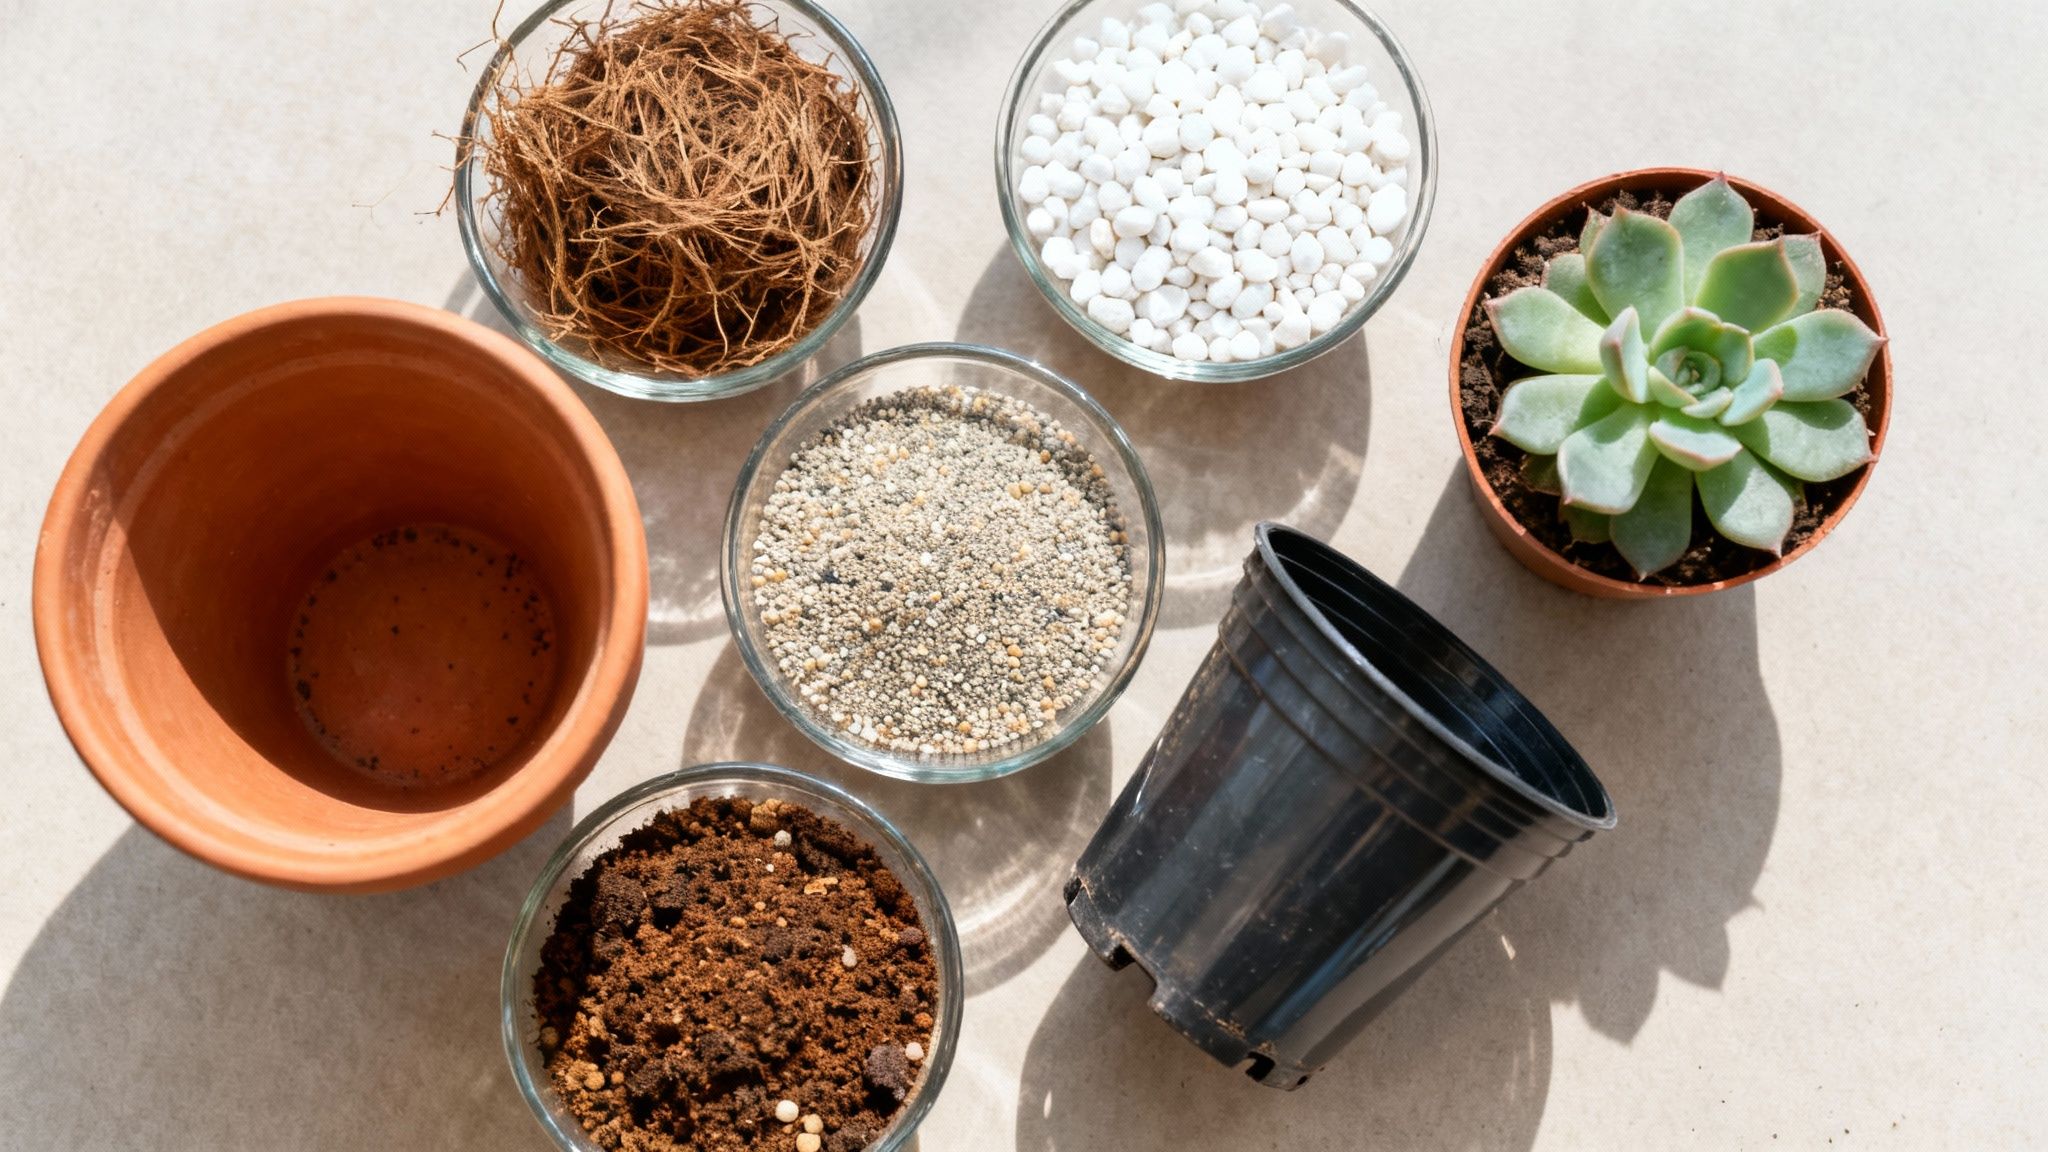
- Coco Coir or Peat Moss: This is the base of most mixes. It’s light, holds water well, and gives roots something stable to grow into.
- Perlite: Those little white, lightweight balls you see? That’s perlite. It’s a volcanic glass that keeps the mix from getting waterlogged by improving drainage and airflow.
- Vermiculite: This mineral looks like shiny flakes and is brilliant at retaining water and nutrients, releasing them slowly for the plant when it needs them.
Think of your potting mix as the plant's pantry and lungs all in one. It needs to hold enough water and food, but also have enough air pockets for the roots to breathe.
Of course, a one-size-fits-all approach doesn't work for every plant. Succulents and cacti, for example, need a gritty, fast-draining mix that mimics their native desert soil. An orchid mix is even more unique, usually made of bark chips to allow maximum airflow around their aerial roots.
Choosing the Perfect Pot
A pot is more than just a decorative accessory; it's your plant's home. The two things that matter most are drainage and size. A drainage hole is non-negotiable. If a pot doesn't have one, it’s just a planter, and you should avoid putting your plant directly inside.
The material makes a difference, too:
- Terracotta: A classic choice for a reason. It’s porous, so air and water can pass through the walls. This helps the soil dry out faster, making it perfect for plants that hate wet feet, like succulents and snake plants.
- Plastic or Glazed Ceramic: These non-porous pots hold onto moisture for longer. They’re a great match for thirsty plants like ferns and Calatheas that prefer to stay consistently moist.
The Right Time to Repot
Eventually, every plant outgrows its home. Repotting gives it fresh nutrients and more space, but doing it too often can stress the plant out. You’ll know it’s time for an upgrade when you see these signs:
- Roots are creeping out of the drainage holes.
- The plant looks top-heavy and keeps tipping over.
- Water runs straight through the pot without being absorbed.
- Growth has slowed down or stopped completely during spring or summer.
When you do repot, just go up one size – about 1-2 inches larger in diameter. A pot that’s too big holds a lot of excess soil that stays wet for too long, which can lead right back to root rot. If you’re new to this, learning how to repot houseplants properly will give your green friend a smooth transition. Get the soil and home right, and you're giving your plant the best possible start.
Creating the Perfect Indoor Environment
Once you’ve got the basics of light, water, and soil down, the next step is looking at the atmosphere in your home. It’s a detail that often gets missed, but it makes a huge difference.
Many of our favourite houseplants started life in tropical jungles, where the air is consistently warm and humid. Our centrally heated UK homes, especially in winter, can feel more like a dry desert to them. Learning to recreate a little of that tropical feel is what turns a home where plants just survive into one where they truly thrive.
Boosting the Humidity
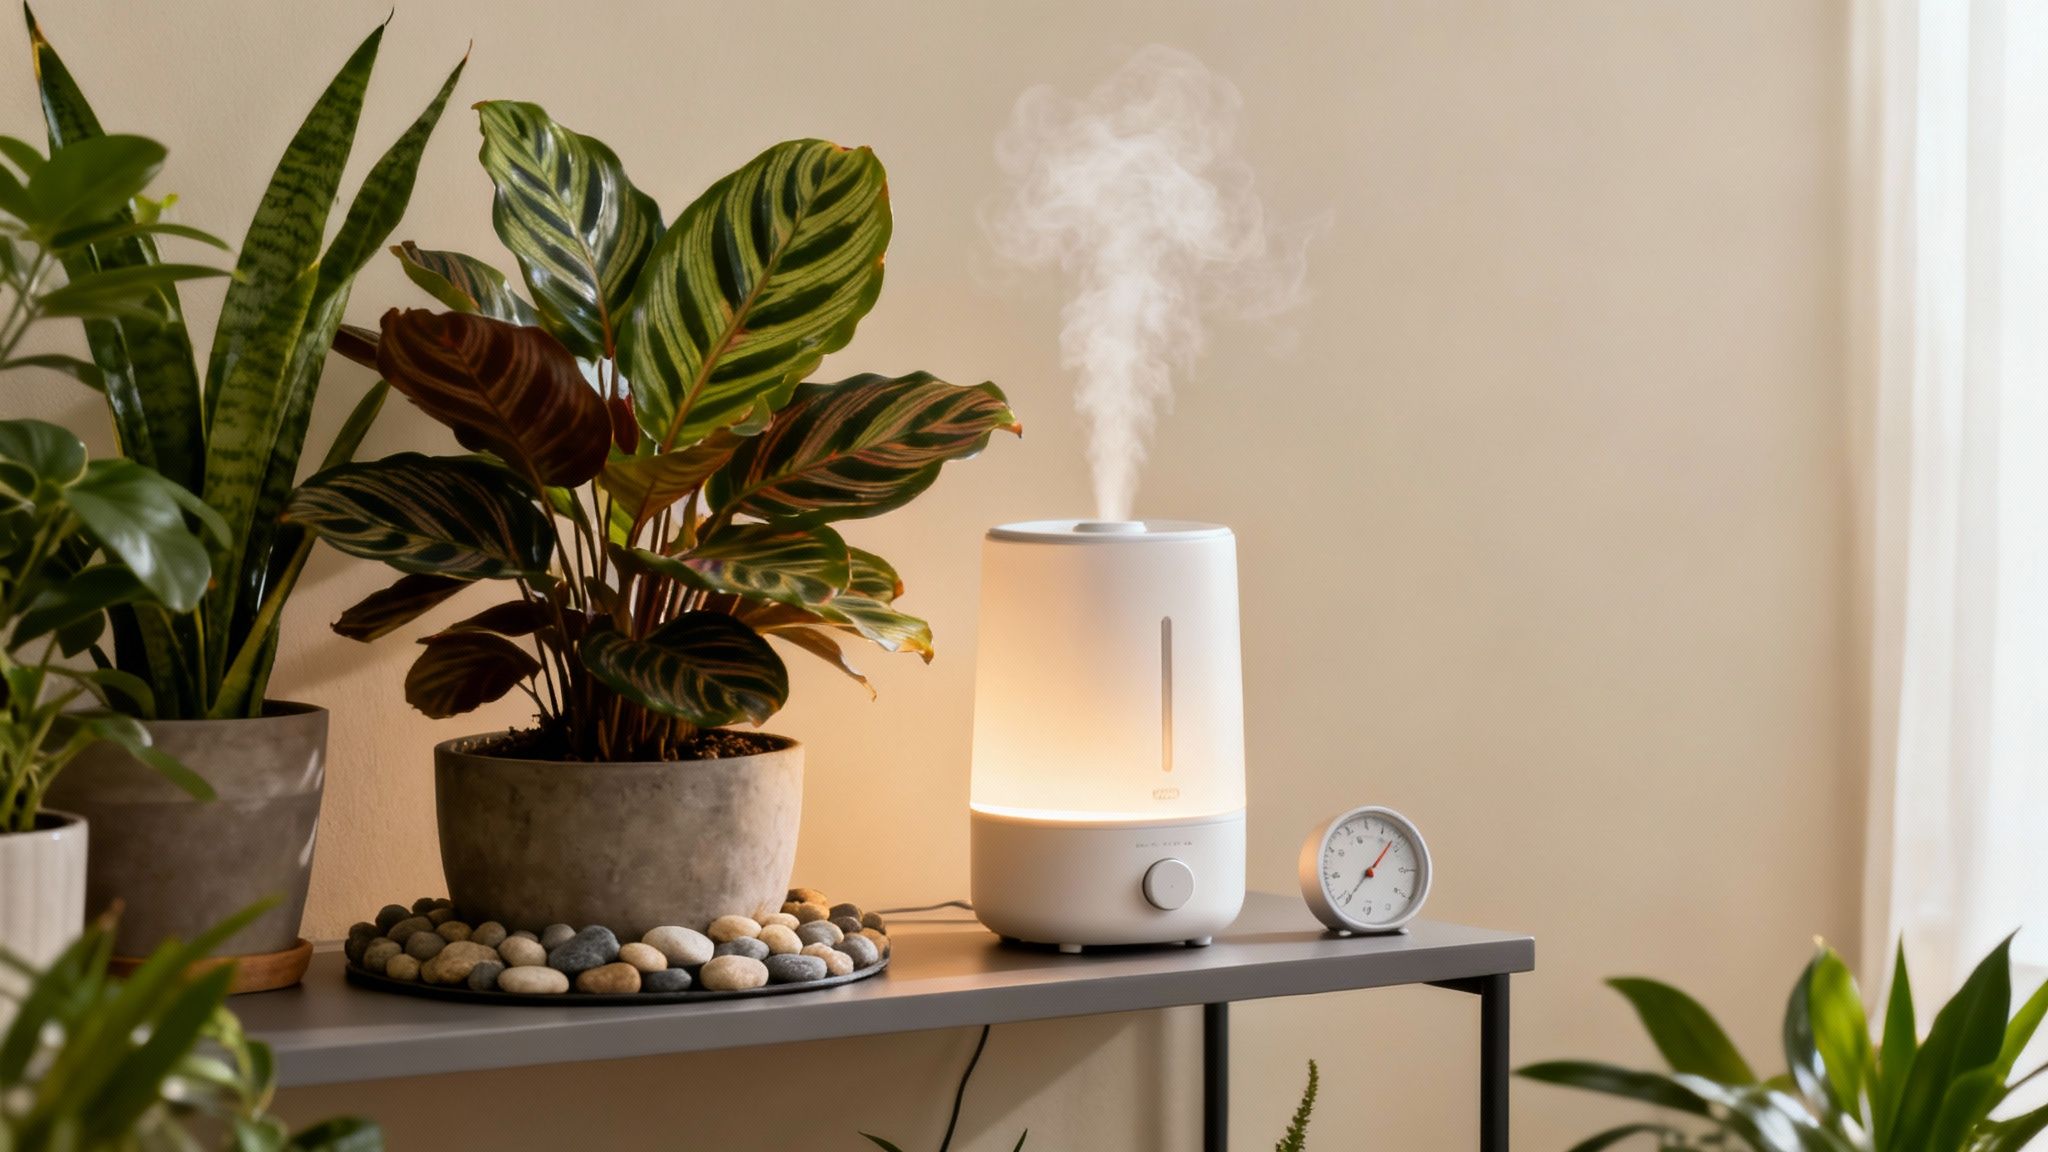
If you've ever battled with crispy brown leaf tips on your ferns or Calatheas, low humidity is almost always the culprit. The air in an average UK home hovers around 40-50% humidity, but most tropicals are happiest when it's closer to 60% or higher. Don’t worry, you don’t need to turn your living room into a steam room to keep them happy.
A few simple tricks can make a world of difference:
- Group your plants together. Plants naturally release moisture through a process called transpiration. Huddling them creates a humid little microclimate that benefits the whole gang.
- Try a pebble tray. Find a deep saucer, fill it with pebbles, and add water. Sit your plant pot on top, making sure the pot isn't touching the water. As the water evaporates, it raises the humidity right where it's needed.
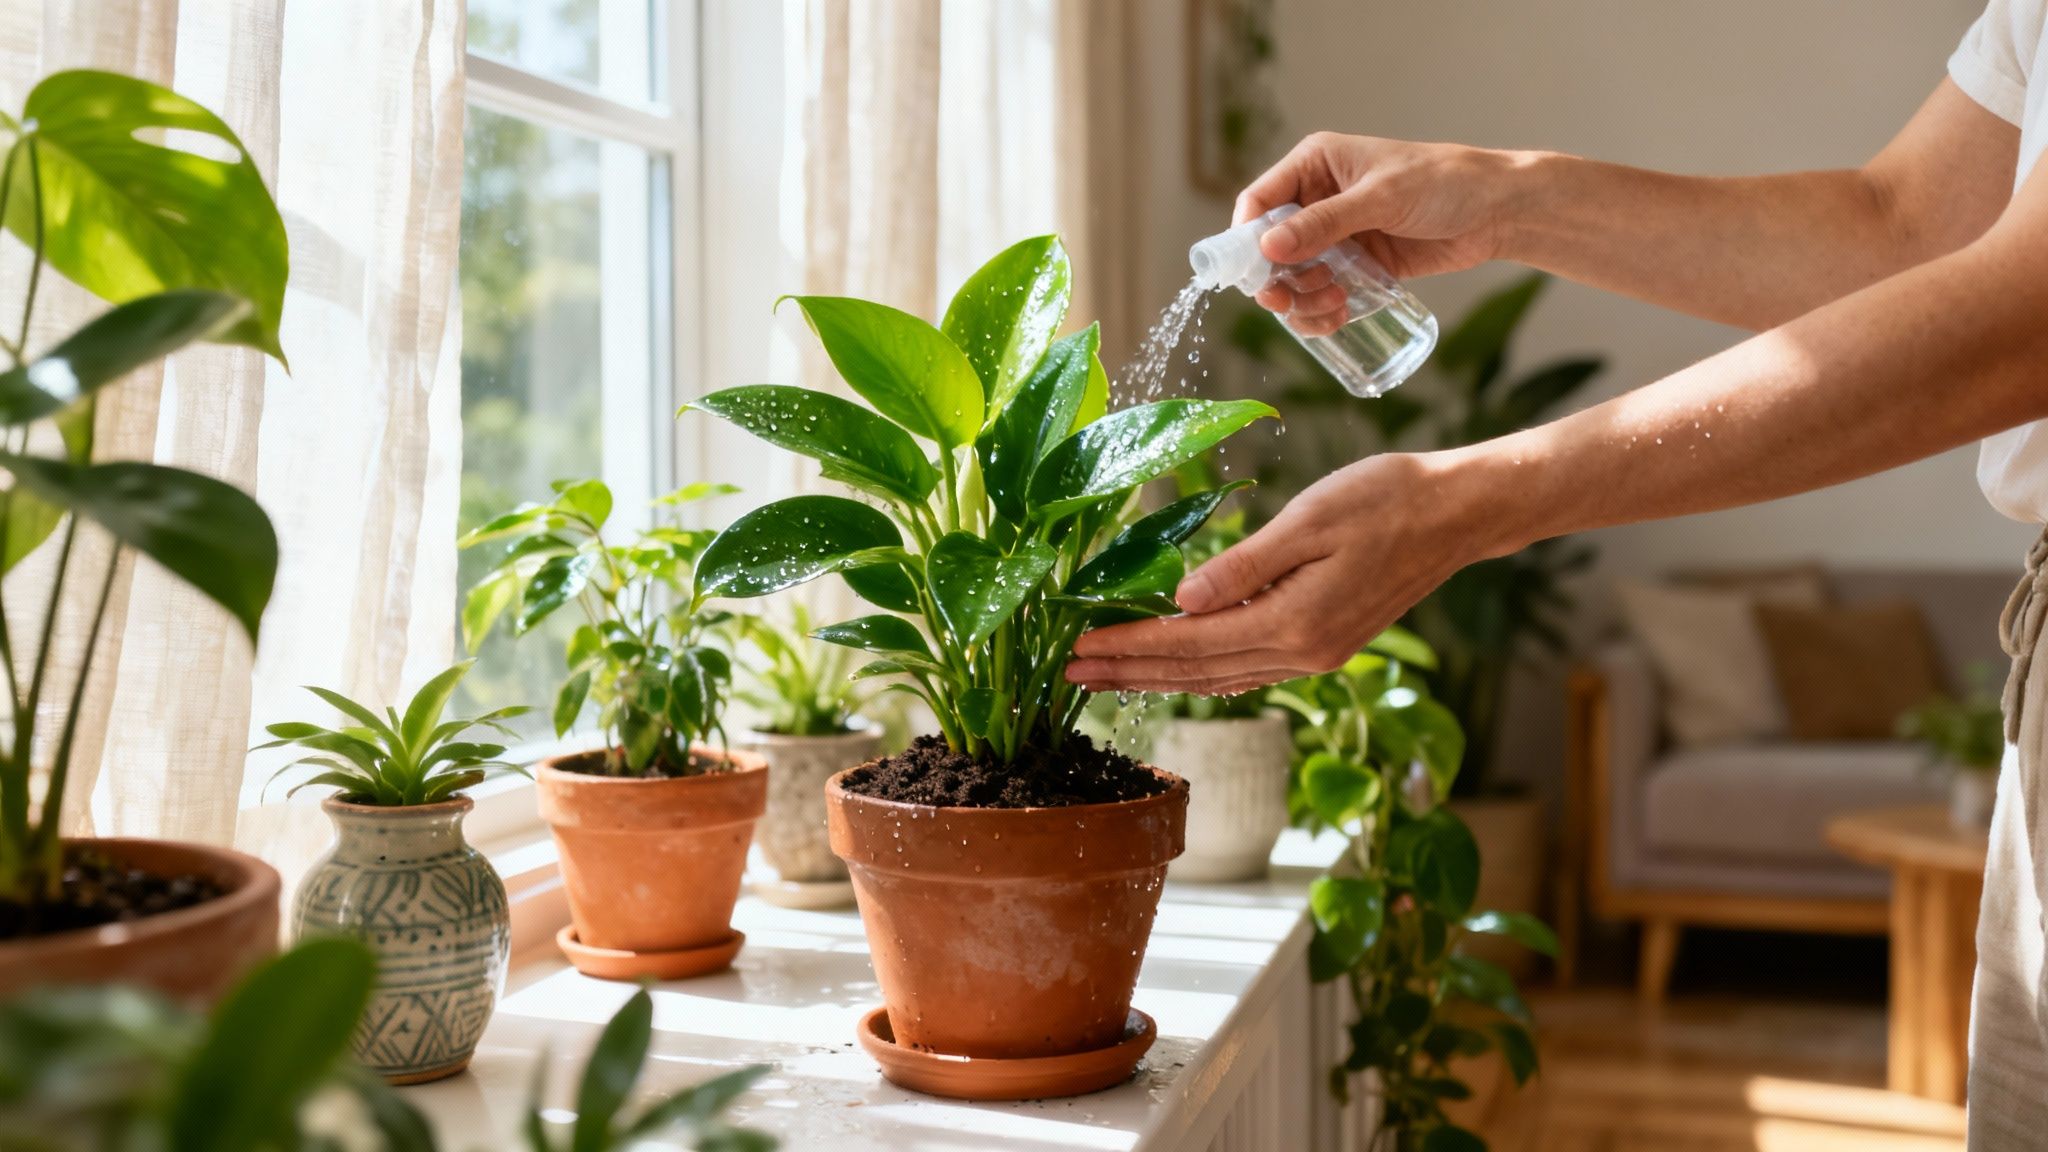
- Mist them regularly. It's not a permanent fix, but giving your plants a gentle mist a few times a week provides a welcome boost. It’s a lovely little ritual and helps to keep their leaves clean, too.
- Get a humidifier. For the serious collector or anyone with particularly fussy plants, a small electric humidifier is the most reliable way to maintain consistent humidity levels.
Finding the Right Temperature
The good news is that most houseplants are perfectly happy with the same temperatures we are. Anything in the range of 18-24°C will suit the majority of indoor plants just fine. What they really hate, though, are sudden and dramatic temperature swings.
Consistency is key. A plant that is happy in its spot will struggle if it's suddenly exposed to a cold draft from a window or a blast of hot air from a radiator. Protecting them from these fluctuations is crucial.
Think carefully about where you place them. Keep plants away from radiators, open fireplaces, and drafty hallways. Even a frequently opened front door can create enough of a chill to stress out a more sensitive plant.
Understanding Plant Food
Fertilising is like giving your plants a vitamin boost. It provides the essential nutrients they can’t get from sunlight and water alone and is most important during the active growing season in spring and summer.
You'll often see three numbers on the packaging, like 10-10-10. This is the N-P-K ratio, and it’s a simple code for what’s inside:
- N (Nitrogen): This is all about encouraging lush, green leaf growth.
- P (Phosphorus): Crucial for developing strong roots and helping the plant to flower.
- K (Potassium): The all-rounder, essential for overall plant health and disease resistance.
For most leafy houseplants, a balanced fertiliser (where the numbers are equal, like 20-20-20) or one with a slightly higher nitrogen number is perfect. You don’t need to get bogged down in the science; a good all-purpose liquid houseplant feed will work wonders for most of your collection. As a bonus, some plants are brilliant at cleaning the air. Find out more about the best indoor plants for air quality in our other guide.
Creating a Feeding Schedule
The most common mistake people make with plant food is being too generous. Over-fertilising can "burn" the plant's roots and cause more harm than good. A simple, seasonal approach is the safest way to go.
During the growing season (March to September), feed your plants roughly every two to four weeks, following the instructions on the bottle. When growth slows down for the dormant season (October to February), you should cut back on feeding significantly or stop completely. Your plants are having a rest, and trying to force new growth with fertiliser will only result in weak, spindly leaves.
One final tip: always water your plant before you feed it. Fertilising dry soil is a fast track to root burn.
Troubleshooting Common Houseplant Problems
Even with the best intentions, every plant owner eventually runs into trouble. Don’t panic; it happens to all of us! The trick is to learn how to read the signs your plant is giving you and think like a detective.
Instead of guessing, let’s get to the root cause. After all, a yellow leaf isn't just a yellow leaf—it's a clue. Learning to decode these signals is a massive part of figuring out how to care for indoor plants and growing your own confidence.
Why Are My Plant's Leaves Turning Yellow?
Yellowing leaves, or chlorosis as it's technically known, is probably the most common SOS signal you'll see. It’s your plant's way of telling you something is off, but figuring out what can feel like a process of elimination.
More often than not, the culprit is water. Overwatering is the classic rookie error; when roots are left sitting in soggy soil, they can't breathe and start to rot, which stops them from sending nutrients up to the leaves. But underwatering can be just as bad, causing the plant to sacrifice its oldest leaves to conserve energy.
Your first move should always be to check the soil. Is it bone dry, or is it sopping wet? Adjusting your watering routine is usually the quickest fix.
Start with the most likely cause—water—and work your way down the list. Nine times out of ten, simply correcting your watering habits will solve the problem.
Identifying Nutrient Deficiencies
If you’re confident your watering schedule is spot on, then yellowing leaves could point to a nutrient deficiency. Just like us, plants need a balanced diet to stay healthy and green.
- Nitrogen Deficiency: This usually appears as a uniform yellowing on the older, lower leaves first. The plant is cleverly moving this mobile nutrient to support its new growth.
- Magnesium Deficiency: Look for yellowing between the green veins of older leaves, sometimes creating a marbled or V-shaped pattern.
- Iron Deficiency: This looks similar to a magnesium issue, but it typically hits the newest, youngest leaves at the top of the plant first.
The easiest fix is to start a regular feeding schedule with a balanced houseplant fertiliser during the growing season (that’s spring and summer for most). This gives your plant the full spectrum of nutrients it needs to thrive.
What Are These Pests on My Plant?
Spotting tiny, unwelcome guests on a plant you’ve nurtured can be disheartening, but most common pests are totally manageable if you catch them early. This is why a regular check-up is your best line of defence.
The key is to act fast. A small problem can quickly become an infestation that spreads to the rest of your collection, so isolate the affected plant as soon as you spot something amiss.
Let’s have a look at the two most common culprits you’re likely to find in your home.
Dealing with Spider Mites
These tiny arachnids are almost impossible to see with the naked eye, but you’ll definitely notice the damage they leave behind. The first tell-tale sign is usually fine, silky webbing woven around the leaves and stems. They suck the life out of the leaves, causing tiny yellow or white speckles to appear all over the surface.
Spider mites absolutely love warm, dry conditions, so simply increasing the humidity around your plants can help keep them at bay. If you’ve already got an infestation, here’s what to do:
- Pop the plant in the sink or shower and give it a good rinse with lukewarm water, paying special attention to the undersides of the leaves.
- Follow up with an insecticidal soap or a neem oil solution, making sure you cover every part of the plant.
- Repeat the treatment every 5-7 days for a couple of weeks to catch any mites that have hatched in the meantime.
Some plants, like the ever-popular Spider Plant, are particularly prone to these pests. Consistent care and humidity are your best friends here. For more specific advice, check out our guide on how to care for a Spider Plant.
Eliminating Fungus Gnats
If you notice little black flies buzzing around your plants and hovering over the soil, you're dealing with fungus gnats. The adults are more of a nuisance than anything else, but their larvae, which live in the top inch of soil, can nibble on your plant's roots.
Fungus gnats are a dead giveaway that your soil is staying too wet for too long. The single most effective way to break their life cycle is to let the top couple of inches of soil dry out completely between waterings. For a more direct approach, you can place yellow sticky traps on the soil to catch the adults and stop them from laying more eggs.
Your Houseplant Care Questions Answered
Even when you've nailed the basics, a few tricky questions always seem to pop up. Think of this as your go-to spot for those little queries that appear just as you’re getting the hang of things. Sometimes, a simple answer is all you need to feel confident again.
Here, we’ll tackle a few of the most common questions from plant parents, new and old.
How Often Should I Really Water My Indoor Plants?
This is the big one, and the honest answer is: there's no magic schedule. Forget the calendar – your best tool is your own finger. For most houseplants, the right time to water is when the top 1-2 inches of soil feel completely dry to the touch.
Just stick your finger in the soil up to your first knuckle. If you feel any dampness at all, hold off for another few days. How quickly the soil dries out depends on everything from the light it gets and the room's temperature to the type of pot it’s in. When in doubt, it’s always safer to underwater than overwater – root rot is still the number one killer of houseplants. And remember, you'll need to water far less often in autumn and winter when growth naturally slows down.
What Are The Easiest Indoor Plants For Beginners?
Starting with a few bulletproof plants is a brilliant way to build your confidence without the stress. If you're just dipping your toes into indoor gardening, these ones are famously forgiving and give you that satisfying feeling of success.
- Snake Plant (Sansevieria): Often called indestructible for a reason. It puts up with low light and forgotten waterings like a champ.
- ZZ Plant (Zamioculcas zamiifolia): Another tough-as-nails option that handles drought and dim corners with ease.
- Pothos (Epipremnum aureum): A fast-growing vine that’s also a great teacher. Its leaves will droop slightly to tell you it's thirsty, making it easy to learn its cues.
- Spider Plant (Chlorophytum comosum): This classic is incredibly forgiving and produces charming 'babies' that are a doddle to propagate – a really rewarding project for any new plant owner.
Starting with an easy-care plant allows you to learn the ropes of watering and light without the high stakes. Success with these will give you the confidence to try more demanding varieties later on.
Do I Need To Clean My Houseplant's Leaves?
Yes, definitely. It’s an often-overlooked step that makes a huge difference. Over time, a layer of dust settles on the leaves, and it does more than just look untidy – it can actually block sunlight and get in the way of photosynthesis, which is how your plant makes its food.
A gentle wipe with a damp, soft cloth every few weeks is perfect for plants with smooth, glossy leaves. For fuzzy-leafed plants like African Violets, it’s better to use a soft brush so you don’t damage the delicate texture. Keeping the leaves clean helps your plant stay healthy, look vibrant, and gives you a chance to spot any pests before they become a real problem.
Is Tap Water Okay For My Plants?
For most common, hardy houseplants, UK tap water is absolutely fine. However, some of the more sensitive types – think Calatheas, Prayer Plants, and carnivorous plants – can be a bit fussy about the chlorine and minerals found in tap water.
If you’re noticing brown, crispy leaf edges on these particular plants, it might be worth making a change. You could try using filtered water, distilled water, or even rainwater you've collected. A really simple trick is to fill your watering can and just let it sit out for 24 hours before you use it. This gives some of the chlorine time to evaporate, making it much gentler on your more delicate green friends.