Looking after a spider plant is surprisingly simple once you get the hang of it. Honestly, if you can nail just a few key things, you’re pretty much set for success. These plants are tough, but they'll absolutely thrive with the right touch.
They love bright, indirect light, prefer their soil to dry out a bit between drinks, and are perfectly happy in a standard, well-draining potting mix. Get these three elements right, and you'll have a lush, happy plant in no time.
Getting Started With Spider Plant Care
There’s a good reason spider plants (Chlorophytum comosum) are so popular in the UK. They're incredibly adaptable, look fantastic, and don't demand a lot of fuss, making them a brilliant choice whether you're new to houseplants or have a home full of them. They just have this easy-going nature that brings a splash of green to a room without needing constant attention.
It’s no surprise they're a top pick for British homes. They're known for being low-maintenance, and their size—usually staying between 0.1 and 0.5 metres tall—is perfect for flats and houses where space might be tight. You'll often see them flying off the shelves in garden centres during spring and autumn, when everyone gets the indoor gardening bug. The Royal Horticultural Society website has some great information on why they're so well-suited to our homes.
Your Quick Reference Guide
The best way to think about spider plant care is to be responsive rather than sticking to a rigid schedule. It’s all about observation. Get into the habit of checking the soil with your finger, noticing how the light changes in the room throughout the day, and keeping an eye out for new growth.
If there’s one mistake people make, it’s overwatering. Spider plants are much happier being a little on the dry side than sitting in a puddle. Soggy soil is the fastest way to get root rot, which is a real pain to fix.
To make things even easier, here’s a quick summary of what your spider plant needs to flourish. Think of it as your go-to cheat sheet for keeping your plant healthy in a typical UK home.
Spider Plant Care at a Glance
Use this table as your starting point. Every home is different, so you'll soon get a feel for what your specific plant needs and can adjust as you go.
Finding the Perfect Light and Temperature
Getting the lighting right is an absolute game-changer for spider plants. We often hear the phrase "bright, indirect light," but what does that actually mean inside a typical UK home where sunshine can be a bit hit-and-miss? Essentially, you're looking for a spot where your plant can see a big patch of sky but isn't getting hit with direct, harsh sunbeams that can scorch its leaves.

Think about a spot a few feet back from a south-facing window, which is perfect during the intense summer months. An east-facing window is also a brilliant choice, giving the plant that gentle morning sun that it absolutely loves. When the dark UK winters roll in, you might find you need to shuffle it a bit closer to the window to make up for the shorter days.
Reading Your Plant’s Light Signals
One of the best things about spider plants is that they’re great communicators—you just need to learn their language. If you notice those lovely, vibrant stripes starting to fade or the leaves look a bit washed out, it’s a cry for more light. People often think they thrive in dark corners, but in my experience, they just tolerate low light. For a plant that truly flourishes, brighter is always better. If your home is a bit on the dim side, have a look at our guide on the https://www.sprucecollective.co.uk/journal/best-plants-for-dark-rooms.
On the flip side, are you seeing brown, scorched patches or crispy tips on the leaves? That’s sunburn. It's a clear signal to move your plant further away from the window or maybe hang a sheer curtain to soften the light.
- Pale, Droopy Leaves: This is your plant's way of asking for a brighter spot.
- Fading Variegation: The stripes are losing their punch? It needs more light to keep its colours sharp.
- Brown Spots or Tips: This is classic sunburn from sunlight that's just too intense.
Maintaining a Cosy Temperature
Spider plants are wonderfully easy-going when it comes to temperature, which makes them perfect for UK homes. They're happiest in a range between 15°C and 26°C, which is pretty much standard room temperature for most of us.
What they don't like are sudden changes. Keep them away from draughty windows in the winter or perched right on top of a radiator. Those drastic temperature swings can stress them out, leading to those dreaded brown tips.
A stable environment is the secret to a happy spider plant. Avoid placing it in the direct line of fire from radiators, open windows, or air conditioning units. Consistency is key.
The biggest challenge, especially in winter, is the dry air from central heating. While they aren't divas about humidity, they do appreciate a bit of moisture in the air. Misting your plant with a spray bottle every few days can work wonders, helping to counteract the drying effect of indoor heating and keeping the foliage looking lush and green. It's a small step that makes a massive difference.
Mastering Your Watering and Feeding Routine
When it comes to keeping spider plants happy, getting the watering right is probably the most important piece of the puzzle. It’s so easy to show them a bit too much love with the watering can, but trust me, they are far more forgiving of being a little thirsty than they are of sitting in soggy soil. The first step to success? Ditch that rigid weekly schedule.
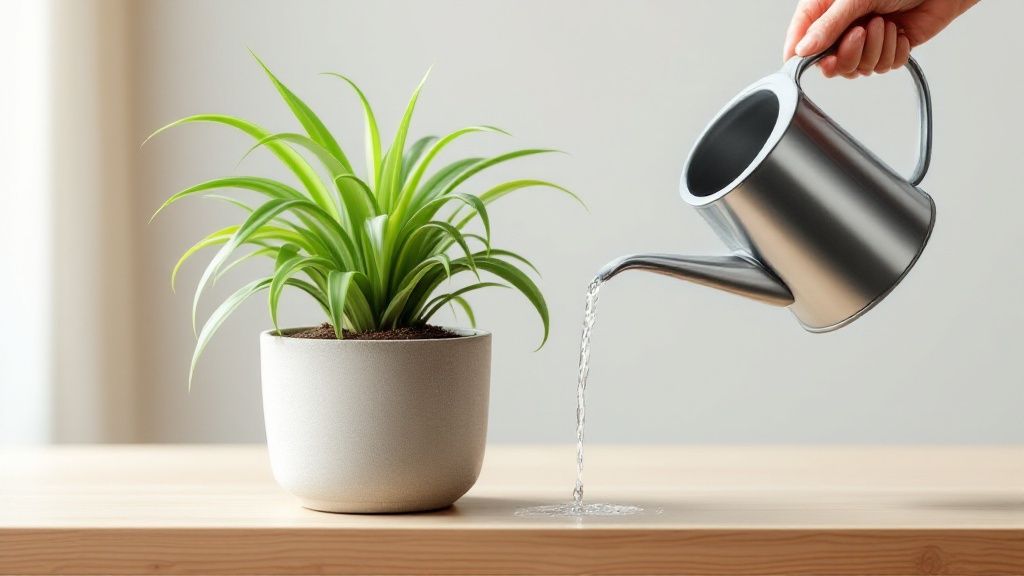
Instead, get into the habit of the simple but effective 'touch test'. Just poke your finger about an inch or two into the soil. If it feels dry to the touch, it’s time for a drink. If you feel any dampness at all, hold off for a few more days. This intuitive approach means you’re responding to your plant’s actual needs, which can change dramatically with the seasons.
Adjusting to the UK Seasons
Here in the UK, a spider plant's thirst will shift quite a bit throughout the year. During the bright, long days of spring and summer, your plant is in full growth mode and will naturally be thirstier. You might find yourself watering it fairly regularly.
Come autumn and winter, however, the days get shorter, the light is weaker, and the central heating often clicks on. The plant’s growth slows right down, and it needs much less water. Overwatering during these dormant months is one of the most common mistakes I see, and it's a fast track to root rot. A plant that needed watering every week in July might only need a top-up every two or three weeks in December. Always let the soil be your guide.
Why Water Quality Matters
Ever noticed those persistent brown tips on your spider plant's leaves, even when you've got the watering frequency just right? This is often a sign of sensitivity to the chemicals lurking in our tap water. Spider plants can be particularly fussy about minerals like fluoride and chlorine, which build up in the soil over time and cause what's known as 'tip burn'.
The simplest fix for brown leaf tips is often just changing the water you use. Letting tap water sit out for 24 hours can help some chemicals evaporate, but a better long-term solution is to switch to filtered water, distilled water, or—best of all—collected rainwater.
A Gentle Approach to Feeding
When it comes to feeding, less is definitely more. Spider plants are not greedy, and over-fertilising can easily scorch their delicate roots, doing far more harm than good. A balanced, all-purpose houseplant feed is all you need.
For a happy, healthy plant, just stick to these simple guidelines:
- Growing Season: Feed your plant once or twice a month during the spring and summer.
- Dilute, Dilute, Dilute: Always mix the fertiliser to half the recommended strength to avoid overwhelming the plant.
- Dormant Season: Stop feeding entirely during the autumn and winter months. The plant is resting and doesn’t need the extra nutrients.
This gentle approach provides everything your plant needs to produce lush green leaves and those wonderful 'spiderettes' without any risk of chemical burn. If you fancy a more natural route, you might be interested in our guide on creating your own homemade plant food.
Spider Plant Problem Solving Guide
Even with the best care, you might run into the odd issue. This quick-glance table can help you diagnose and fix some of the most common spider plant problems I see.
Remember, observation is key. Your spider plant will almost always give you visual clues about what it needs. A little tweak here and there is usually all it takes to get it back to its vibrant self.
Choosing the Right Soil and When to Repot
A happy spider plant starts from the ground up, and that means getting the soil right. The good news is, these plants are pretty forgiving. Your main aim is to give the roots a home that holds onto some moisture but lets any excess water escape easily. That's the secret to avoiding root rot.

A good quality, all-purpose houseplant compost from your local garden centre will do the job perfectly. If you want to give it a little upgrade, just mix in a handful of perlite. This stuff is basically lightweight volcanic glass, and it creates tiny air pockets in the soil, improving drainage and keeping the roots healthy.
Crafting Your Own Spider Plant Mix
For those of us who enjoy getting our hands dirty, mixing your own potting medium is dead easy and gives you total control. It's a simple way to create the perfect environment for your plant to flourish.
Here’s a tried-and-tested recipe:
- 2 parts standard potting compost
- 1 part coco coir (or peat moss) to help hold moisture
- 1 part perlite for brilliant aeration and drainage
This blend strikes the ideal balance between nutrients, moisture retention, and airflow. Spider plants prefer a slightly acidic to neutral pH, somewhere between 6.0 and 7.5, and this simple mix will get you right in that sweet spot.
Spotting the Signs It’s Time to Repot
Believe it or not, spider plants quite like being a bit snug in their pots. In fact, being slightly 'pot-bound' is often what triggers them to send out those famous baby 'spiderettes'. But, of course, there comes a time when they just need a bit more space to stretch their roots.
One of the biggest mistakes I see is people moving their plant into a massive new pot. It’s much better to choose a container that's only 1-2 inches wider in diameter. A pot that's too big holds excess soil and water, which can easily lead to soggy roots.
Keep an eye out for these tell-tale signs that it's time for an upgrade:
- Roots are making a break for it through the drainage holes.
- The entire plant seems to be lifting itself up and out of the pot.
- Water rushes straight through the soil when you water it, barely soaking in.
- Growth has slowed right down or stopped completely, especially during spring and summer.
When you notice these signals, it’s time to find a new home for your plant. The best time for this job is in the spring or summer, when the plant is in its active growing phase. For a bit of guidance on seasonal tasks, our gardening calendar can be a great help.
To repot, just carefully slide the plant out of its current pot, gently tease apart any tightly coiled roots at the bottom, and place it in its new container with fresh compost. Give it a good water to help it settle in, and you're all set.
The Simple Joy of Propagating Spider Babies
One of the most rewarding parts of owning a spider plant is realising you can create an endless supply of new plants, completely free. Those little baby plantlets, or spiderettes, that dangle from the long stems of the mother plant are just waiting to start a life of their own. Trust me, it’s an incredibly simple and satisfying process.
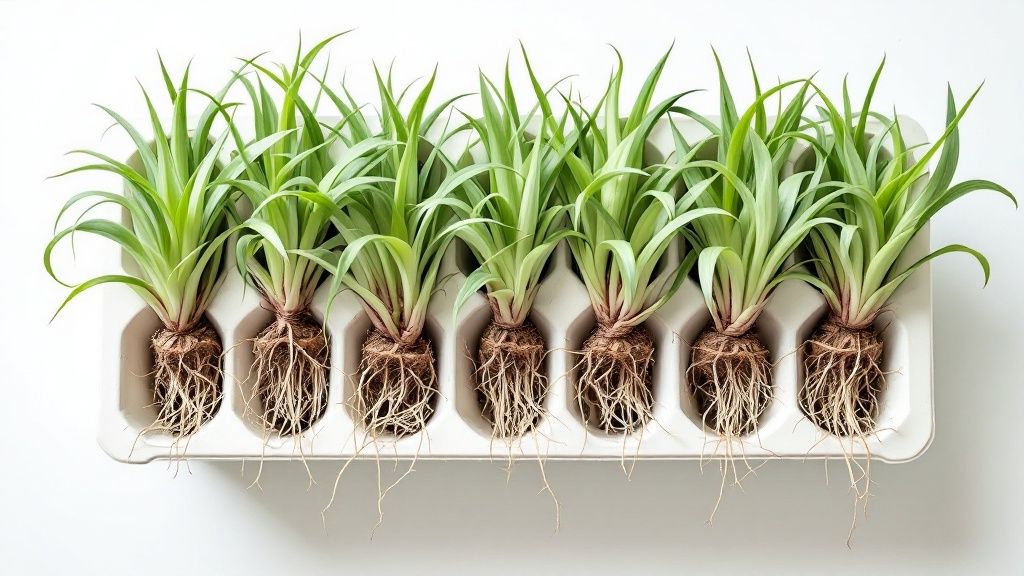
Before you start snipping, you need to spot when a spiderette is ready for its own pot. Take a close look at the base of the baby plant. You're looking for small, knobbly roots already forming. These little nubs are the tell-tale sign that it’s mature enough to thrive away from its parent.
Two Easy Propagation Methods
When it comes to turning these babies into new plants, you have two brilliant, beginner-friendly options. Both work incredibly well, so the choice often just comes down to personal preference. Some people love watching the roots develop in water, while others prefer the more direct approach of planting straight into soil.
Method 1: Rooting in Water
This is a classic for a reason—it's absolutely fascinating to watch!
- Select and Snip: Pick out a healthy-looking spiderette that has those visible root nubs. Using a clean, sharp pair of scissors, snip it off the long stem (which is called a stolon).
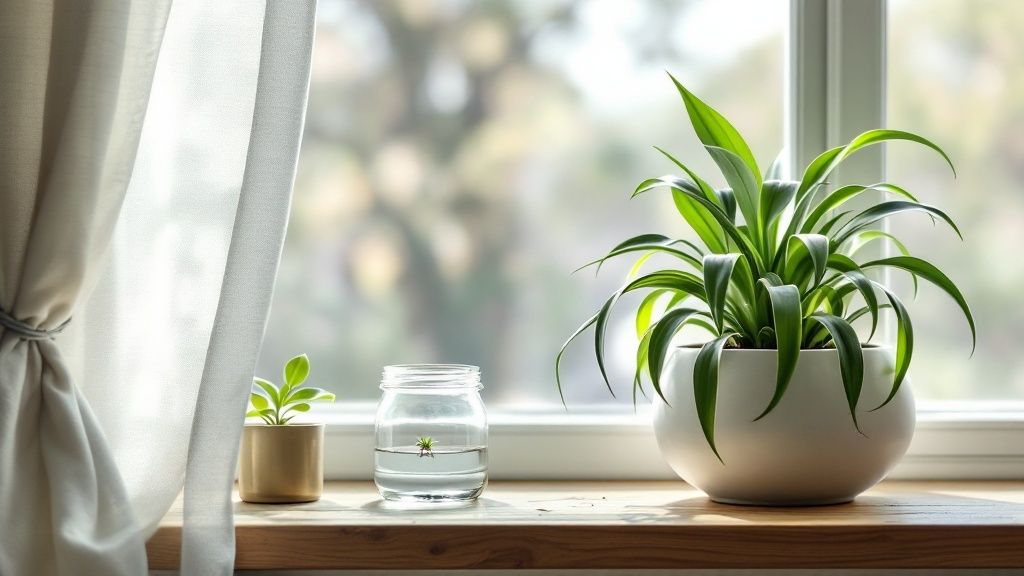
- Place in Water: Pop the base of the cutting into a small jar or glass of water. It's important to only submerge the root area, as letting the leaves sit in water will cause them to rot.
- Wait for Roots: Find a spot for your jar with bright, indirect light. Remember to change the water every few days to keep it fresh. Within a week or two, you should see new roots starting to sprout.
- Planting Time: Once the new roots are about an inch or two long, your little plant is ready for its first pot. Just plant it in a small container with some fresh, well-draining compost.
Watching those first white roots emerge is a genuinely magical part of plant ownership. It's a visual confirmation that you're creating a brand new, viable plant from a tiny cutting.
Method 2: Planting Directly in Soil
If you'd rather skip a step, planting straight into soil is just as effective.
- Prepare Your Pot: Grab a small pot, something around 3-4 inches in diameter is perfect, and fill it with a good quality, well-draining potting mix.
- Plant the Spiderette: After snipping the spiderette, simply press its root base gently into the compost. You just need to make sure it feels secure and is sitting upright.
- Initial Care: Give it a light watering and place the pot in a warm spot with bright, indirect light. For the first few weeks, the key is to keep the soil consistently moist but never waterlogged. This encourages the roots to get established.
Here’s a great tip: for a really full-looking plant, try planting two or three spiderettes together in the same pot. As they grow, they’ll create a wonderfully bushy and lush display right from the start.
This skill isn't just for spider plants, either. Many houseplants can be propagated this way. The techniques are quite similar if you ever want to learn how to grow herbs indoors from cuttings. It's a fantastic way to expand your own collection or share your plants with friends and family.
Solving Common Spider Plant Mysteries
Even the most straightforward plants can leave us scratching our heads sometimes. Spider plants are wonderfully forgiving, but a few common issues tend to pop up. Let's walk through some of the questions I hear most often and get your plant back on track.
Why Are My Spider Plant's Leaf Tips Turning Brown?
This is, by far, the number one problem people run into. Those crispy brown tips are almost always a reaction to the minerals in your tap water. Things like chlorine and fluoride, common in UK tap water, can build up in the soil over time and cause what we call 'tip burn'.
Thankfully, the fix is pretty simple. Switch to using collected rainwater or filtered water if you can. If not, just fill your watering can and let it sit out for at least 24 hours before you use it. This gives some of the chemicals a chance to dissipate. Dry air can also be a culprit, especially in winter when the central heating is on, so giving the leaves a quick mist every so often will do it a world of good.
What's Causing the Leaves to Look Pale or Yellow?
A few yellowing leaves at the base of the plant are perfectly normal – that's just the plant shedding its oldest leaves to focus energy on new growth. But if you're seeing widespread yellowing across the whole plant, it's usually a cry for help about overwatering.
Stick your finger into the soil. If it feels soggy an inch or two down, hold off on watering and let the pot dry out significantly. A plant with 'wet feet' is an unhappy plant. On the flip side, if the soil is bone dry and you haven't fed it in ages, the yellowing could be a nutrient issue. A dose of a balanced, diluted liquid fertiliser during the growing season can often be just the pick-me-up it needs.
If you remember one thing, make it this: a spider plant would always rather be a little too dry than a little too wet. Soggy roots are the fastest way to cause problems, so always check the soil first.
My Spider Plant Isn't Making Any Babies. Why Not?
If your plant isn't producing those lovely little 'spiderettes', it usually comes down to two things: light and space. Your plant needs plenty of bright, indirect sunlight to have the energy to reproduce. A plant stuck in a gloomy corner is in survival mode, not baby-making mode.
The other key factor is how snug it is in its pot. Spider plants tend to start sending out runners when they become slightly pot-bound. That tight squeeze signals to the plant that it's running out of room to grow its roots, so it switches focus to creating offspring. If your plant is swimming in a massive pot, it's going to spend all its energy filling that space with roots before it even thinks about making babies.
Are Spider Plants Safe to Have Around My Cat or Dog?
Absolutely, yes! The Chlorophytum comosum is completely non-toxic to both cats and dogs, which makes it a brilliant and popular choice for households with furry family members. On top of that, they're great for cleaning the air. You can read more about the best houseplants for air purification right here on our journal.
While they are perfectly safe, some cats seem to find the dangly leaves completely irresistible as a toy or a snack. It won't seriously harm them if they have a chew, but eating a lot of it might cause a bit of an upset stomach. To play it safe, it's always a good idea to pop your spider plant on a high shelf or in a hanging basket, just out of reach of inquisitive pets.


