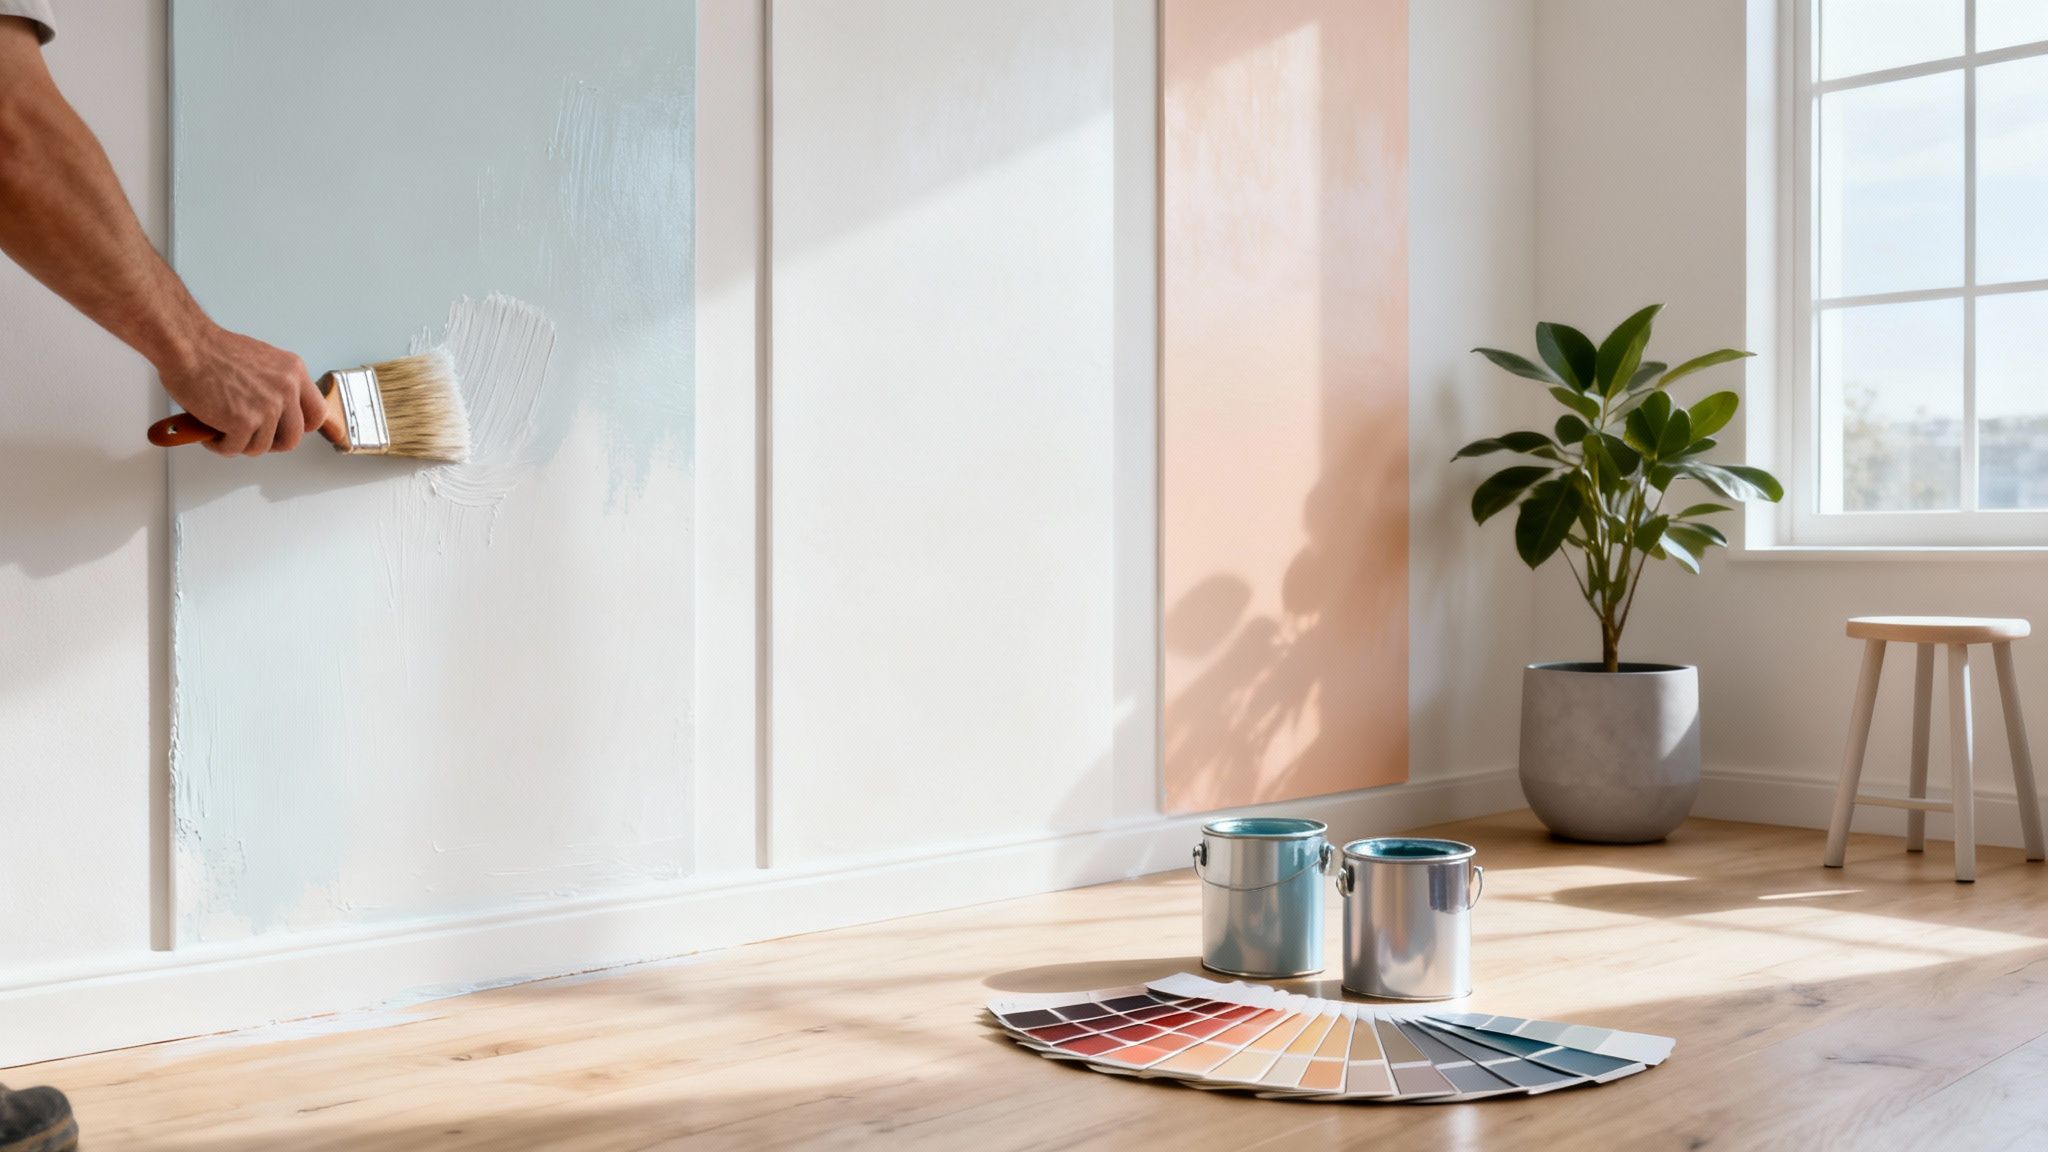
There's nothing quite as satisfying as taking a tired, old piece of wooden furniture and giving it a whole new lease of life with a bit of paint. It's a project that completely changes the feel of a room, and the process is straightforward once you know the key steps: thorough surface preparation, using the right primer, applying thin, even coats of paint, and finishing with a durable topcoat. Get these right, and you'll have a flawless finish that looks professional and lasts for years.
Giving Old Furniture a Flawless New Look
Upcycling wooden furniture with a lick of paint isn't just a passing trend; it's a brilliant, sustainable way to refresh your home without splashing out on brand-new items. Think about that dated chest of drawers, a scuffed-up dining chair, or even a family heirloom that just doesn't quite match your style. A coat of paint can work absolute wonders. It's a win-win: you save money and keep perfectly good furniture out of the landfill.
This kind of DIY has really taken off across the UK as more of us look for ways to put a personal stamp on our living spaces. It's no surprise, then, that the UK market for paint and supplies is expected to hit a revenue of US$1.42 billion in 2025, largely thanks to home renovation projects. This shows a real shift towards customising the things we already own.
This guide is here to walk you through the entire process, from start to finish. We’ll go beyond the basic instructions and share some of the secrets to achieving a truly durable, professional-looking finish.
What This Guide Covers
We’ll give you all the know-how you need to tackle any wooden furniture project with confidence. Here’s a little taster of what you'll learn:
- Choosing the right materials: We'll look at everything from the best paint types for your specific project to the essential tools you can't do without.
- Mastering surface preparation: This is the one step you absolutely cannot skip. It’s the foundation that makes or breaks your entire project.
- Applying primer and paint: You'll learn the techniques to get a smooth finish, free from frustrating brush marks or drips.
- Sealing your work: We'll cover how to protect your beautifully painted piece from the knocks and scrapes of daily life.
Think of this as your go-to playbook for turning any pre-loved wooden item into a bespoke treasure. Transforming furniture is also a fantastic way to tackle home decorating on a budget, giving you a high-end look for a fraction of the cost.
Choosing the Right Paint and Tools
The secret to a stunning furniture makeover isn't just in the painting itself—it starts long before you even pop open a tin. Picking the right paint and tools is about more than just a pretty colour; it's about creating a finish that will last and look fantastic for years to come. Get this part right, and you’re setting yourself up for a project that’s not just successful, but genuinely enjoyable.
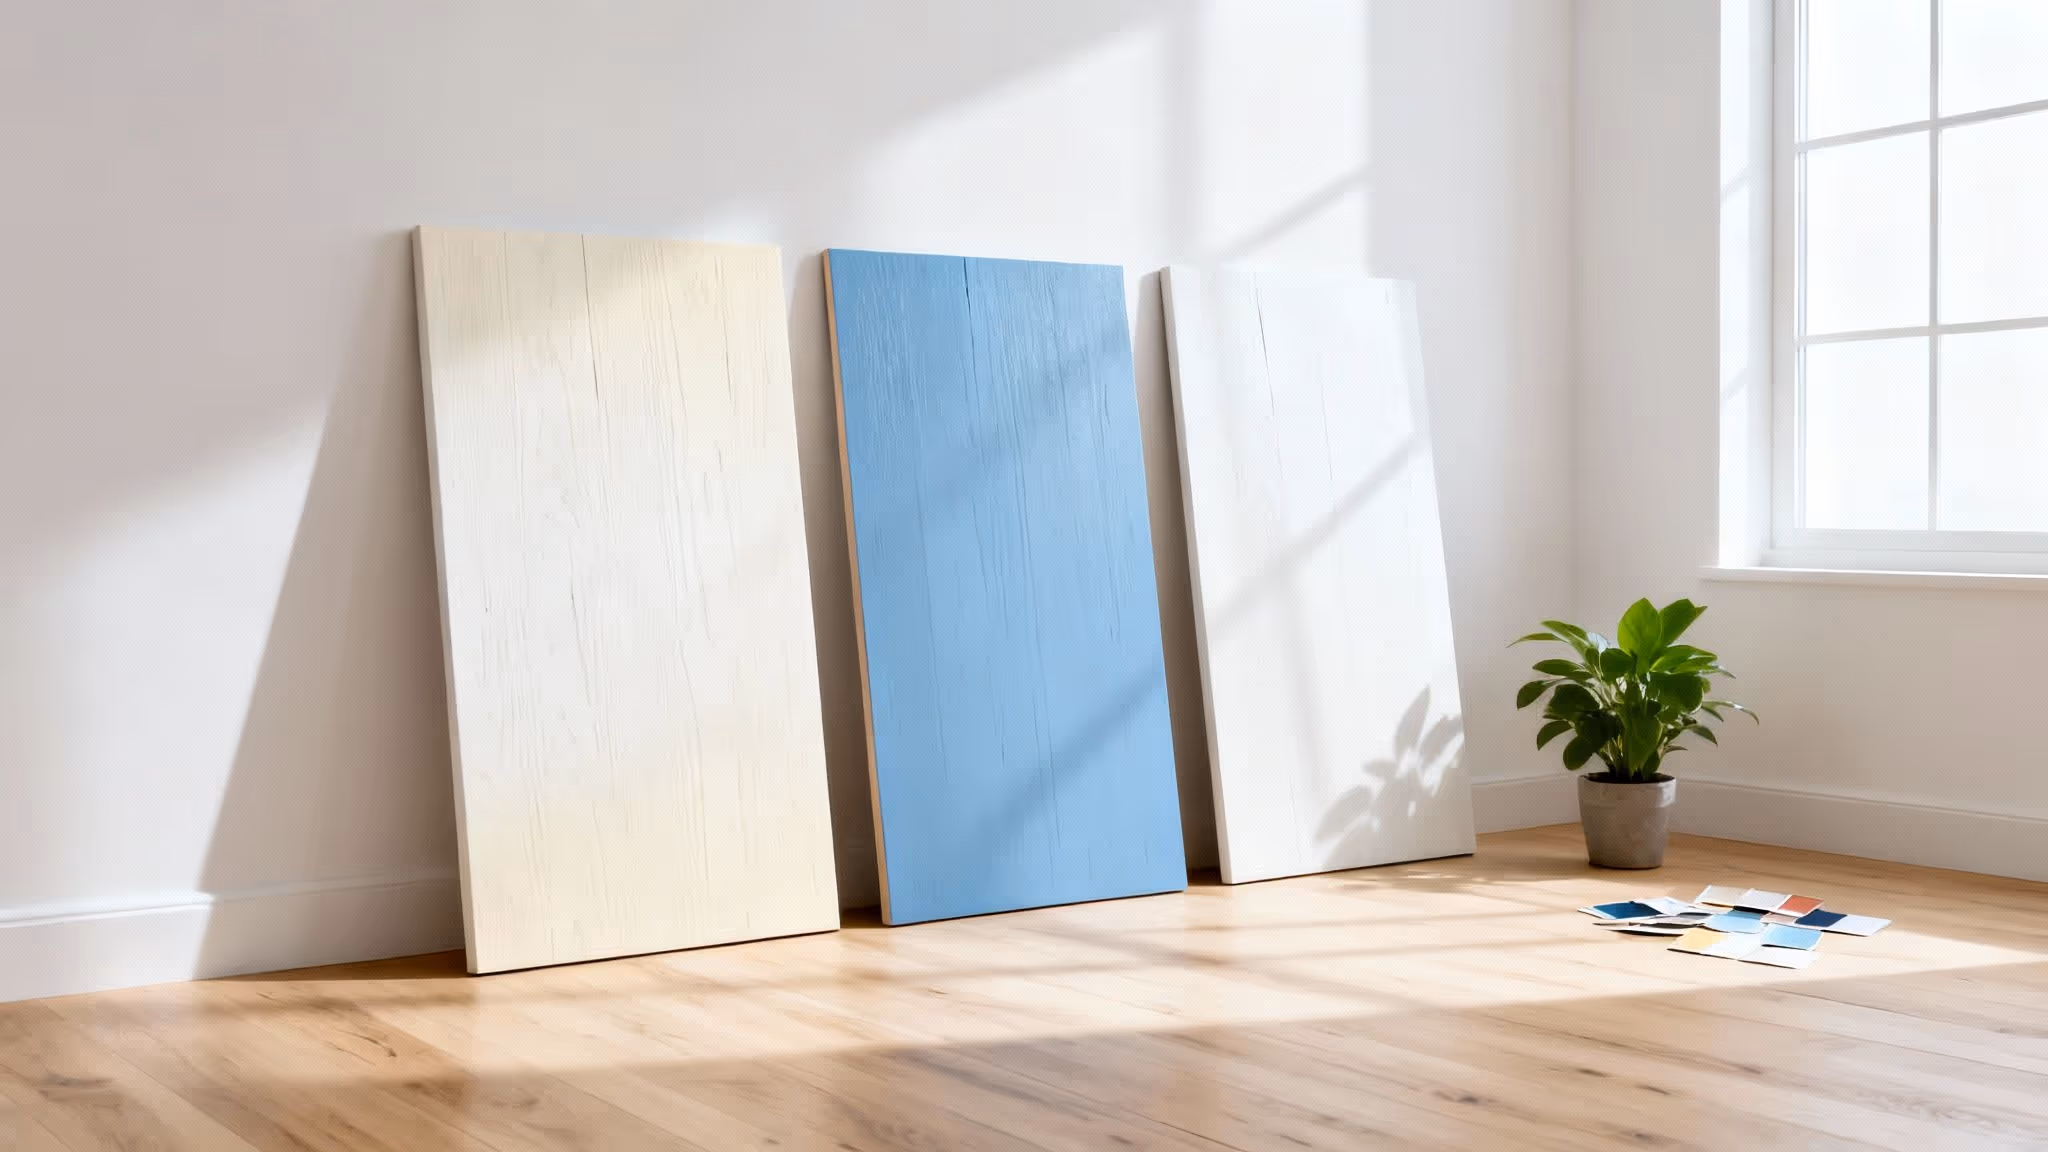
Your first big decision is what type of paint to use, as this choice will define the final look and feel of your piece. Chalk paint, for instance, has become incredibly popular for good reason. It gives you a gorgeous, ultra-matte finish that’s perfect for creating that rustic, shabby-chic vibe. It’s also wonderfully forgiving and sticks to almost anything with minimal prep, which makes it a brilliant starting point for beginners.
If you’re after something a bit more modern and hard-wearing, you’ll probably want to look at acrylic paints, often sold with an eggshell or satin finish. These offer a soft, subtle sheen that’s a breeze to wipe clean, making them a practical choice for high-traffic items like dining tables, chairs, or a chest of drawers in a child’s room. For a really bold, reflective statement, a gloss finish gives you maximum durability and shine, but be warned—it will show up every tiny imperfection on the surface.
Paint Finish Comparison for Wooden Furniture
To help you decide, here’s a quick breakdown of the most common paint finishes. Think about where your furniture will live and how much wear and tear it will get.
Choosing the right sheen really comes down to balancing aesthetics with practicality.
Water-Based vs. Oil-Based: What’s the Difference?
Another key choice is the paint's base: water or oil. For years, oil-based paints were the undisputed champion for toughness, but modern water-based formulas have really closed the gap.
Water-Based Paint (Acrylic/Latex): This is what most of us reach for in DIY projects today. It's low-odour, dries quickly, and you can clean your brushes with just soap and water. Its flexible finish is also less likely to crack or yellow over time, which is a huge plus for pale colours.
Oil-Based Paint (Alkyd): Known for its incredible durability, oil-based paint levels out to a rock-hard, super-smooth finish. The trade-off? It has a very strong smell, takes ages to dry, and you’ll need white spirit or turpentine for clean-up. It’s fantastic for heavy-duty surfaces but less practical for a quick weekend project.
The shift towards more user-friendly and environmentally conscious options is clear. The global furniture paint market is projected to grow from $10.2 billion in 2024 to $10.83 billion in 2025, a trend largely fuelled by the demand for low-VOC (volatile organic compounds) products that are safer to use inside our homes. If you’re interested in the nitty-gritty of market trends, you can explore the full research on the furniture paint market here.
Choosing between sheens can be tricky, but a good rule of thumb is to match the sheen to the piece's function. A bedside table might look lovely in a delicate eggshell, while a busy family coffee table will thank you for the resilience of a satin or semi-gloss finish. For a detailed comparison, check out our guide on the difference between eggshell and satin finishes.
Putting Together Your Toolkit
Great paint needs great tools. Having the right applicators on hand is what separates a frustrating, streaky mess from a finish that looks genuinely professional.
A high-quality angled brush will be your best friend for getting into corners and neatly painting around edges or detailed areas like spindles. Seriously, don't skimp here. A cheap brush that sheds its bristles into your fresh paint is one of the most frustrating things you can experience.
For big, flat surfaces—think tabletops, cabinet sides, or drawer fronts—a mini foam roller is an absolute game-changer. It gets the paint on quickly and leaves a beautifully smooth, almost spray-like finish with very little texture. It’s a huge time-saver and the best way to avoid those pesky brush marks.
If you’re tackling something really intricate, like a wicker chair or an ornate headboard with lots of nooks and crannies, you might consider a paint sprayer. It gives you the fastest, most flawless finish possible, but it does have a bit of a learning curve and requires a lot more prep to mask off everything you don’t want to paint.
Finally, don't forget the essentials that support the main event:
- Primer: A must-have for blocking stains and ensuring your paint has something to grip onto.
- Sealant/Topcoat: A clear polyurethane or wax is your insurance policy, protecting all your hard work.
- Safety Gear: Always have gloves and a mask handy, especially when you’re sanding or working with oil-based products.
Mastering Surface Preparation
If there’s one secret I’ve learned about getting a beautiful finish on wooden furniture, it’s this: your final paint job is only ever as good as the surface underneath it. Seriously. Rushing this stage is the number one reason I see for peeling, chipping, and a finish that just looks… off. Think of prep as the foundation for a durable, professional-looking piece that will actually last.
You wouldn't start a painting on a dirty, greasy canvas, would you? Your furniture is no different. Years of polish, finger marks, and general household grime create a barrier that stops primer and paint from sticking properly. Getting this prep work right is what makes the difference between a project you're proud of and one you have to redo in six months.
Start with a Deep Clean
Before you even think about picking up sandpaper, you need to give your furniture a proper clean. And I don’t mean a quick wipe-down. We’re talking about removing every last trace of anything that could get between you and a perfect finish. For most pieces, a simple mix of warm water and a bit of washing-up liquid is all you need.
But for really grimy items – maybe a bedside table from a smoker's home or a set of greasy kitchen chairs – you’ll need to bring out the big guns. A solution of sugar soap is a fantastic degreaser that pro-painters and DIYers have sworn by for generations. Mix it up, scrub the entire piece down, and then—and this is crucial—rinse it thoroughly with a clean, damp cloth to get rid of any residue.
Let the furniture dry completely. Don't rush it; this could take a few hours. This step alone can be a total game-changer for your final result.
The Truth About Sanding
Ah, sanding. It often feels like the most tedious part of the job, but it’s absolutely essential. The goal isn’t always to strip the piece back to bare wood. Most of the time, you're just trying to create a 'key' – a slightly roughened surface for the primer and paint to physically grip onto. A glossy, slick surface gives your paint nothing to hold, which is a recipe for chips and peeling down the line.
Your approach to sanding really depends on what you’re starting with.
For painted or matte finishes: If the existing paint is in good shape, you just need to scuff up the surface. A light once-over with medium-grit sandpaper (120-180 grit) is perfect. You’re not trying to remove the colour, just kill the sheen.
For varnished or glossy finishes: These slick surfaces need a bit more elbow grease. Start with a coarser grit (80-100 grit) to break through that shiny topcoat, then follow up with a finer grit (150-180 grit) to smooth out any scratches you made.
For damaged or peeling finishes: If the old paint or varnish is literally flaking off, it has to go. You could sand it all off, but a chemical stripper can be much faster. Just be sure to use it in a well-ventilated area and wear the proper safety gear.
Once you're done sanding, you have to get rid of all the dust. A vacuum with a brush attachment is your best bet, followed by a wipe with a tack cloth or a slightly damp, lint-free rag. Any dust left behind will get trapped in your paint and create a gritty, awful texture.
Making Essential Repairs
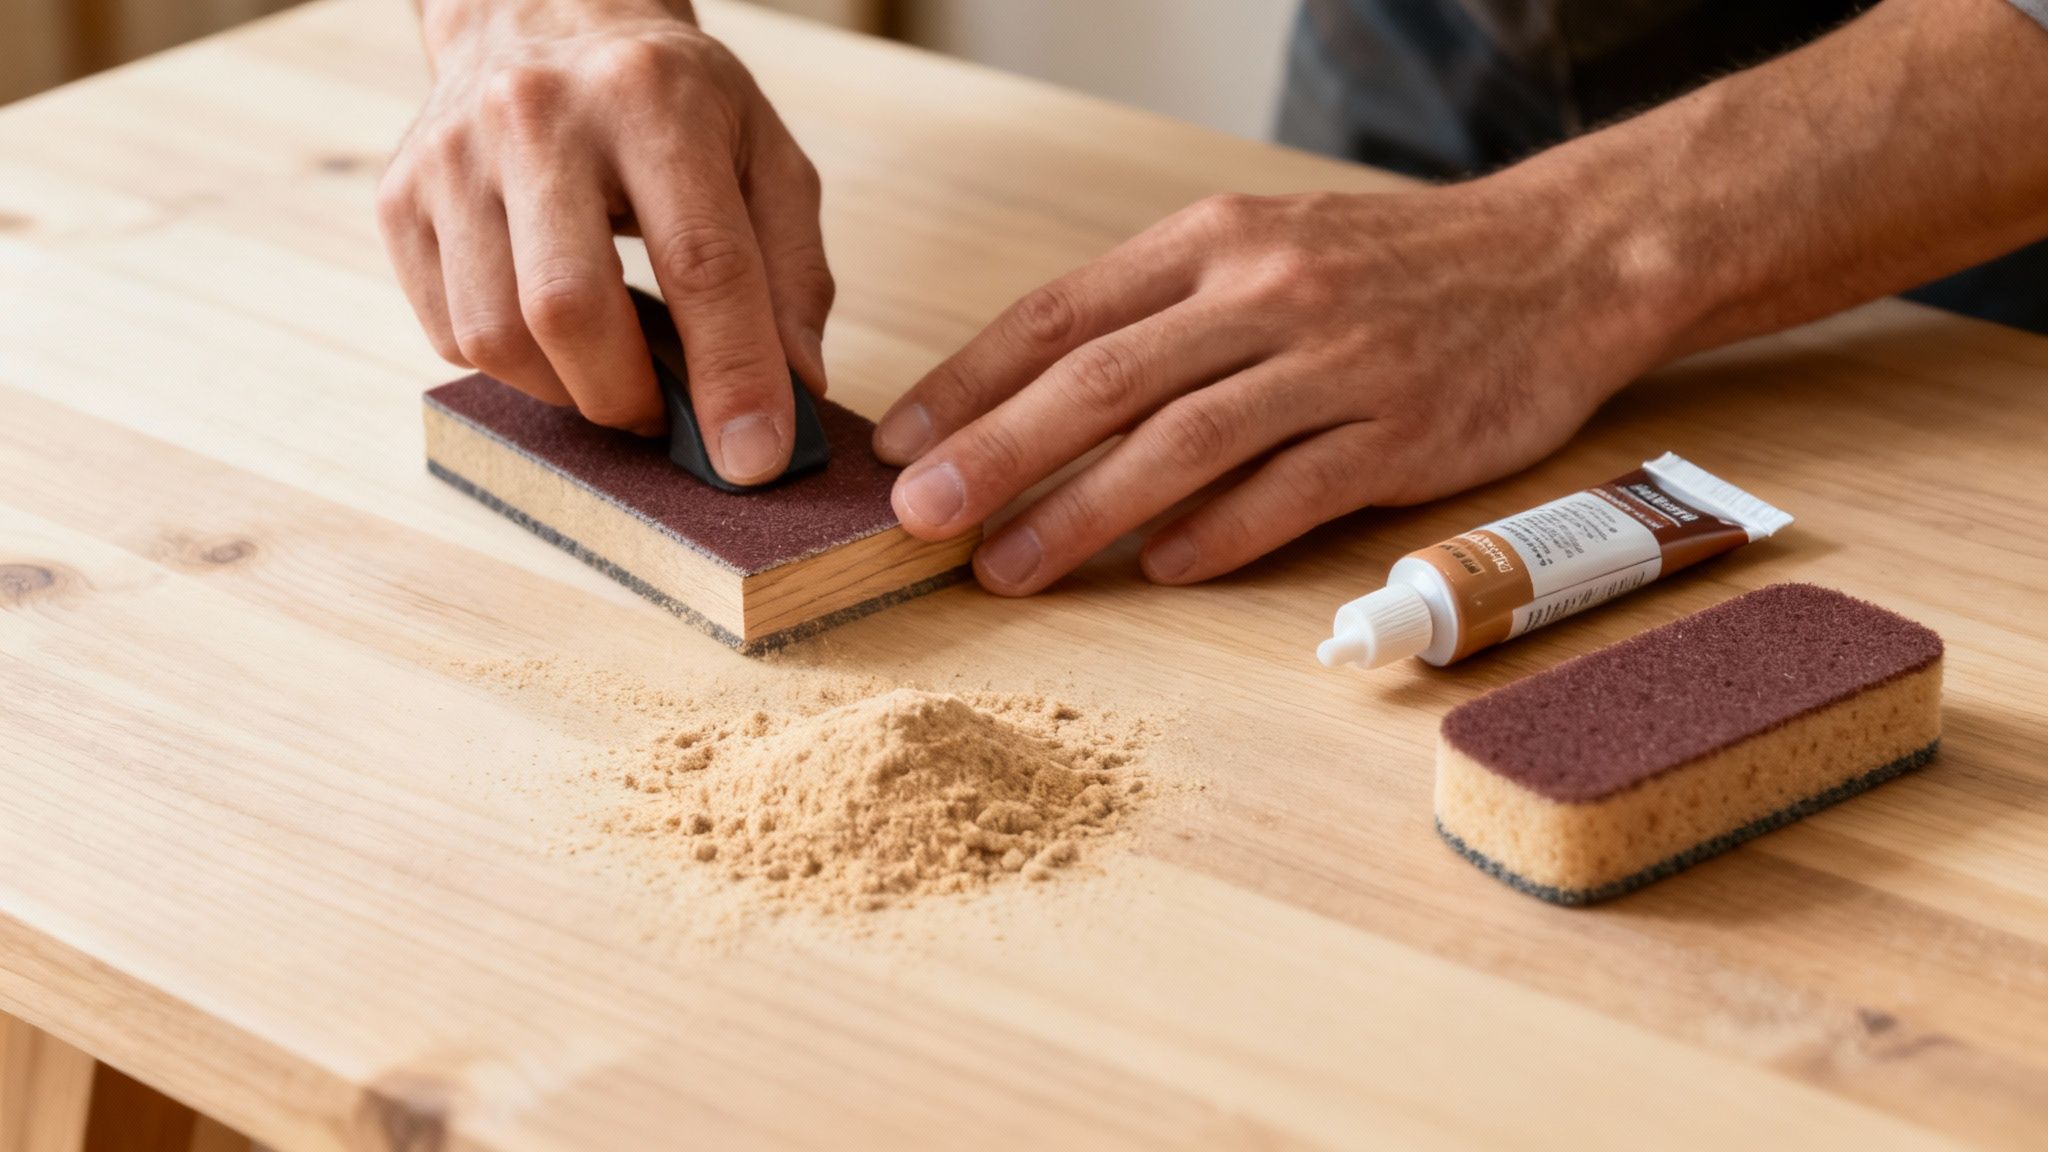
Now is the perfect time to fix any dings, deep scratches, or old hardware holes. These little imperfections become glaringly obvious once a fresh coat of paint is on, so dealing with them now is key. A high-quality wood filler is your best friend here.
Using a flexible putty knife, press the filler firmly into the gouge or hole. I always overfill the area just a little, because most fillers shrink as they dry. Once it’s rock hard (check the packet for timings), sand it back so it’s perfectly flush with the wood around it. I’d start with 120-grit paper and finish with a finer 180 or 220-grit for a truly seamless repair.
Here's a tip I learned the hard way: don't try to fill deep holes in one go. For bigger repairs, it's much better to apply the filler in thin layers, letting each one dry completely before adding the next. This prevents cracking and stops the filler from sinking later on, which would ruin your smooth finish.
By taking the time to properly clean, sand, and repair your piece, you’re creating the perfect canvas. This groundwork all but guarantees that your primer and paint will go on beautifully, leaving you with a smooth, durable finish that you can be proud of for years to come.
Applying Primer and Paint Like a Pro
Right, the prep work is done, and you’ve laid the perfect groundwork. Now for the fun bit—watching your piece completely transform. This is where your vision truly starts to take shape, coat by coat. Getting the application right is all about patience and a little bit of technique, ensuring all your hard work pays off with a flawless, durable finish.
This stage is a non-negotiable step in the process of how to paint wooden furniture. Primer does a few crucial jobs: it gives the paint something to grip onto, stops old stains from bleeding through, and creates a uniform base colour. That last part is key, as it means you’ll need fewer coats of your expensive topcoat later on.
The Importance of a Good Primer
Honestly, skipping the primer is one of the most common mistakes I see. It’s like building a house without a foundation. Sure, it might look okay for a little while, but it simply won’t last. A quality primer is what makes your paint job stick, dramatically cutting down the risk of chips and peeling down the line.
Different situations call for different primers, so it pays to choose the right one for your project.
Stain-blocking primer: This is your best friend if you're painting over dark woods like mahogany, knotty pine, or anything with old watermarks. These woods contain natural oils called tannins that will eventually bleed through light-coloured paint, leaving ugly yellow or pinkish blotches. A shellac-based or oil-based stain blocker is the only real defence against this.
Bonding primer: Got a super slick, glossy surface like laminate, melamine, or something with a shiny factory finish? A bonding primer is a lifesaver. It’s specially formulated to grab onto those tricky surfaces where normal paint would just slide right off.
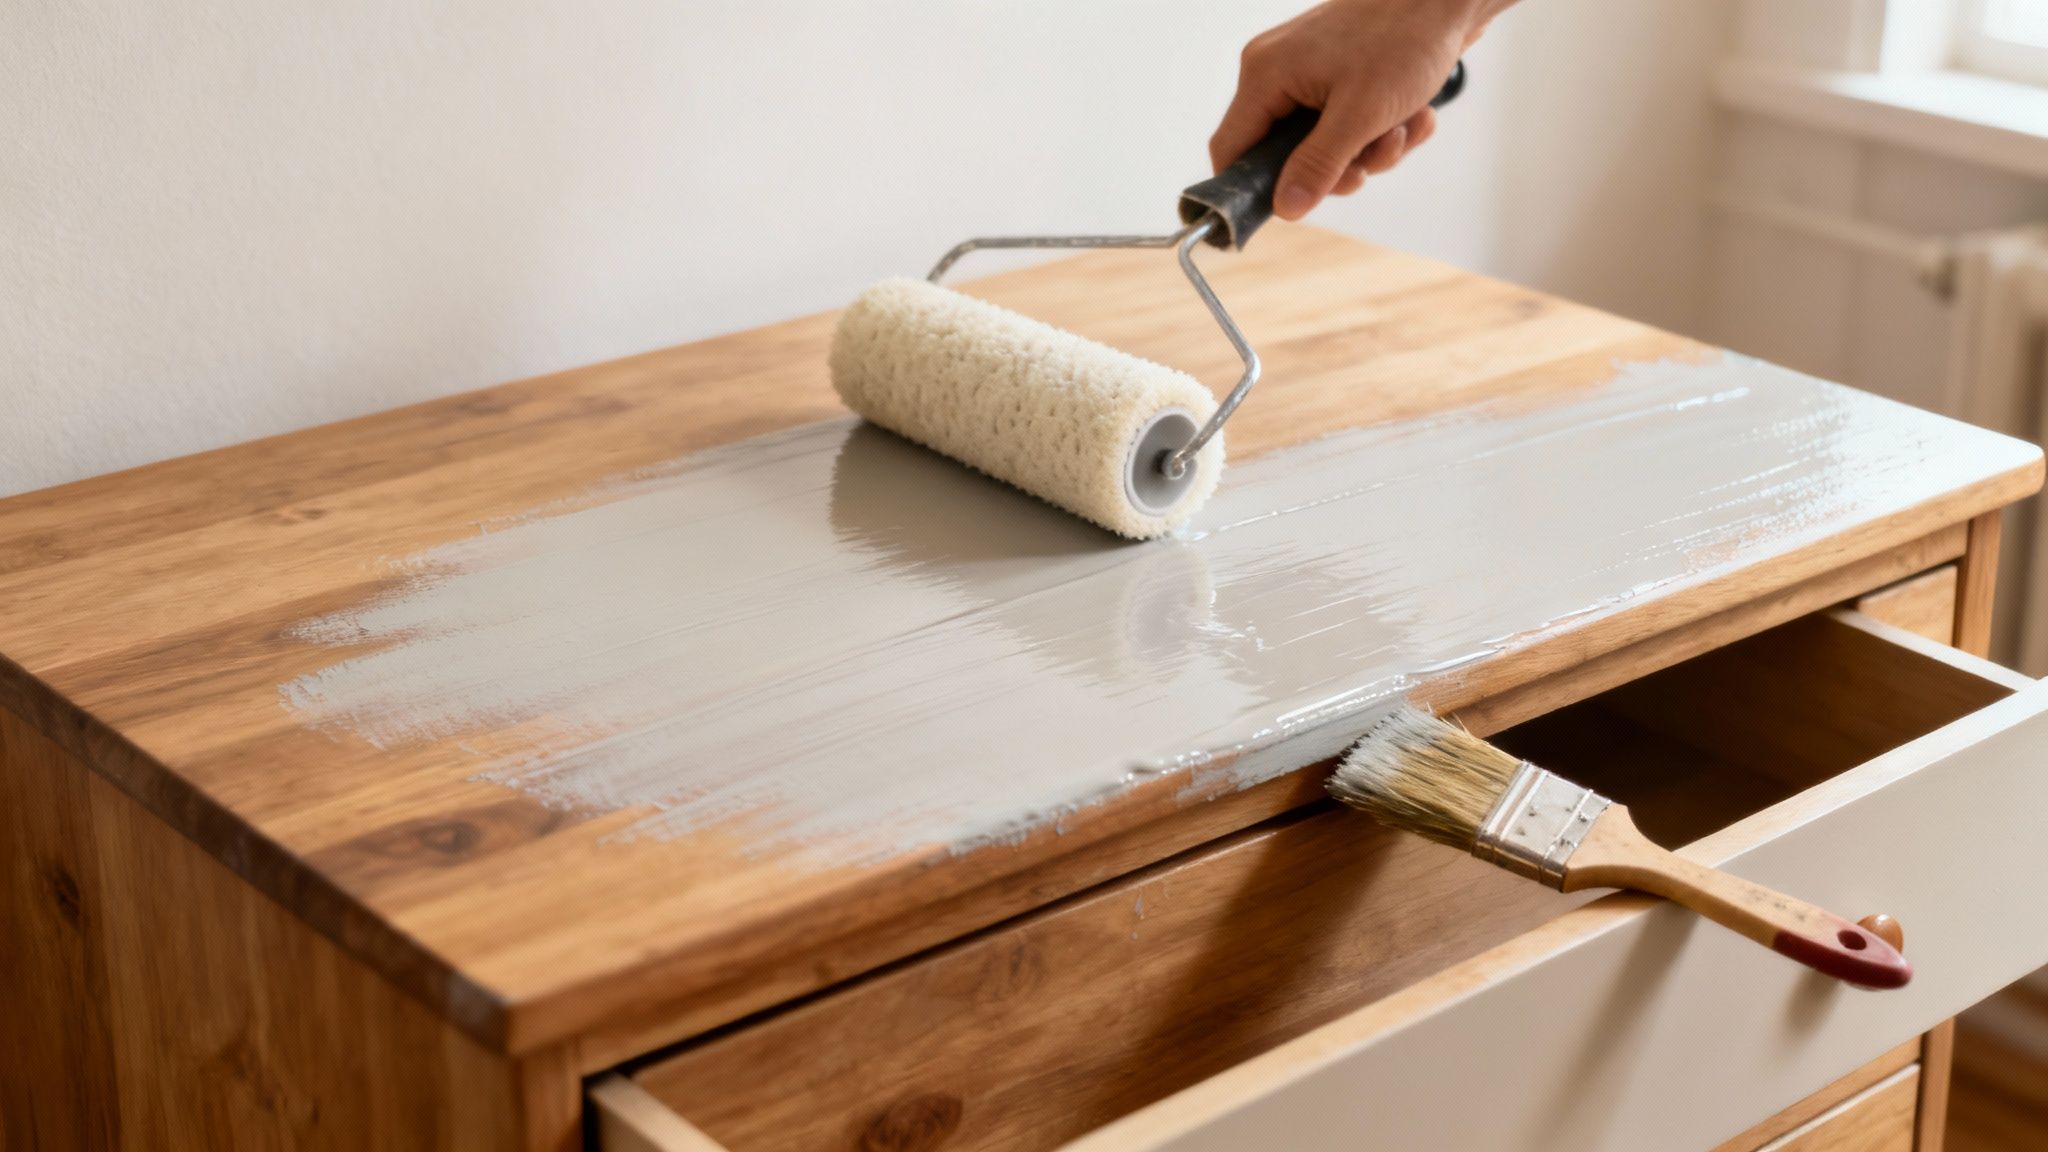
Apply one even coat of your chosen primer. I find a brush works best for fiddly, detailed areas, while a mini foam roller is perfect for larger, flat surfaces. Then, walk away and let it dry completely, following the instructions on the tin.
Mastering Your Painting Technique
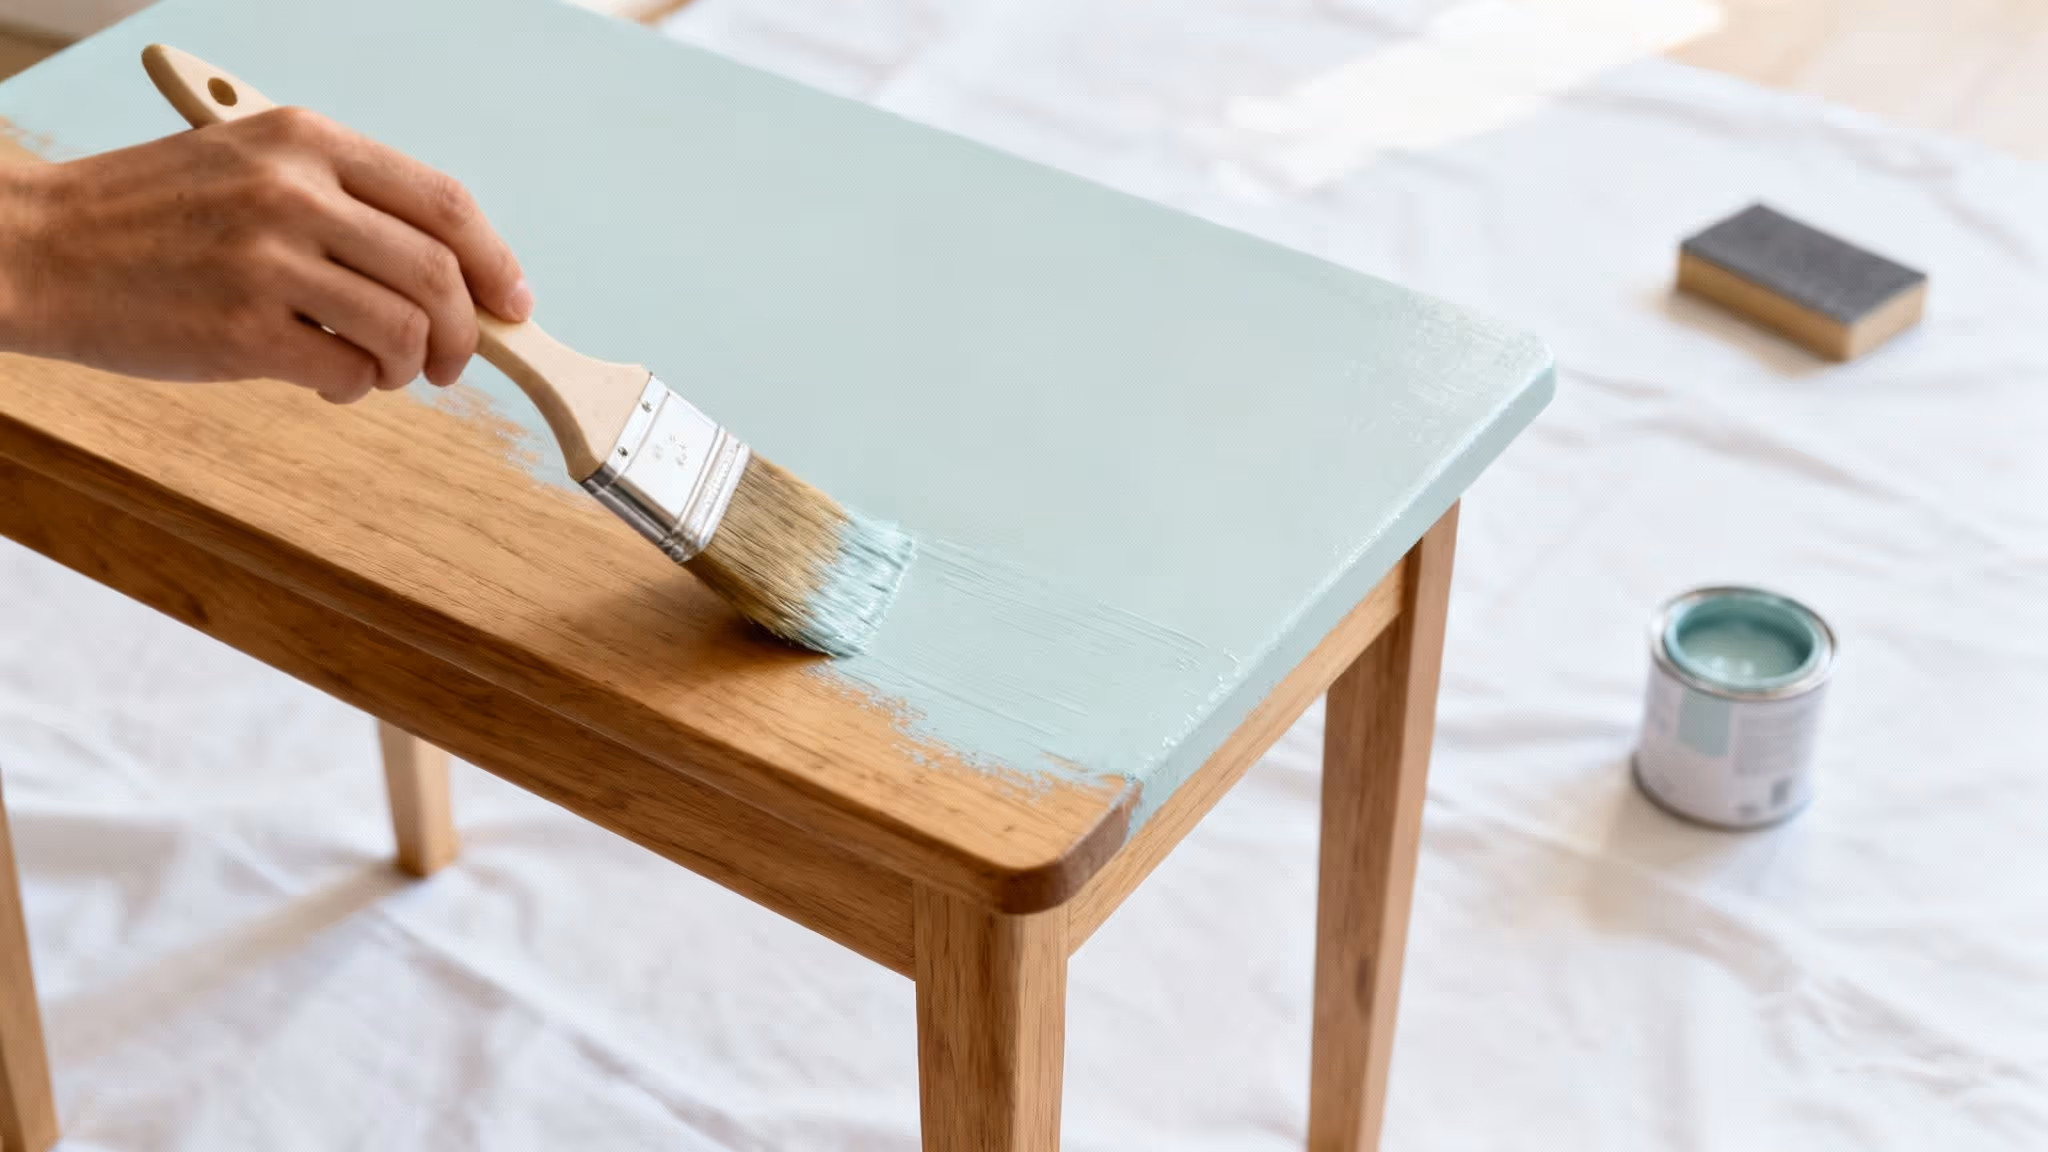
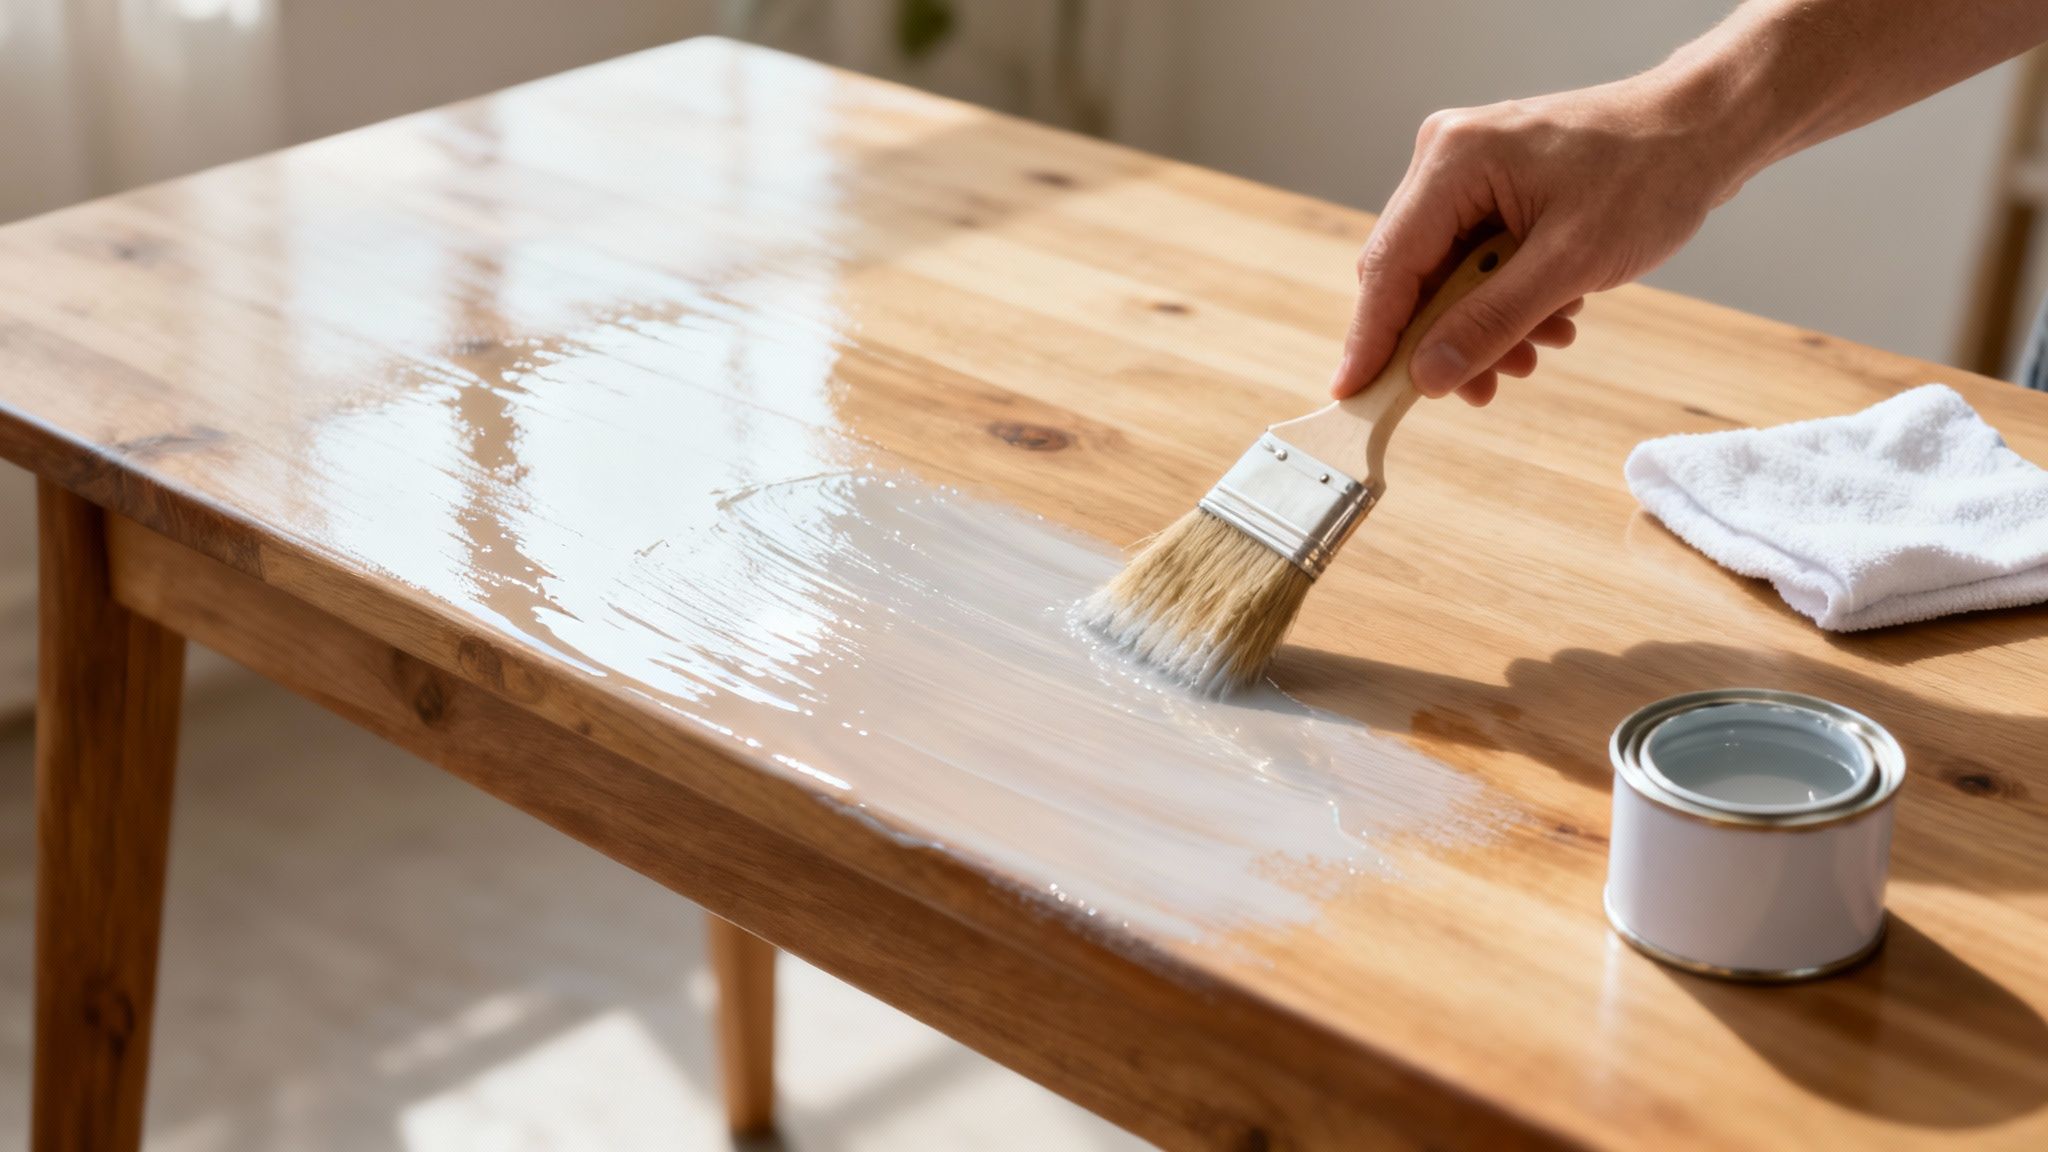
Now it's time for the colour! The real secret to a professional, brush-mark-free finish is to apply several thin, even coats instead of slapping on one or two thick, gloopy ones. This is the best way to avoid drips, runs, and that bumpy, textured look.
I always recommend pouring a small amount of paint into a separate tray or pot. This keeps your main tin clean and free from contamination. If you're using a brush, only dip the first third of the bristles in and gently tap off the excess—try not to scrape it on the rim. Apply the paint using long, smooth strokes, always following the direction of the wood grain.
For big, flat areas like a tabletop or the sides of a chest of drawers, a mini foam roller is brilliant. It gets the paint on quickly and leaves a beautifully smooth, almost spray-like finish. Use your brush to "cut in" around the edges first, then go back and fill in the middle with the roller, making sure to slightly overlap each pass.
Here's a little trick from the pros: after you've painted a section, "tip it off." Take a high-quality, barely-loaded brush and, using just the very tip, make one final, long, and gentle stroke from one end of the surface to the other. It's a simple move that helps level out the paint and makes any lingering brush marks disappear.
How Many Coats and When to Recoat
Patience is everything when it comes to drying times. Most pieces will need at least two coats of paint to get full, even coverage. This is especially true when you're going from a dark colour to a light one. Don't be surprised if you need a third thin coat to get that perfect, solid finish.
The golden rule is to let each coat dry completely before starting the next. Always check the paint tin for the recommended recoat time. If you go in with a second coat too soon, you'll just drag and pull at the first layer, creating a tacky, uneven mess that’s a nightmare to fix. Remember that high humidity or cold temperatures can slow things down, so if it feels even slightly tacky to the touch, give it more time.
This focus on doing things properly is what elevates a project from "good enough" to genuinely great. While the UK painting industry revenue is projected to dip slightly to an estimated £3.5 billion in 2025, the number of painting businesses has actually grown to over 12,330. This points to a growing demand for high-quality, specialised work—a standard you can absolutely achieve at home. You can discover more about the trends in the UK painting industry here.
What if you spot a flaw between coats, like a drip you missed or a little air bubble? Don't panic. Let the coat dry fully, then take a piece of fine-grit sandpaper (220-grit or higher) and lightly sand the imperfection away. Wipe the dust off with a clean cloth before you apply your next coat. For more great advice on getting that perfect look, our article on how to paint wood has plenty of extra tips and techniques.
Sealing and Finishing Your Project
You’ve done all the hard graft—the cleaning, sanding, priming, and painting are behind you. Now comes the final, crucial step: giving your beautifully painted piece a coat of armour. Applying a sealant, or topcoat, is what protects your furniture from the realities of everyday life, guarding it against scuffs, spills, and general wear and tear.
Trust me, skipping this stage is a false economy. Without that protective layer, your pristine paint job can quickly get chipped and marked, undoing all your hard work. Think of it as an invisible shield that keeps your project looking its best for years to come.
Choosing Your Protective Topcoat
The right sealant really depends on the type of paint you've used, the colour of your piece, and how much action it's going to see. Each option offers a different level of protection and a distinct final look.
Here’s a quick rundown of the most common choices:
Water-Based Polycrylic: This is my go-to for most projects, especially those painted in light colours like white, cream, or pastels. It’s crystal clear and will not yellow over time, which is a massive plus. It also dries quickly, has a low odour, and cleans up easily with just water.
Oil-Based Polyurethane: For ultimate durability, you can't beat oil-based polyurethane. It creates a hard, resilient finish that’s perfect for high-traffic surfaces like dining tables, coffee tables, or desks. The trade-off is its strong smell and the fact it adds a slight amber tint. This can alter the look of light paint colours but often enriches darker shades beautifully.
Finishing Wax: Often paired with chalk paint, finishing wax gives a soft, velvety lustre rather than a hard shell. You apply it with a cloth or a special wax brush, then buff it to a gentle sheen. It offers a decent level of water resistance but is less durable than polyurethanes and might need a top-up every year or so.
A key takeaway is to always match your bases. Use a water-based sealant over water-based paint, and an oil-based sealant over oil-based paint. This simple rule prevents any nasty adhesion problems down the line.
Applying Your Sealant for a Flawless Finish
Applying a topcoat is all about a light touch and a bit of patience. You want to avoid streaks, drips, or bubbles, aiming for a smooth, even layer that’s practically invisible once dry.
For polycrylic or polyurethane, I always recommend using a high-quality synthetic brush or a foam applicator. Stir the product gently—and never shake the tin, as this creates air bubbles that will spoil your finish. Apply a very thin, even coat, working in long, smooth strokes in one direction.
Let that first coat dry completely, following the manufacturer's instructions. Once it's cured, lightly scuff the surface with very fine-grit sandpaper (220-grit or higher) to knock down any tiny dust nibs. Wipe away all the dust with a tack cloth before applying your second thin coat. Two to three thin coats usually give you all the protection you need.
Adding Character with Creative Finishes
Once your piece is sealed and protected, you could absolutely stop there for a classic, clean look. Or, you could add another layer of personality to truly make the furniture your own.
Distressing: To get that lovely shabby-chic, time-worn look, gently sand the edges, corners, and details where wear would naturally happen over time. A fine-grit sanding sponge gives you brilliant control for this.
Ageing with Dark Wax: Applying dark wax over a clear wax base can create a beautiful, aged patina. Work it into the crevices and details, then wipe back the excess, leaving a subtle, antique effect that adds real depth.
Stencilling: Why not add a unique, custom design with stencils? This works wonders on drawer fronts, tabletops, or even the sides of a cabinet for a pop of unexpected pattern. These creative touches are also brilliant for outdoor projects; if you need some inspiration, you can find some fantastic deck paint ideas that are easily adapted for furniture.
Your Top Furniture Painting Questions Answered
Even with a solid plan, you're bound to run into a few head-scratchers during your furniture painting project. It happens to everyone! This is where we tackle those common uncertainties and troubleshooting moments that can trip you up.
Think of this as your personal cheat sheet for pushing past any hurdles. From the endless sanding debate to chasing that perfectly smooth finish, let's get you some clear, practical answers.
Do I Really Have to Sand Before I Paint?
Ah, the million-dollar question. Everyone wants to skip this step, but I'll be honest with you: sanding is almost always the secret to a finish that actually lasts. It does two critical things. First, it scuffs up any glossy topcoat that would otherwise repel your new paint. Second, it creates a microscopic texture—what we call a ‘key’—for the primer to physically grab onto.
Now, you don't always need to go crazy. If you’re working with a piece that already has a matte or eggshell finish and is in good shape, a quick once-over with 180-220 grit sandpaper is plenty. But if you see peeling paint, a thick, shiny varnish, or any real damage, then yes, a proper sanding session is non-negotiable. Even with 'no-prep' paints like chalk paint, a quick scuff and clean makes a world of difference to how well it holds up long-term.
My rule of thumb is simple: if the surface has any sheen, it needs a sand. Run your hand over it afterwards. It should feel dull and a little chalky, not slick. That's when you know it's ready.
What's the Best Paint for Wooden Furniture?
The "best" paint really comes down to what you're painting and the look you're after. There's no one-size-fits-all answer, but there are definitely smarter choices for certain jobs.
For anything that's going to see a lot of action—think kitchen tables, chairs, or a chest of drawers—a water-based acrylic enamel with a satin or semi-gloss finish is a brilliant modern choice. It’s tough, has low odour, and you can clean your brushes with just soap and water. These paints cure to a really hard-wearing finish that can handle daily knocks and spills.
On the other hand, if you love that trendy, super-matte look or want something easy to distress for a shabby-chic style, chalk paint is a fantastic and forgiving option. For ultimate durability, like on kitchen cabinets, traditional oil-based enamel is tough as nails, but you have to deal with the strong fumes and long drying times. Honestly, for most of us, today's water-based paints offer the perfect blend of performance and ease of use. If you're stuck on what colour to pick, our guide on how to choose paint colours can give you a bit of a creative nudge.
How Can I Get a Smooth Finish Without Brush Strokes?
Getting that flawless, professional-looking finish is the goal, right? Brush marks are a common frustration, but they are totally avoidable with the right gear and a bit of technique.
- Good Tools are Non-Negotiable: A cheap, coarse paintbrush is your worst enemy. It will leave streaks and probably shed bristles into your paintwork. Invest in a quality synthetic brush; it will hold and release the paint much more evenly.
- Thin Coats are Key: This is the golden rule. Always aim for several thin coats rather than trying to get full coverage in one or two thick ones. Overloading your brush is a fast track to drips, runs, and a lumpy texture.
- Work with the Grain: Always paint in the same direction as the wood grain. For the very last stroke on any section, use one long, light, continuous motion to smooth everything out. We call this "tipping off," and it helps the paint settle beautifully.
- Try a Paint Conditioner: This is a fantastic pro tip. Adding a paint conditioner (like Floetrol for water-based paints) to your tin can be a game-changer. It slows the drying time just enough to let the paint level out on its own, magically reducing brush and roller marks. It’s a brilliant little secret for achieving that spray-painted look.