
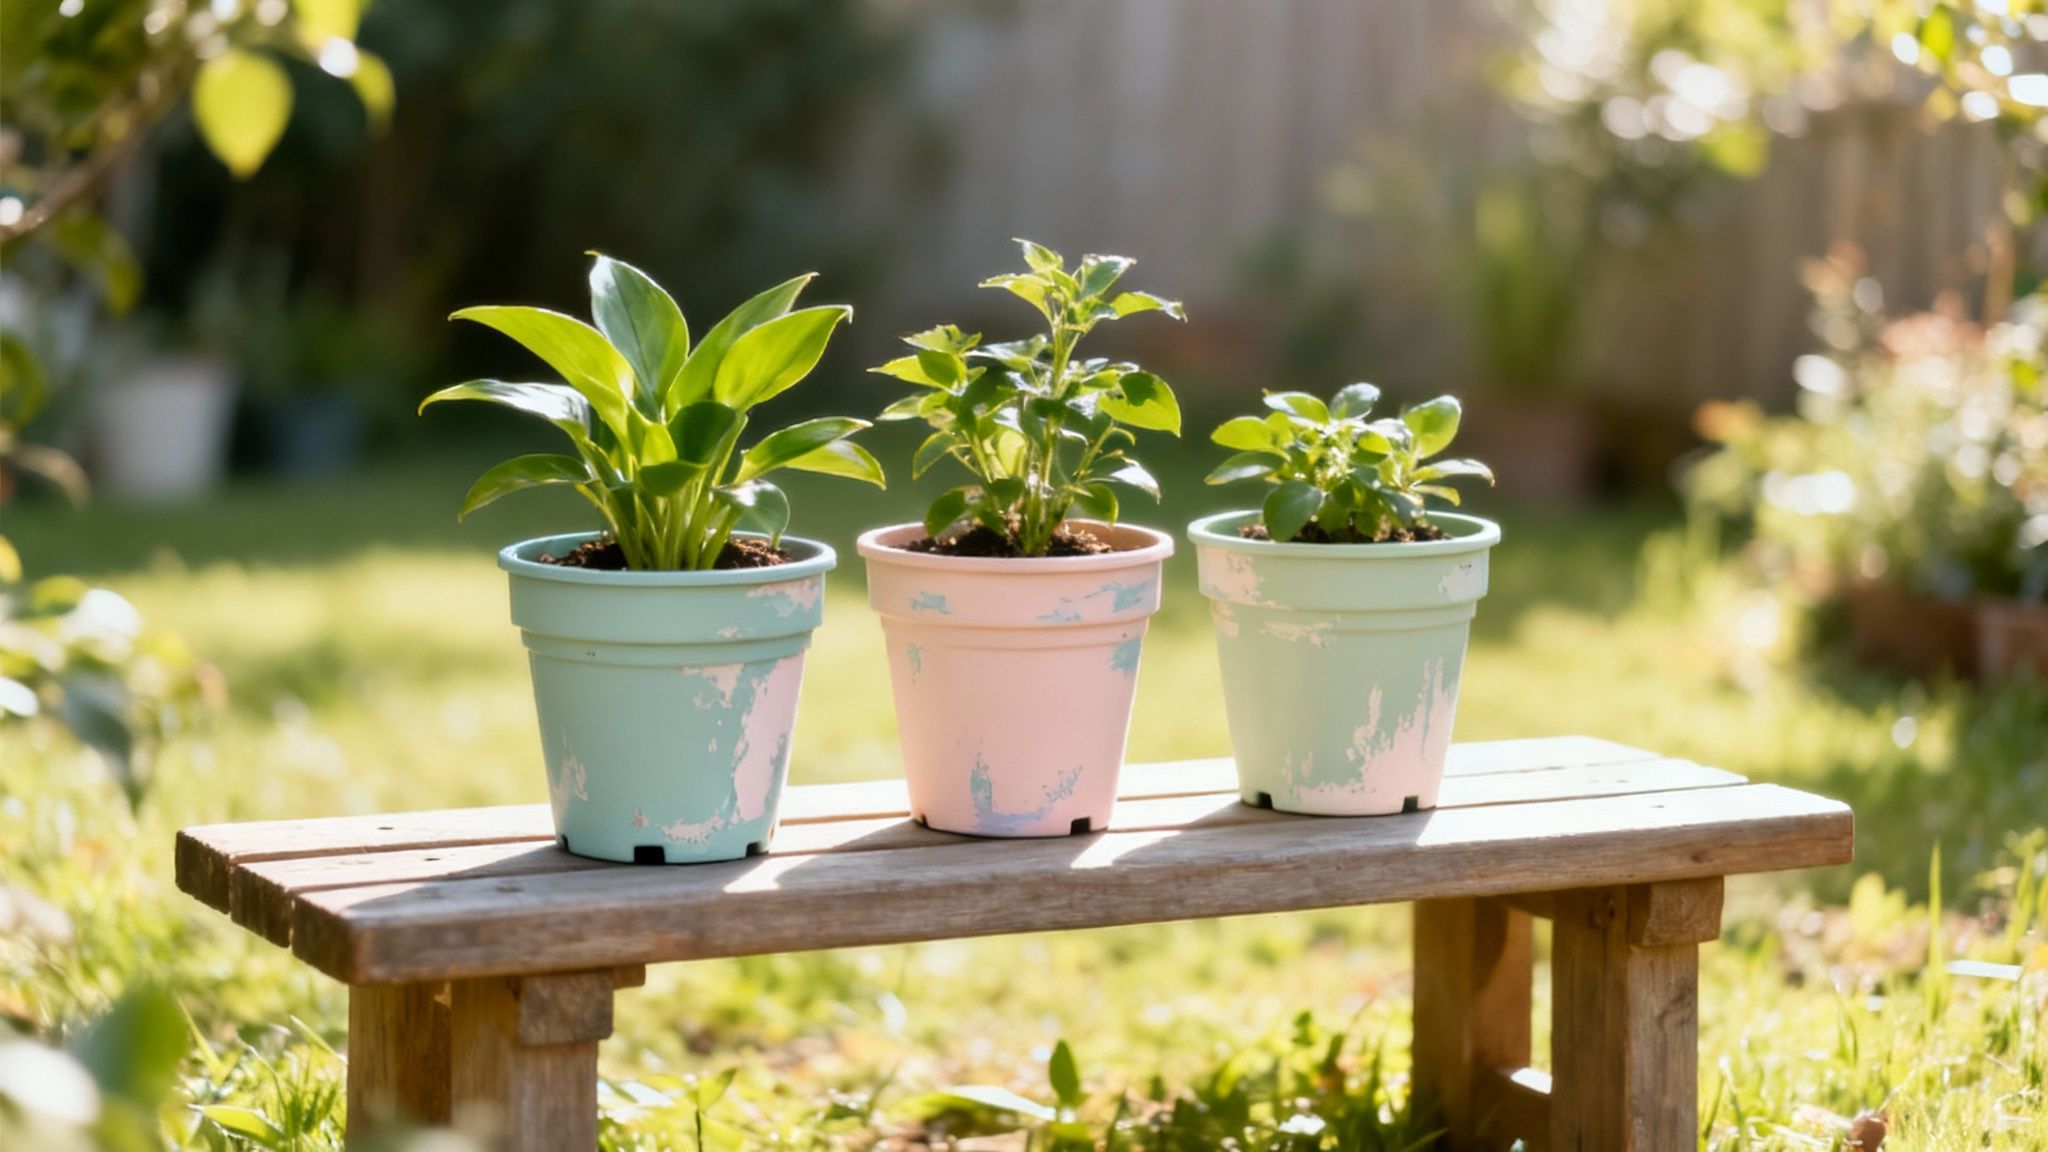
Giving those plain plastic pots a colourful new lease of life is one of the most satisfyingly simple garden projects you can tackle. By painting plastic plant pots, you can quickly transform your garden or balcony, turning functional containers into bespoke decorative pieces that perfectly match your personal style.
Why Painting Plastic Pots is a Great Idea
Before you even think about reaching for a paintbrush, it’s worth appreciating just how brilliant this little DIY project is. It's about so much more than just a lick of paint; it’s a smart, sustainable, and genuinely creative way to breathe new life into items we often just throw away.
A Sustainable Choice for Your Garden
Giving your old plastic pots a makeover is a fantastic way to be a bit more green. Think about it: an estimated 500 million plastic pots are floating around the UK each year, and a huge number of them end up in landfill. The situation is even worse for the common black plastic pots, which sorting machines often can't detect, meaning only about 10% ever get recycled.
By painting them instead of tossing them out, you’re actively reducing waste and doing your bit for the planet. It's a small change that makes a real difference.
Unleash Your Creativity
This is where the real fun begins. You can turn a cheap, boring plastic pot into something that genuinely reflects your personality. A splash of paint can tie your pots in with your outdoor furniture, create a vibrant focal point, or just bring a bit of cheer to a forgotten corner of the garden.
The possibilities are endless, from minimalist single colours to intricate patterns. If you're looking for inspiration on arranging your newly decorated containers, our guide on how to create a beautiful garden with potted plants has some fantastic ideas.
A little paint does more than just add colour; it extends the life of a pot, prevents it from ending up in landfill, and adds a unique, personal touch to your green space.
The whole process is incredibly rewarding and follows a clear path to success. You’ll be:
- Cleaning: Getting rid of all the dirt and grime for a fresh start.
- Sanding: Giving the surface a light scuff so the primer has something to grip onto.
- Priming: Applying a special base coat that helps the paint stick properly.
- Painting: Bringing your design to life with your chosen colours.
- Sealing: Adding a protective top coat to make sure your masterpiece lasts.
Getting Your Kit Together: Tools and Supplies
Any seasoned painter will tell you that a flawless finish starts long before you ever pop open a tin of paint. Getting all your supplies ready from the outset is the secret to a smooth, enjoyable project, saving you from a frantic search for a cloth or the right brush mid-stroke.
Think of it this way: the actual painting is the fun part, but the prep work is what makes it last. Simple things like sandpaper and a good primer are the real MVPs here, creating the perfect canvas for your colour.

Prepping and Priming Essentials
So, what do you need to stop that beautiful new paint job from peeling off in a month? It all comes down to giving the paint something to cling to. Plastic is notoriously slick and non-porous, so your first job is to create some grip.
Here's your shopping list for the prep stage:
- Cleaning Supplies: You can’t paint over dirt. A bucket of warm, soapy water and a sponge or stiff brush will shift most of the grime. For any stubborn spots, a quick wipe with a cloth dampened in white vinegar usually does the trick.
- Sandpaper: Go for a fine-grit sandpaper, something in the 120-220 grit range is ideal. You’re not trying to sand the pot into a different shape, just lightly scuffing up the surface to create thousands of tiny little scratches for the primer to grab onto.
- Plastic-Specific Primer: This is the one item you absolutely cannot skip. Regular primers simply won't stick to plastic. You need a primer that's been specifically formulated for it, either as a spray or a brush-on. It contains chemicals that micro-etch the surface, creating a bond that won't let go.
Expert Tip: A dedicated plastic primer is the most crucial ingredient for a durable, chip-free finish. It’s the essential middleman between the slippery plastic and your final coat of paint.
Choosing the Right Paint for Your Plastic Pots
Now we get to the creative bit! The paint you choose will really depend on the look you're going for and whether your pot will be living indoors or braving the British weather outside. The basic idea of getting paint to stick is the same for many surfaces, a concept we also touch on in our guide on how to paint wood.
To help you decide, here’s a quick rundown of the most popular options for plastic pots.
Each paint has its own personality. Spray paint is brilliant for a quick, professional-looking transformation, especially if you find a can that’s a paint-and-primer-in-one.
But if you fancy getting a bit more hands-on and creating intricate patterns, acrylics are perfect. Just make sure you grab the "outdoor" or "multi-surface" kind, as they're more flexible and weather-resistant. For brushes, I'd recommend having a couple of flat ones for big areas and a few smaller, rounded ones for the fiddly bits. This gives you total control over the final look.
Nailing the Prep for a Perfect Finish
If there's one secret I've learned over the years for getting a professional-looking finish on painted plastic pots, it’s this: preparation is everything. Honestly, skipping these early steps is the fastest way to a peeling, chipping disaster. Just think of this stage as laying the groundwork; what you do now decides how your pot will look and last for seasons to come.
It all starts with a proper clean. It doesn’t matter if it's a brand-new pot straight from the garden centre or one that's been home to a plant for years, its surface will have residues. We're talking dirt, oils from your hands, or even that stubborn sticker glue.
A simple scrub with warm, soapy water is usually all it takes to get a pristine canvas. For any really stubborn grime, I've found a bit of white vinegar on a cloth works wonders. Make sure it's bone dry before you move on.
Creating the Perfect Surface for Paint
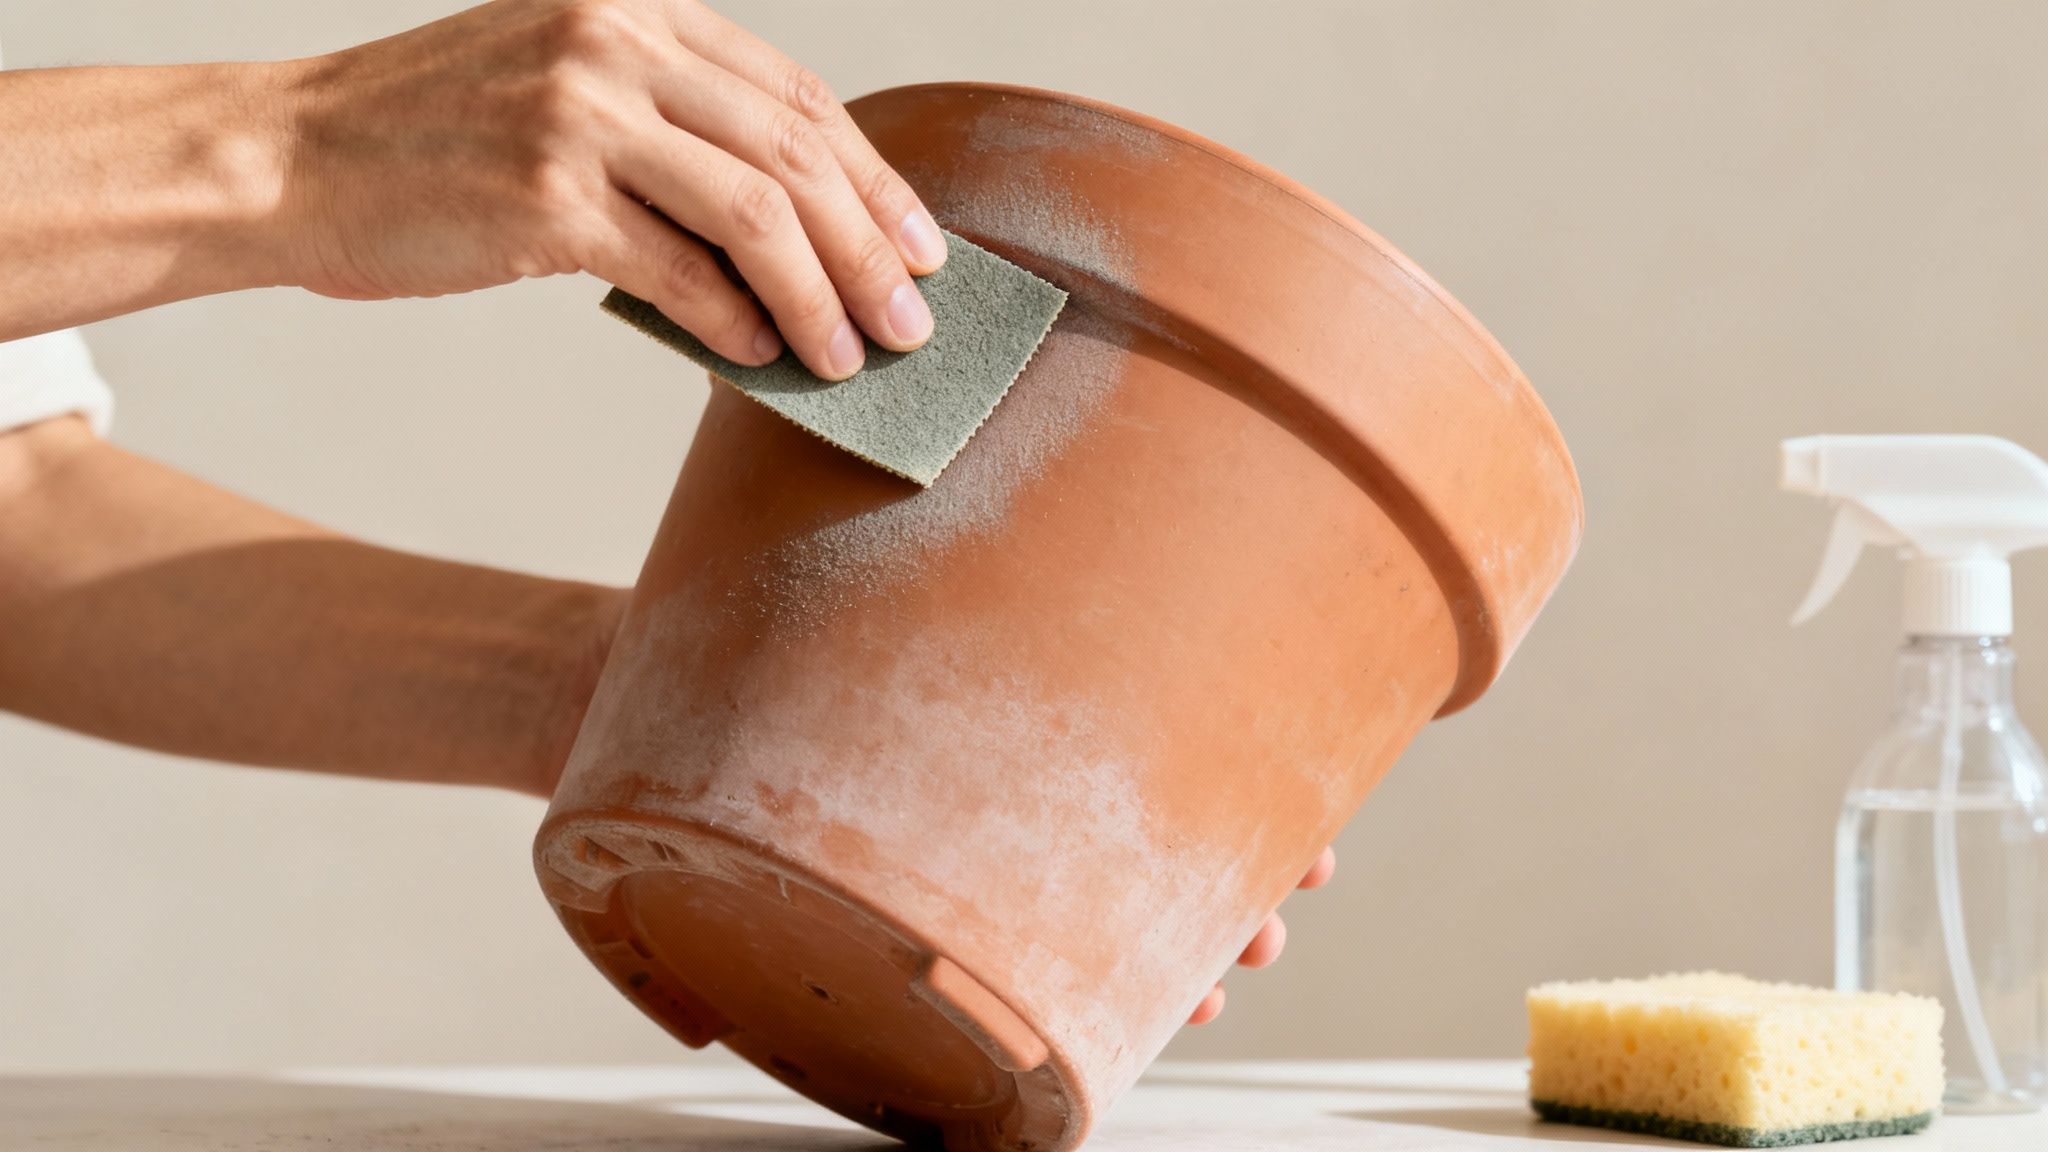
Right, once your pot is sparkling clean and dry, it's time to deal with the main challenge: plastic is slick and non-porous. Paint needs something to grab onto, and a perfectly smooth surface offers almost no grip at all. This is where a little trick called 'scuffing' comes in.
Grab some fine-grit sandpaper—anything around 120-220 grit is ideal—and gently rub the entire surface of the pot. You're not trying to sand it down or remove material. The goal is simply to create thousands of microscopic scratches that will act as the perfect anchor for your primer.
My Pro Tip: Don't be tempted to skip the scuffing. This simple five-minute step dramatically improves how well the primer sticks, which is the absolute key to stopping the paint from peeling off later.
The Non-Negotiable Priming Stage
With the surface properly scuffed, you're ready for what I consider the most critical step of all: priming. A standard wall or wood primer just won't cut it here. You absolutely must use a primer specifically designed for plastic. These special primers have ingredients that ever-so-slightly etch the plastic, forming a powerful chemical bond that regular paint simply can't achieve.
Apply a thin, even coat of your plastic primer, either with a spray can or a brush.
- Spray Primer: Hold the can about 20-30cm away and use light, sweeping motions to avoid drips. A paint-and-primer-in-one spray can save you a step, but double-check that it’s definitely rated for plastic.
- Brush-On Primer: Use a decent quality brush and apply a thin, consistent layer. Don’t get too hung up on perfect brush strokes, as this coat will be completely covered by your paint.
Let the primer dry completely, following the manufacturer's instructions. I know it can feel like watching paint dry (literally!), but your patience here will pay off with a durable, beautiful finish. This downtime is also a great chance to plan your next steps. If you're upsizing your plants, our guide on how to repot houseplants has some brilliant tips.
This little project is more than just a craft; it's a small nod to sustainability in the garden. It’s fascinating to see that between 2018 and 2022, UK imports of plastic plant pots surged from €322 million to €452 million. This boom was fuelled by urban gardening trends and a growing desire for recycled materials in horticulture. Upcycling pots at home fits right into this greener mindset. You can read more about the European plant pot market on cbi.eu.
Bringing Your Creative Vision to Life
Now for the fun part. With your pot prepped and primed, you can finally start adding some colour and personality. This is where a plain plastic container begins its transformation into a bespoke piece of garden art. The painting method you settle on will really define the final look, so let's break down the best ways to get paint onto plastic.
Achieving a Smooth Finish with Spray Paint
For a quick, modern, and almost factory-perfect finish, you can't beat spray paint. It’s fantastic for getting flawless, even coverage without a single brush mark in sight. The real secret to avoiding drips and splotches is to apply several very thin coats instead of one thick, heavy one. Trust me, patience pays off here.
To get a professional result every time, just follow these simple steps:
- Find a well-ventilated spot to work, ideally outdoors on a calm day to avoid dust and debris landing on your wet paint.
- Shake the can like you mean it for at least a minute to ensure the paint is properly mixed.
- Keep the can about 20-30cm away from the pot's surface as you spray.
- Use light, sweeping motions for a thin, misty application. I always start spraying just before the pot and stop just after to prevent a build-up of paint on the edges.
- Let each coat dry for around 15-20 minutes before you go in with the next one. This small wait prevents the paint from running and builds a much tougher finish.
Hands-On Techniques with Brush Painting
If you’d rather get a bit more hands-on or you’ve got a detailed pattern in mind, then brush-painting with acrylics is the way to go. This method gives you total creative freedom, letting you achieve anything from a sleek block of colour to a beautifully rustic, textured effect.
I'd recommend using an outdoor-rated acrylic craft paint. It has a bit of flexibility, which helps it withstand the expansion and contraction from temperature changes without cracking. Want to create a faux terracotta or aged clay look? Try dabbing on layers of warm, earthy colours—terracotta, chocolate brown, off-white—while the paint is still slightly wet. This technique is brilliant for building up an authentic-looking texture.
When you're painting with a brush, remember that texture can be a good thing. Don't stress about perfectly smooth strokes if you're aiming for a rustic finish. Dabbing and stippling with your brush can add a depth and character that really mimics aged pottery.
Sparking Your Imagination with Design Ideas
Right, let's get those creative juices flowing. A plain pot is just a blank canvas, and there are endless ways to make it your own. The most important thing is to have a bit of fun and experiment with different techniques and colour palettes.
Here are a few popular design ideas to get you started:
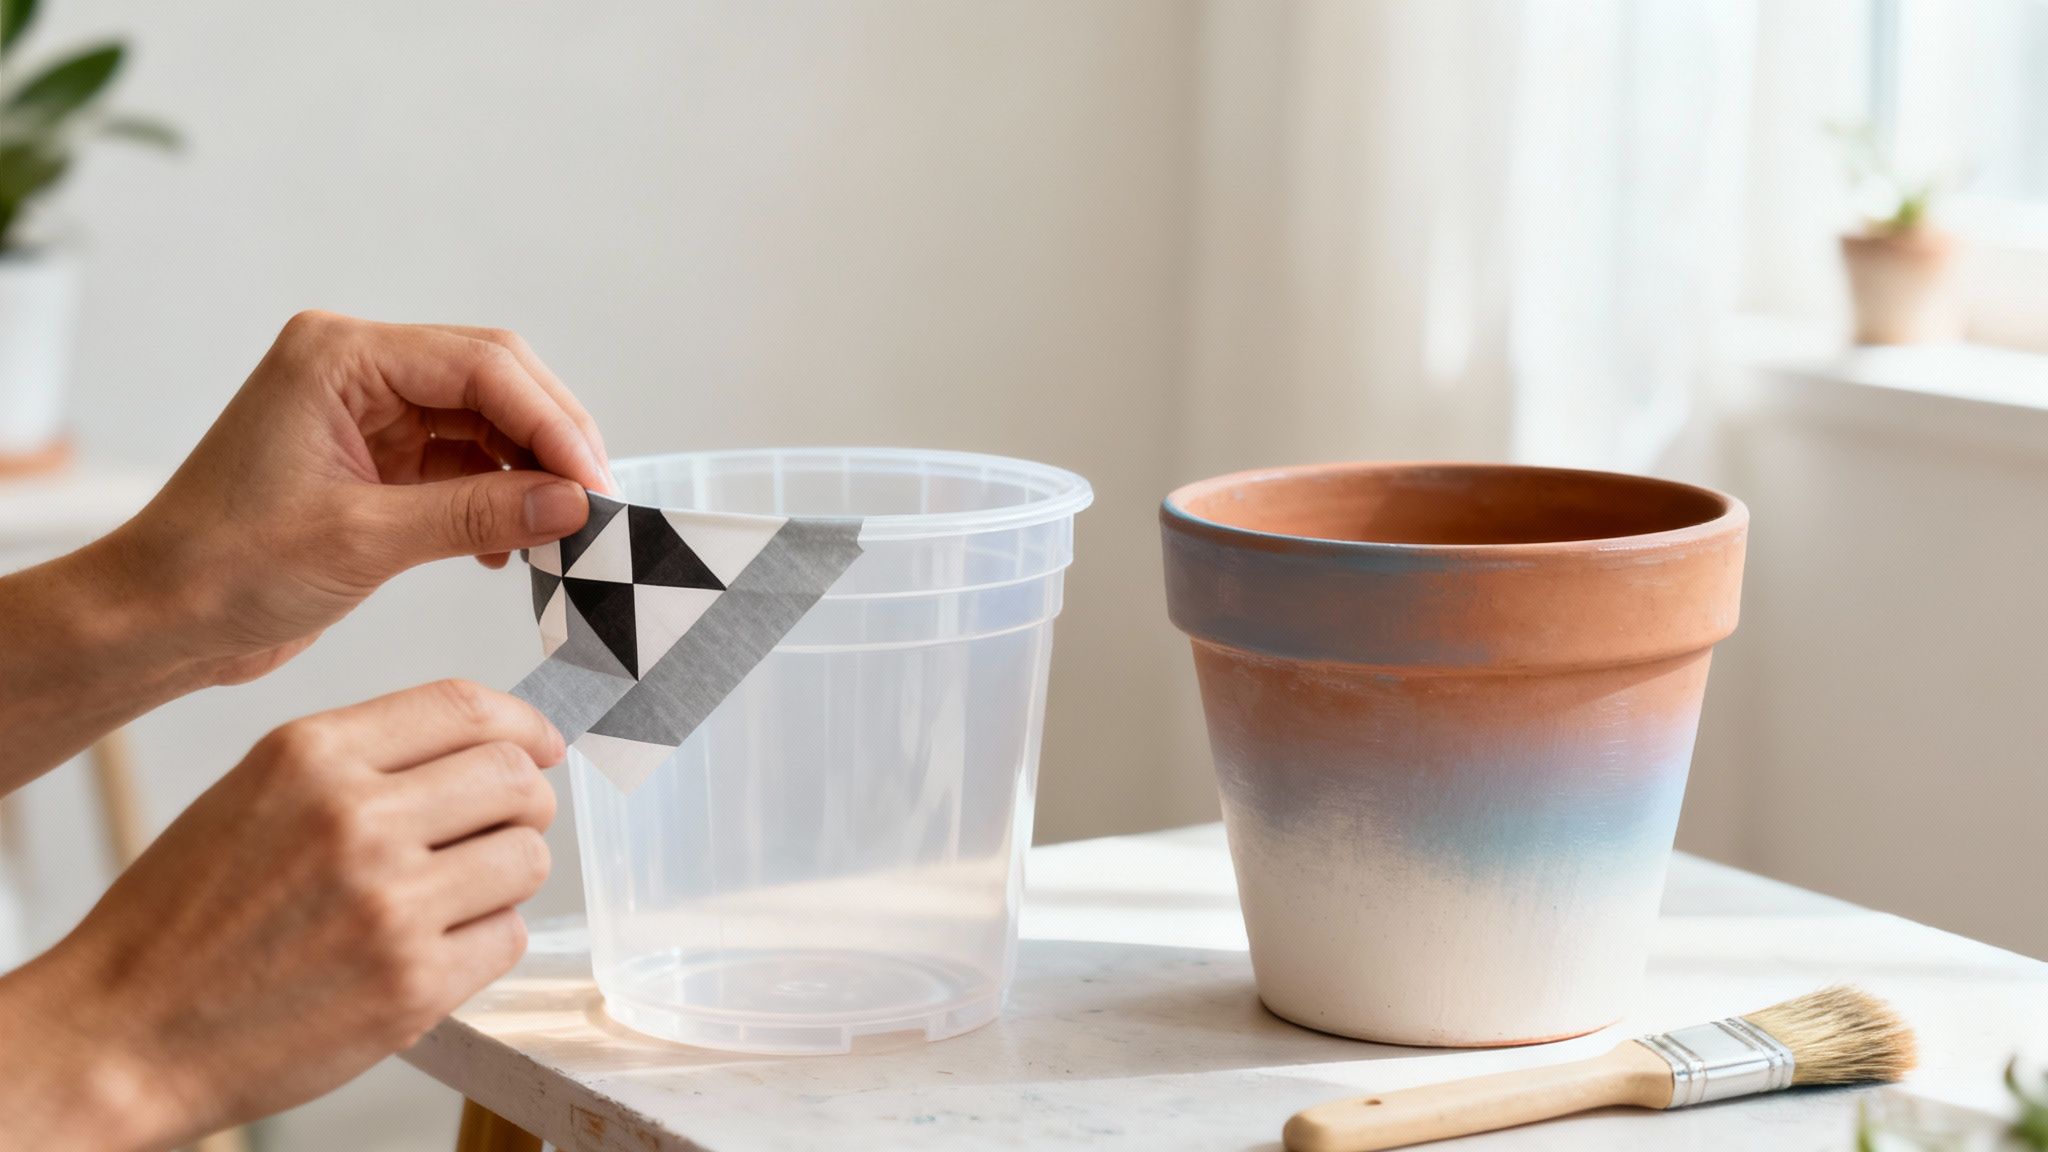
- Geometric Patterns: Grab some painter's tape to mask off sharp lines, triangles, or chevron stripes. Paint inside your taped-off sections, let it dry completely, and then carefully peel the tape away. You'll be left with a crisp, modern design.
- Ombré Effect: Pick two or three shades of the same colour, from light to dark. Start by painting the whole pot with the lightest shade. While it's still damp, begin blending the medium shade upwards from the bottom, and finish by adding the darkest colour right at the base. A clean, damp brush is great for blurring the lines between the colours for a seamless gradient.
- Stencils and Stamps: If you want intricate details but don't fancy freehand drawing, stencils are your best friend. You can find them in every pattern imaginable, from floral motifs to Moroccan-inspired tiles. Just tape the stencil in place and use a sponge or a stencil brush to dab the paint on.
Don't forget to think about which colours will best complement your plants—that's all part of the fun! Green foliage creates a stunning backdrop for a huge range of hues. For a little more inspiration, take a look at our guide to colours that match with green.
Sealing and Protecting Your Painted Pot
You’ve done the creative part and your pot looks fantastic. Now for the final, crucial step: giving it some armour. Sealing your painted pot is the difference between a design that lasts for years and one that fades and peels after the first British downpour.
Think of it as an invisible shield. A good sealant locks in your hard work, protecting it from moisture, knocks, and the UV rays that bleach out vibrant colours. It’s a simple step, but honestly, it’s the one that guarantees your creation will look just as good next season as it does today.
Choosing Your Protective Sealant
Walking down the sealant aisle can feel a bit overwhelming, but for plastic pots, it really comes down to a handful of reliable choices. The best one for you hinges on the finish you’re after and how you prefer to apply it.
- Polyurethane Spray: This is my go-to for a quick, factory-smooth finish. A few light, even passes give you brilliant water and UV resistance without a single brush mark in sight. It's perfect for sleek, modern designs.
- Water-Based Varnish (Brush-On): If you've spent hours on an intricate, hand-painted design, a brush-on varnish like Polycrylic gives you far more control. It provides a tough finish, dries fast, and has very little odour, which makes it great for working on projects indoors.
- Outdoor Mod Podge: This stuff is specifically made to withstand the elements. It acts as both a glue and a sealer, so it’s the ideal choice if you’ve incorporated any decoupage or mixed-media elements into your design.
Application for Maximum Durability
Whatever you choose, the secret is in the application. Always go for two or three thin coats instead of trying to slather on one thick one. A single heavy layer can stay tacky for ages and is more likely to drip or show imperfections. Just let each coat dry completely before adding the next – check the tin for the recommended times.
Here’s a pro tip I learned the hard way: always, always buy a non-yellowing sealant. Some cheaper varnishes can develop a nasty yellow tinge over time, especially in direct sunlight, which will completely ruin the look of your beautiful paintwork.
Taking the time to seal your pot properly doesn't just protect your art; it also makes the whole project more sustainable. Here in the UK, recycling plastic plant pots is still a massive headache. A 2023 RECOUP survey found that less than 10% of local authorities actually collect them for recycling, partly because the common black plastic is invisible to sorting machines. By upcycling your pots to last for years, you’re keeping them out of landfill entirely.
The techniques for protecting outdoor paintwork are pretty universal. If you’re looking for more inspiration, you might find our guide to deck paint ideas useful. With this final protective layer, your custom-painted pots are now ready for anything the weather throws at them, bringing a personal splash of colour to your garden for seasons to come.
Common Questions About Painting Plastic Pots
Even with the best prep work, a few questions always pop up when you start a project like this. Let's tackle some of the most common ones I hear, so you can get started with confidence and make sure your painted pots look fantastic for years to come.
What Is the Best Paint to Use on Plastic Plant Pots?
This really comes down to the finish you're after and how you prefer to work. For most of us, the choice boils down to a good outdoor acrylic craft paint or a spray paint designed specifically for plastics.
- For brush-on applications, I always reach for an outdoor acrylic. It has the right amount of flex to cope with temperature shifts and is brilliantly water-resistant, which is perfect if you’re planning on adding detailed, hand-painted designs.
- For a super quick, factory-smooth finish, nothing beats a spray paint made for plastic. Keep an eye out for cans labelled 'for plastic' or 'multi-surface' – this guarantees they'll bond properly.
No matter which one you choose, the one step you absolutely cannot skip is priming. A dedicated plastic primer is the secret weapon for a durable, chip-free finish.
The paint is only ever as good as the surface it’s sitting on. A proper plastic primer creates that crucial bond between the slick pot and your colourful topcoat, making all your hard work last.
Do I Really Need to Sand and Prime Before Painting?
Yes, one hundred percent. If you take away only one thing from this guide, let it be this. Plastic is naturally smooth and non-porous, meaning paint has absolutely nothing to grab onto by itself. Skipping the prep is the fast track to peeling and flaking paint.
Giving the pot a quick scuff with fine-grit sandpaper creates thousands of tiny scratches for the primer to bite into. The primer then acts as the ultimate middleman, chemically bonding the plastic to the paint. It's an extra ten minutes of work that will save you hours of disappointment later on.
How Do I Stop Paint from Peeling Off Outdoor Pots?
Peeling paint is almost always caused by moisture creeping in between the plastic and your paint. The best way to prevent this is with a solid three-part defence: meticulous prep, the right paint, and a bulletproof topcoat.
First up, make sure that pot is spotlessly clean, properly sanded, and has an even coat of primer. This is the foundation everything else is built on.
Next, apply your outdoor-rated paint in several thin coats rather than one thick, gloopy one. This builds up a much stronger and more flexible layer of colour that's far less likely to crack under pressure.
Finally, and this is crucial, finish with at least two coats of a clear, non-yellowing, waterproof sealant. Think of this as the final armour for your pot, protecting your beautiful design from rain, sun, and everything else the British weather can throw at it.


